Tạo NAT Gateway
Tạo NAT Gateway
ℹ️ Tổng quan
- NAT Gateway cho phép các instances trong private subnet kết nối ra internet
- Đảm bảo kết nối một chiều từ trong ra ngoài, tăng tính bảo mật
- Cần có Elastic IP và đặt NAT Gateway trong public subnet
Tạo Elastic IP Address
- Truy cập EC2 Dashboard
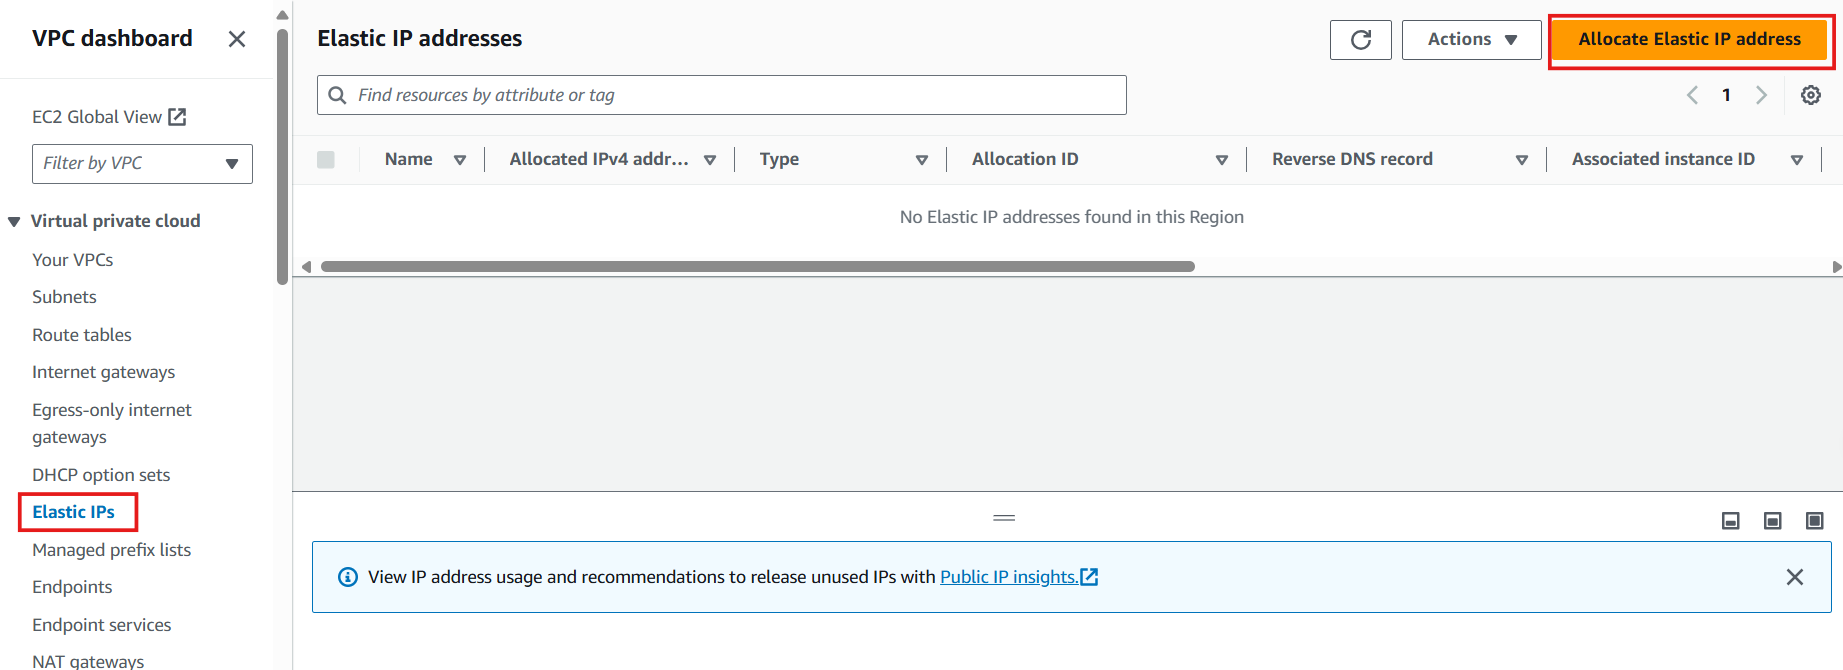
- Chọn Elastic IPs từ menu bên trái
- Click Allocate Elastic IP address
- Cấu hình Elastic IP
- Public IPv4 address pool: Chọn Amazon’s pool of IPv4 addresses
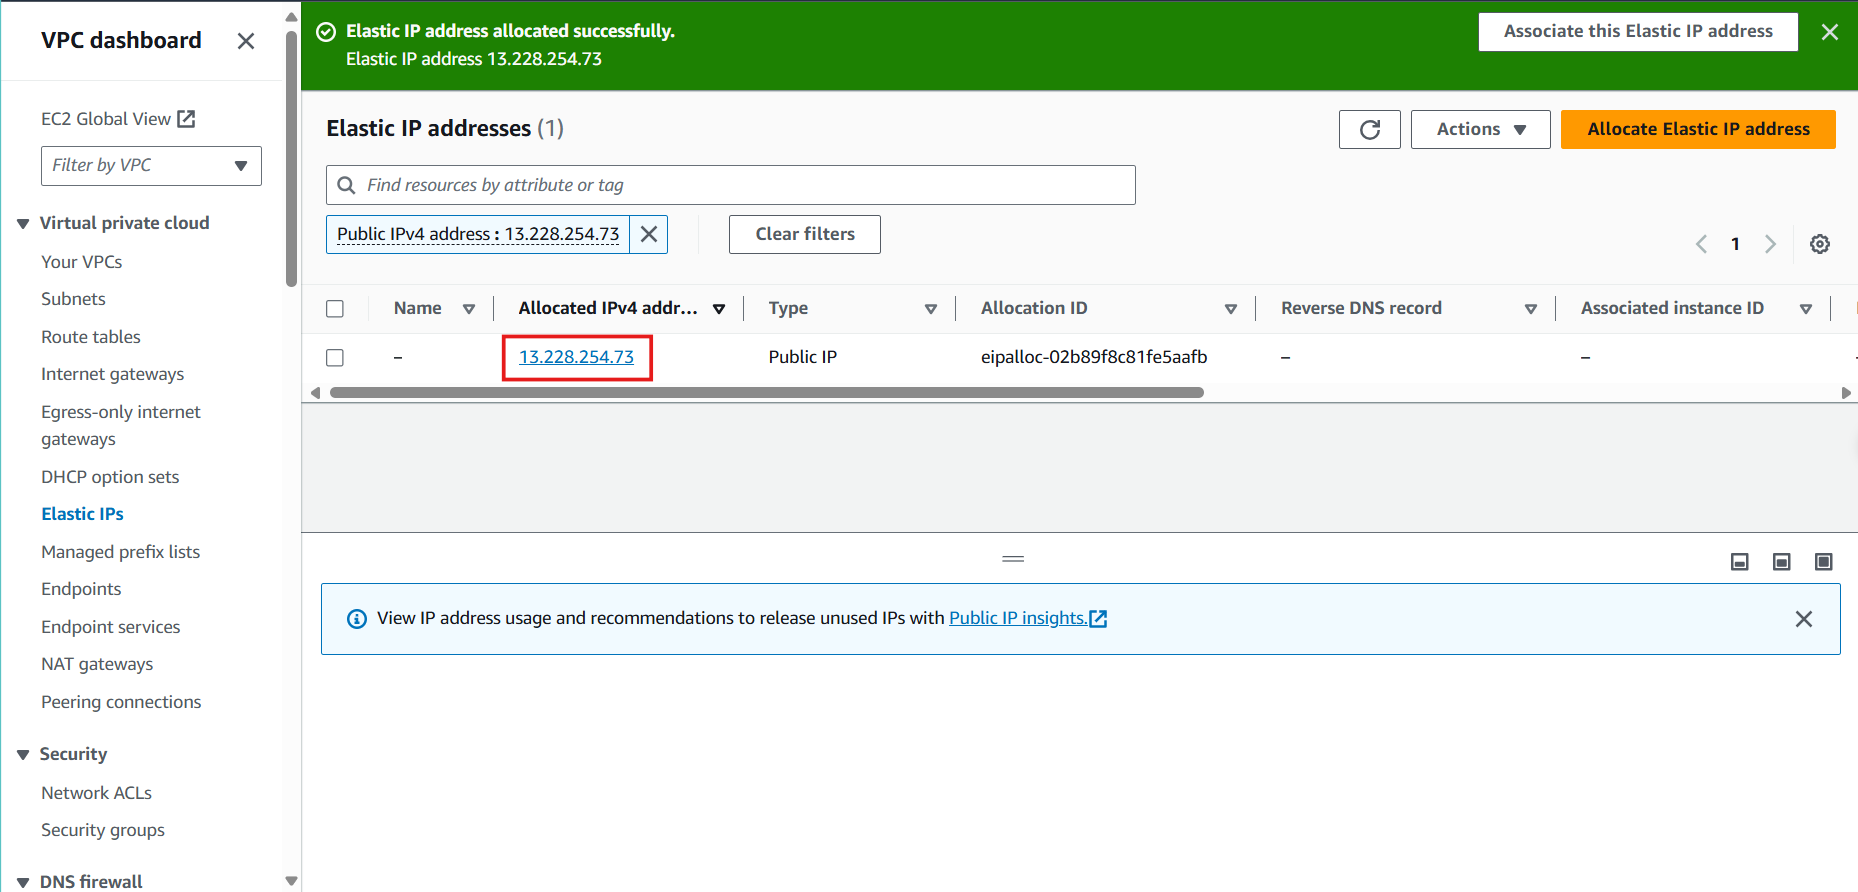
- Click Allocate

- Xác nhận tạo thành công Elastic IP
Triển khai NAT Gateway
- Truy cập VPC Dashboard
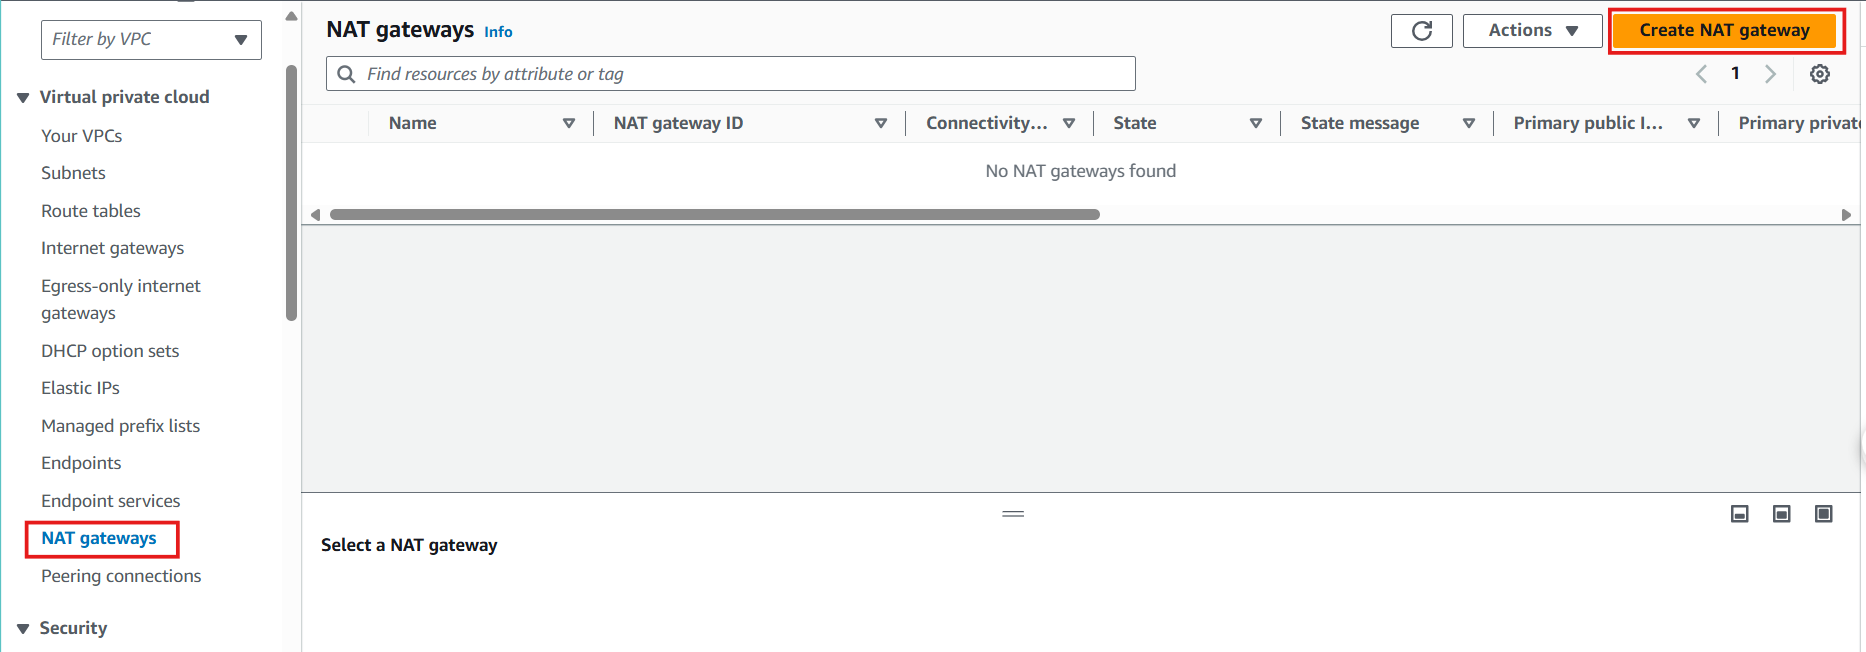
- Chọn NAT Gateways
- Click Create NAT gateway
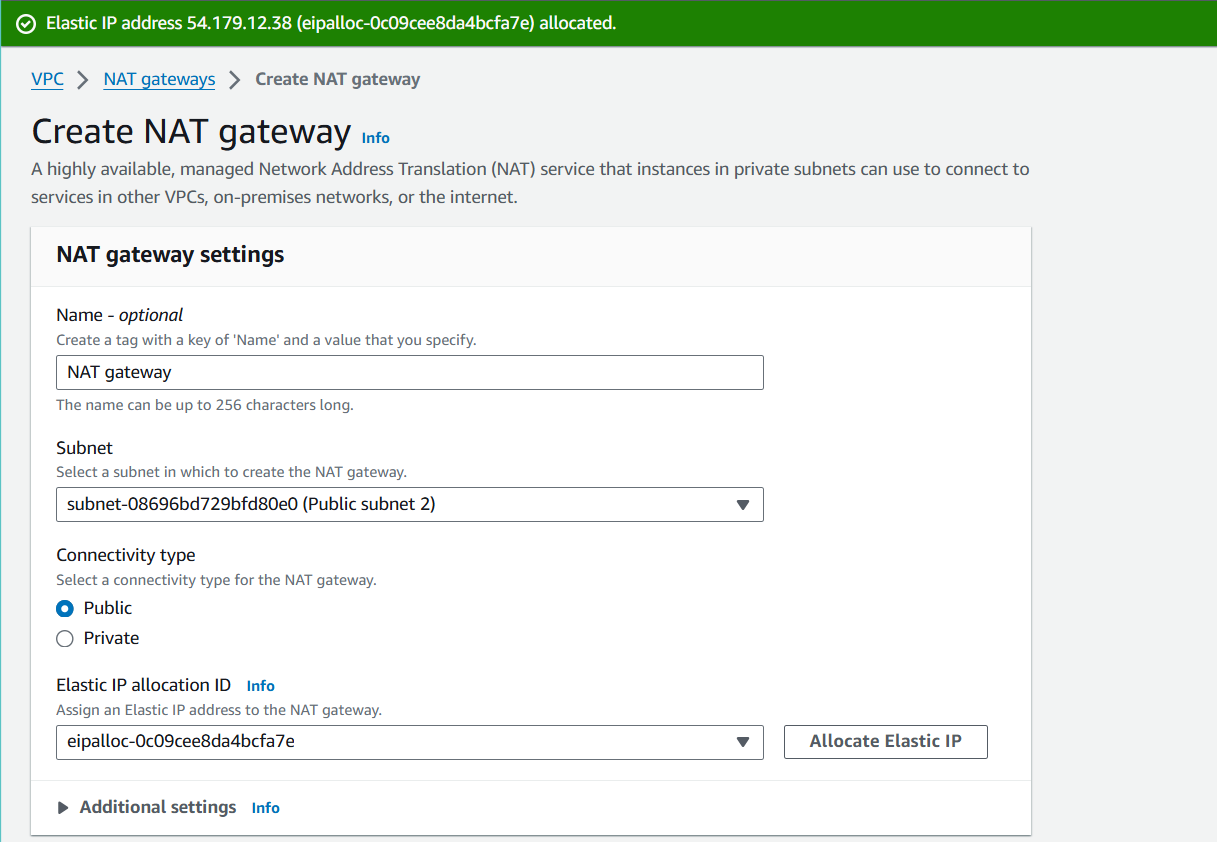
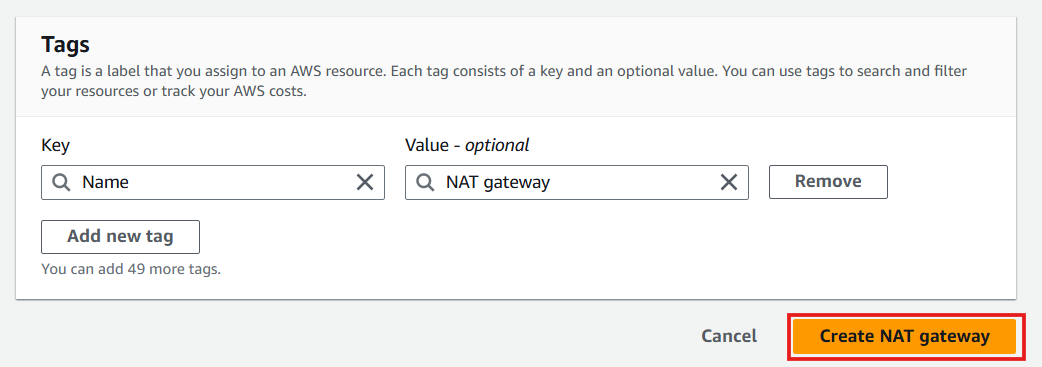
- Cấu hình NAT Gateway
- Name: Nhập
NAT gateway - Subnet: Chọn Public subnet 2
- Connectivity type: Chọn Public
- Elastic IP allocation ID: Chọn Elastic IP vừa tạo
- Name: Nhập
- Click Create NAT gateway
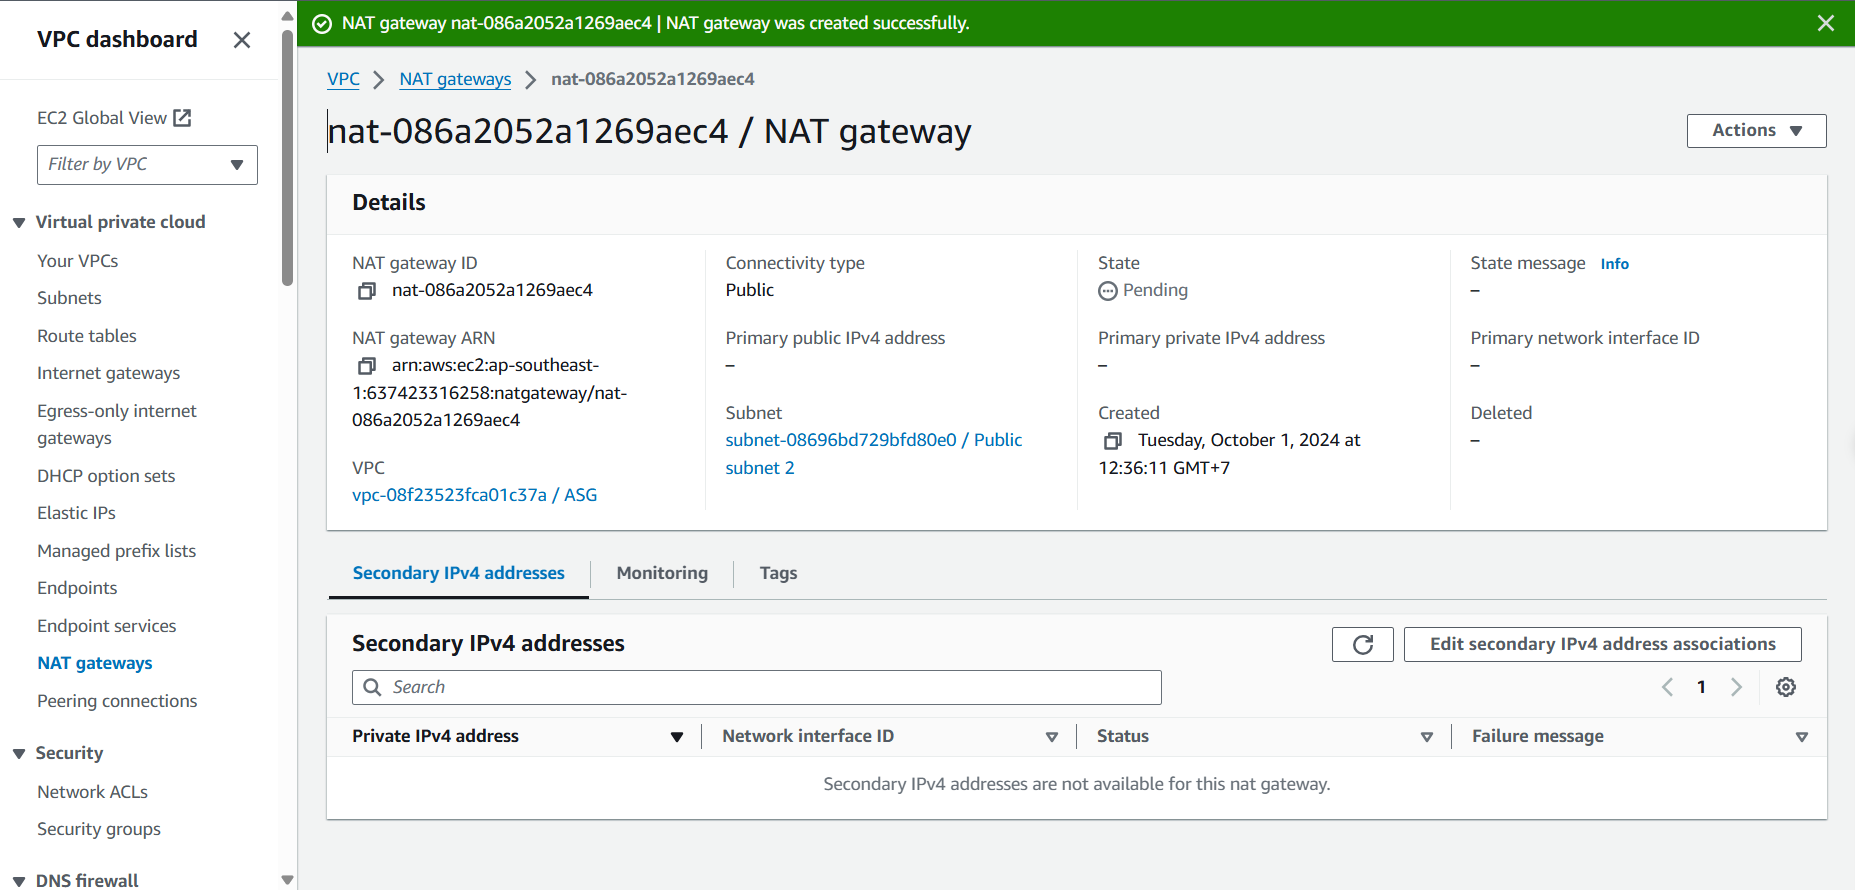
- Xác nhận tạo thành công NAT Gateway
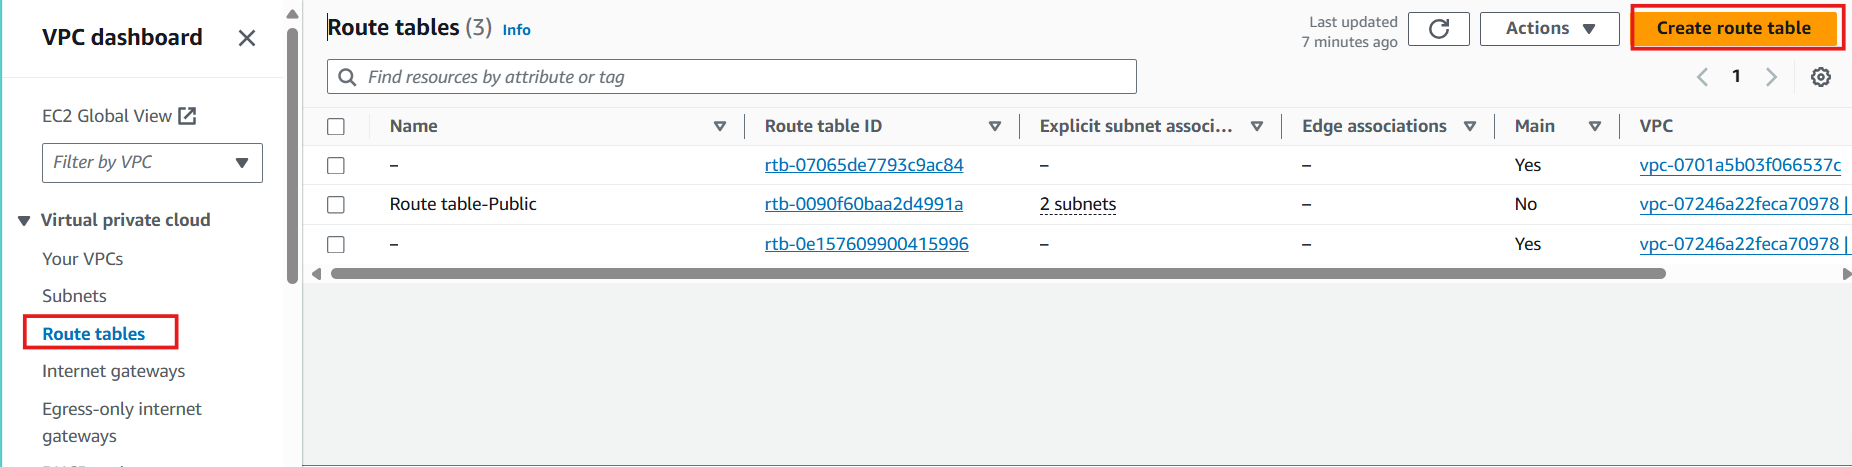
Cấu hình Route Table cho Private Subnet
- Trong VPC Dashboard
- Chọn Route Tables
- Click Create route table
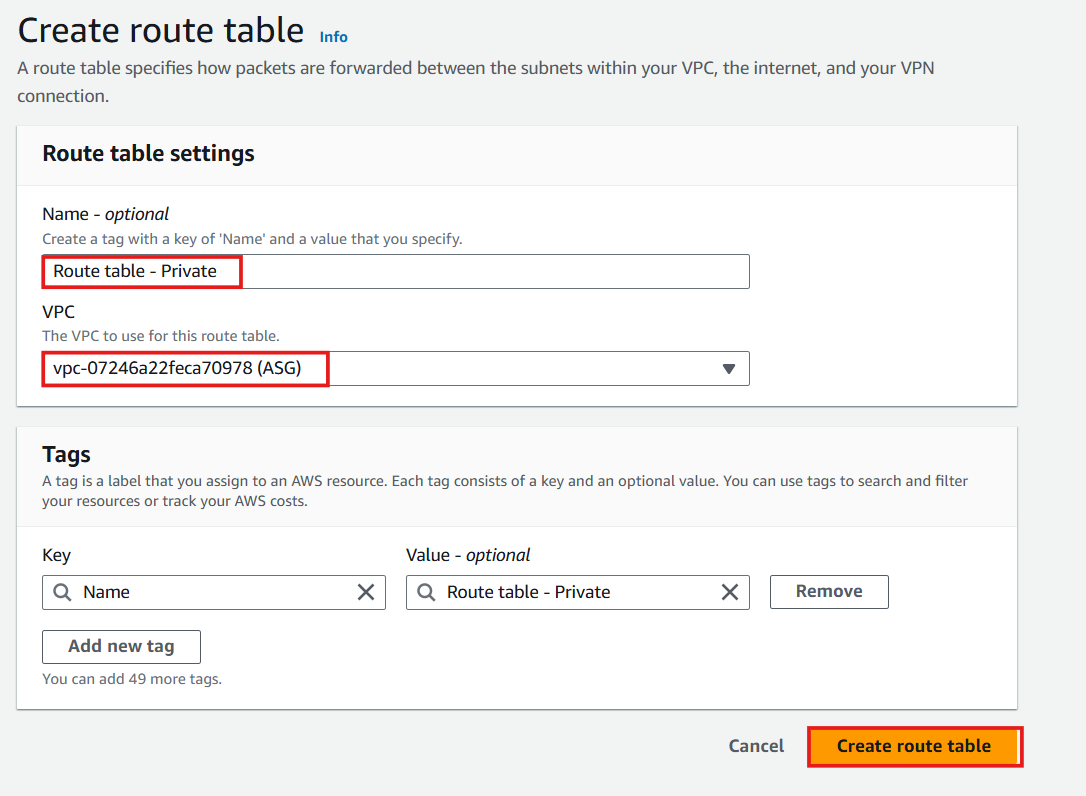
- Thiết lập Route Table
- Name: Nhập
Route table - Private - VPC: Chọn VPC ASG
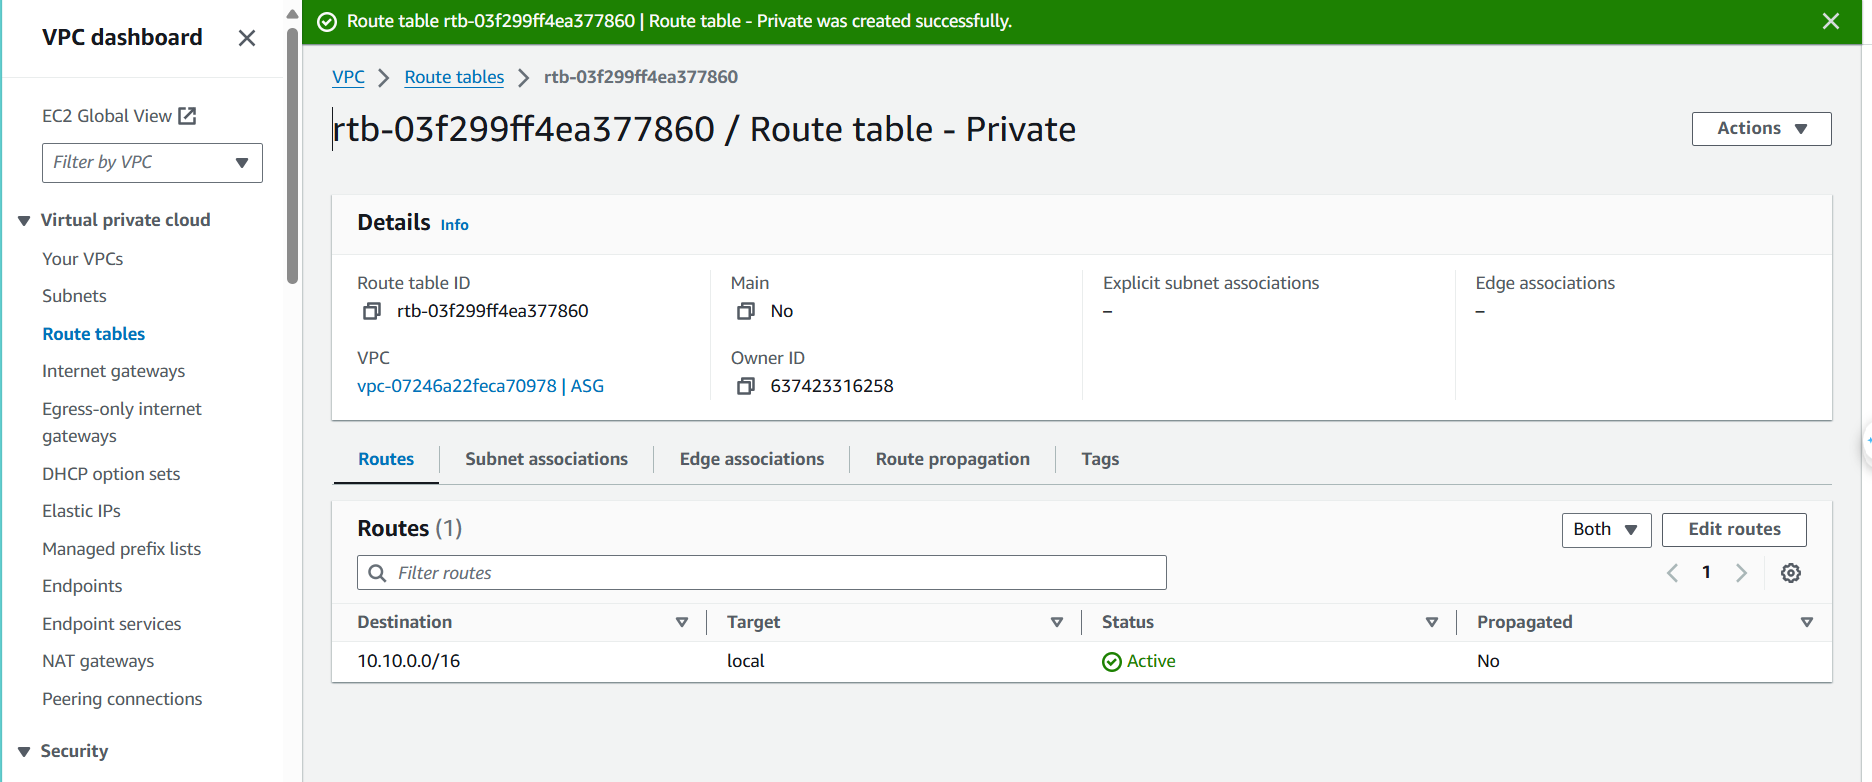
- Click Create route table
- Name: Nhập
- Xác nhận tạo thành công Route Table
💡 Cấu hình Subnet Associations
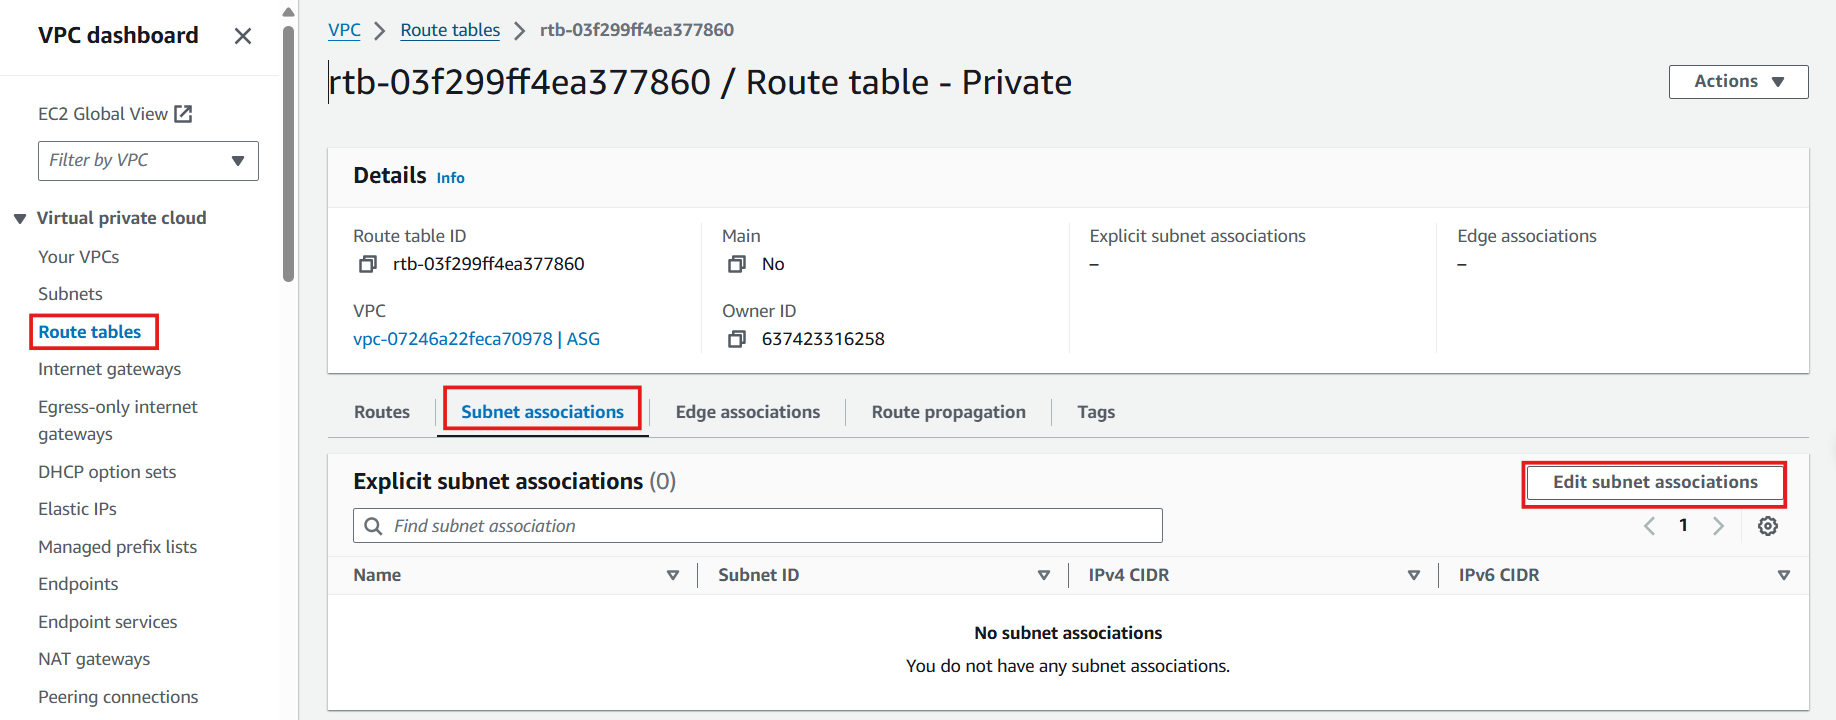
- Trong Route Table mới tạo
- Chọn tab Subnet Associations
- Click Edit subnet associations
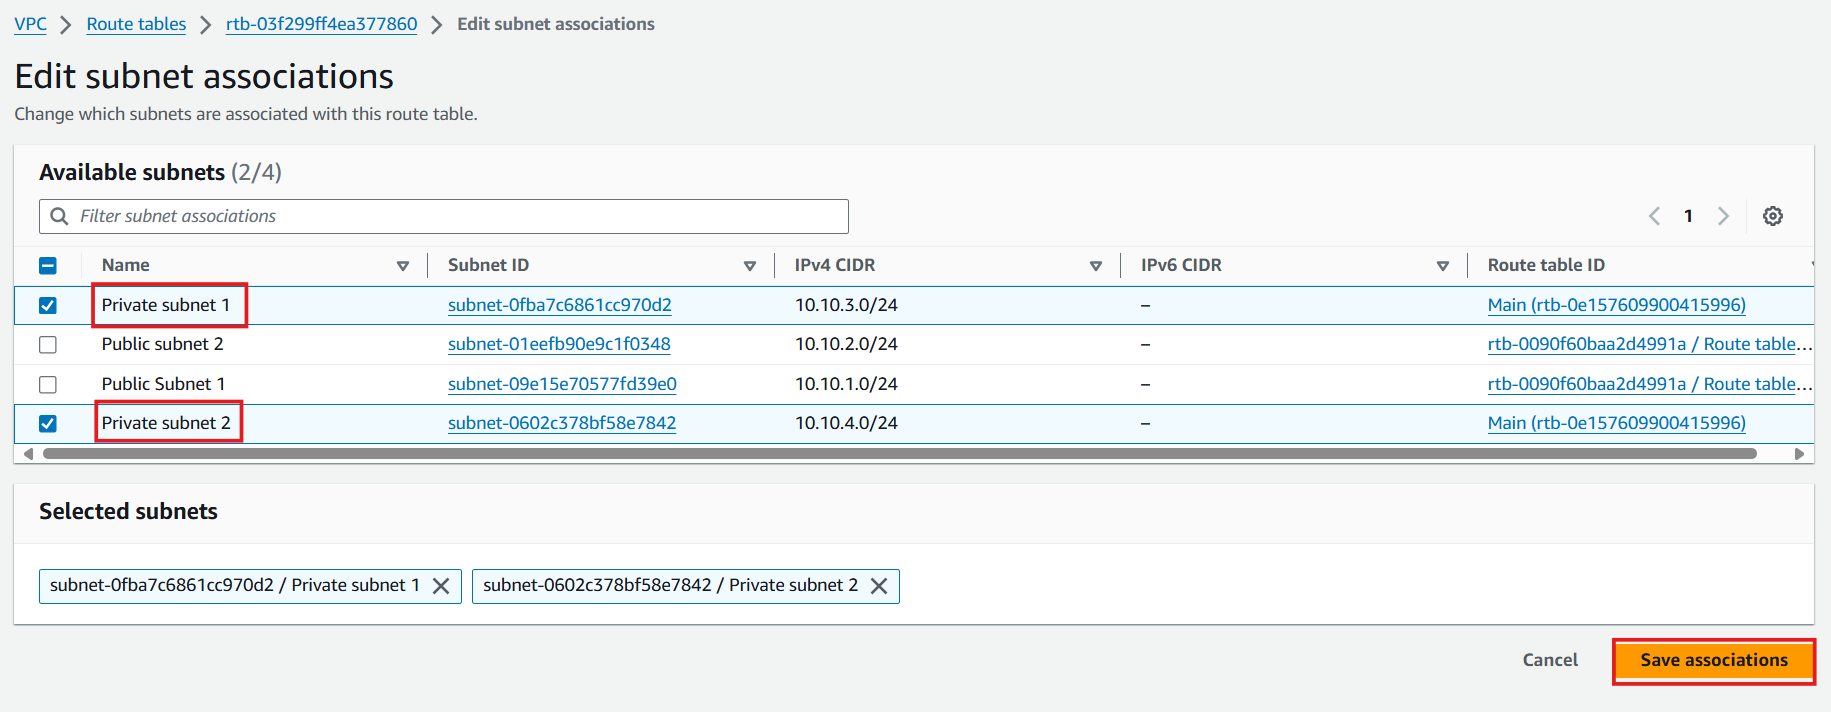
- Liên kết Private Subnets
- Chọn cả 2 private subnet
- Click Save associations
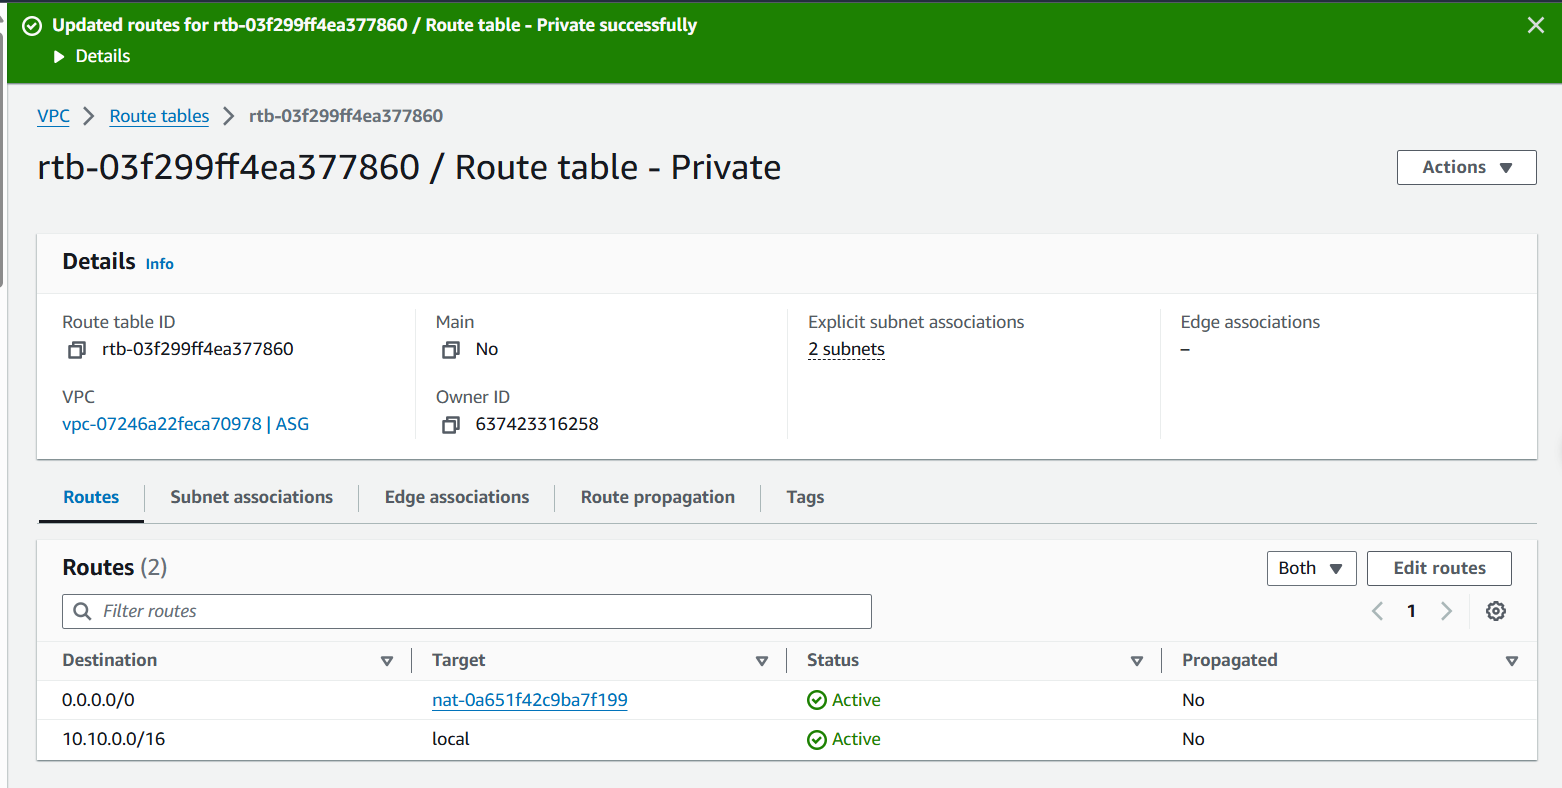
- Cấu hình Routes
- Chọn tab Routes
- Click Edit routes

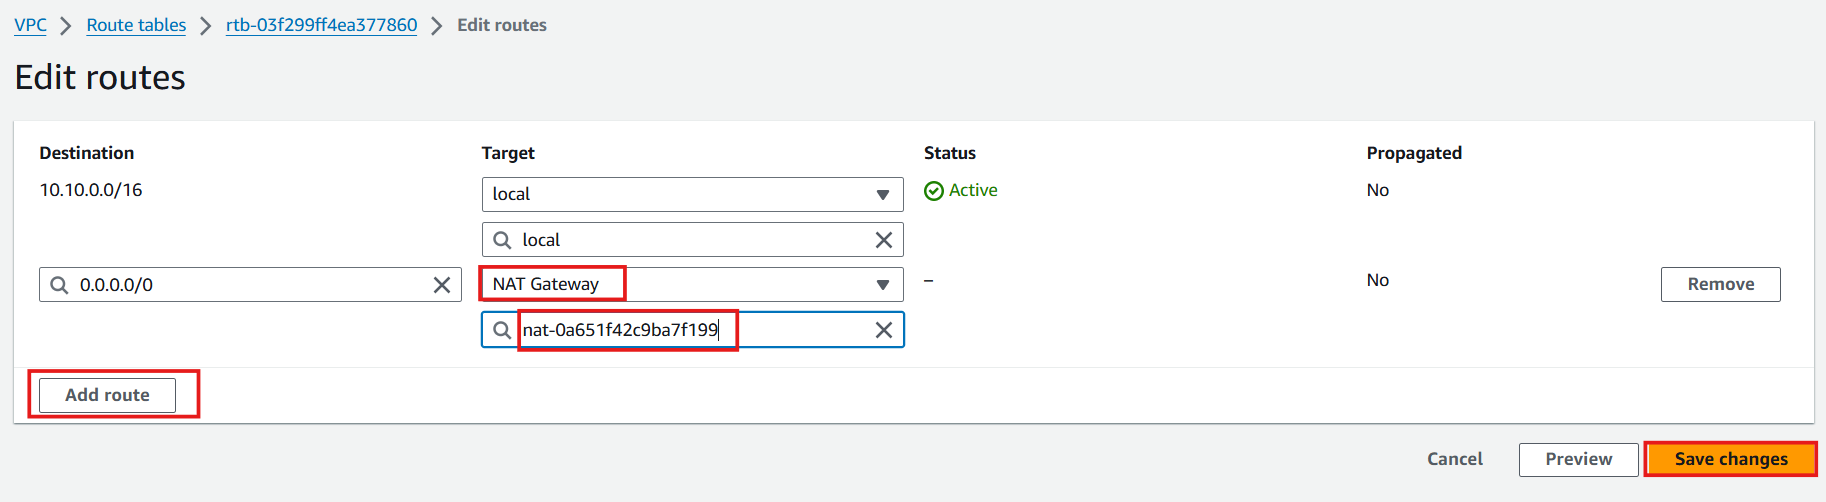
- Thêm Route cho Internet Access
- Click Add route
- Destination: Nhập 0.0.0.0/0
- Target: Chọn NAT Gateway
- Click Save changes
- Xác nhận cấu hình Routes
⚠️ Kiểm tra Kết nối
- Thực hiện ping test từ EC2 Private Instance