Create VPC
Creating Your Amazon VPC
ℹ️ What is Amazon VPC?
Amazon Virtual Private Cloud (Amazon VPC) enables you to launch AWS resources in a logically isolated virtual network that you define. This virtual network closely resembles a traditional network with the benefits of using AWS’s scalable infrastructure.
Step-by-Step VPC Creation
- Access the AWS Management Console:
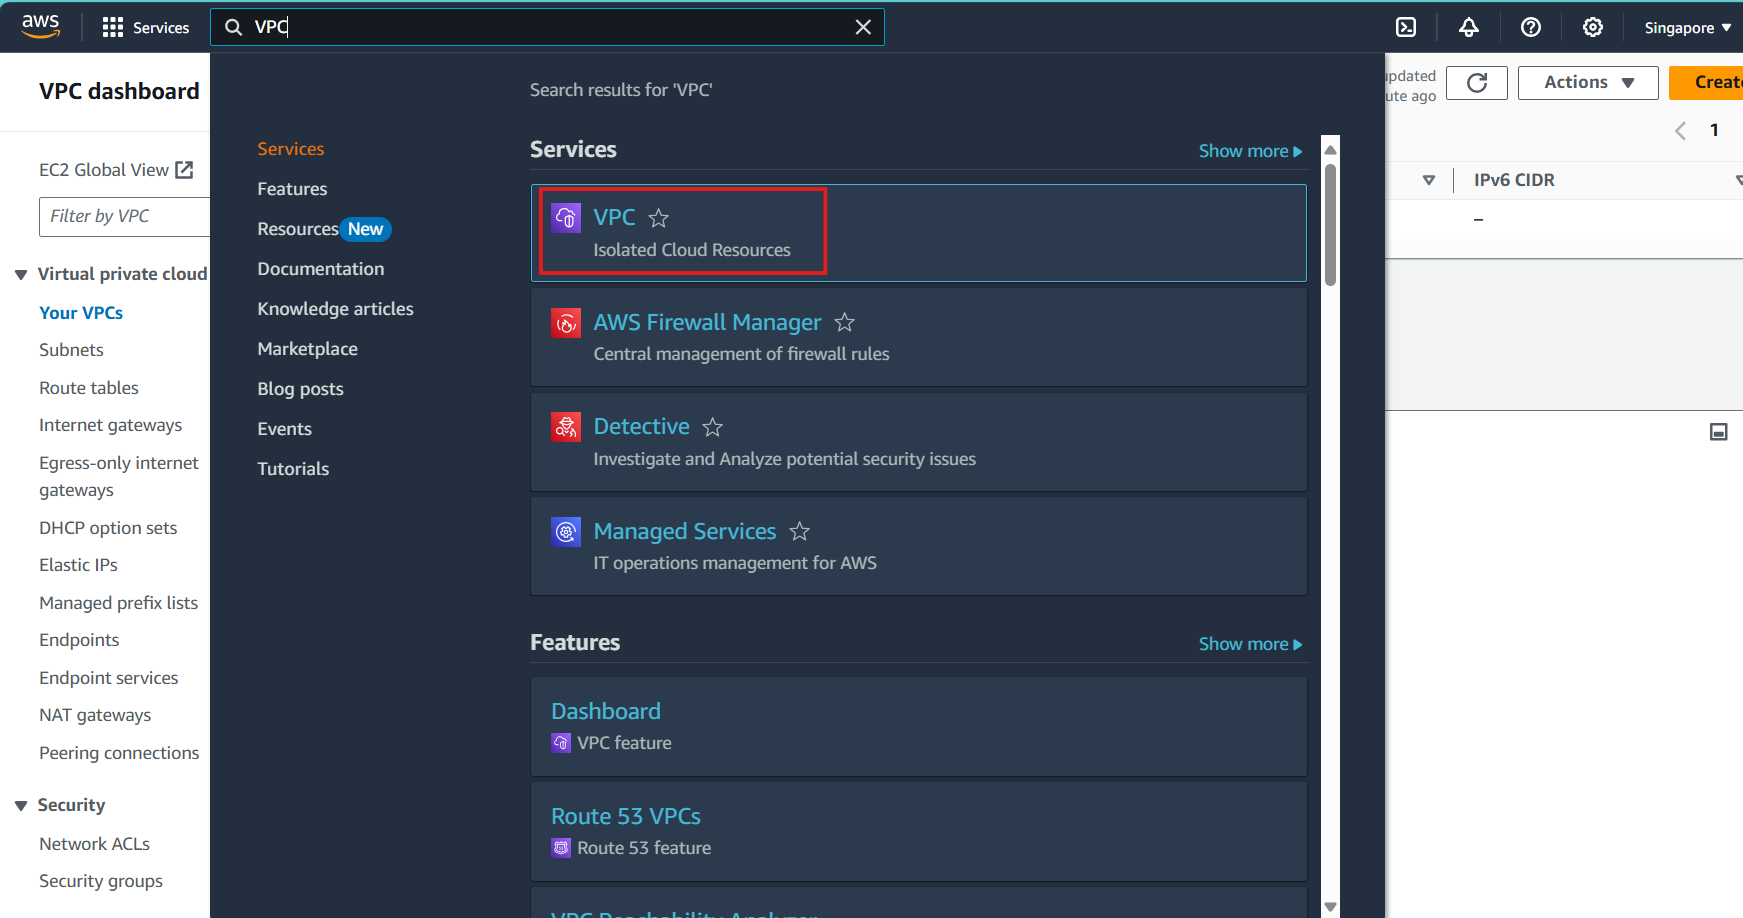
- Navigate to the VPC service
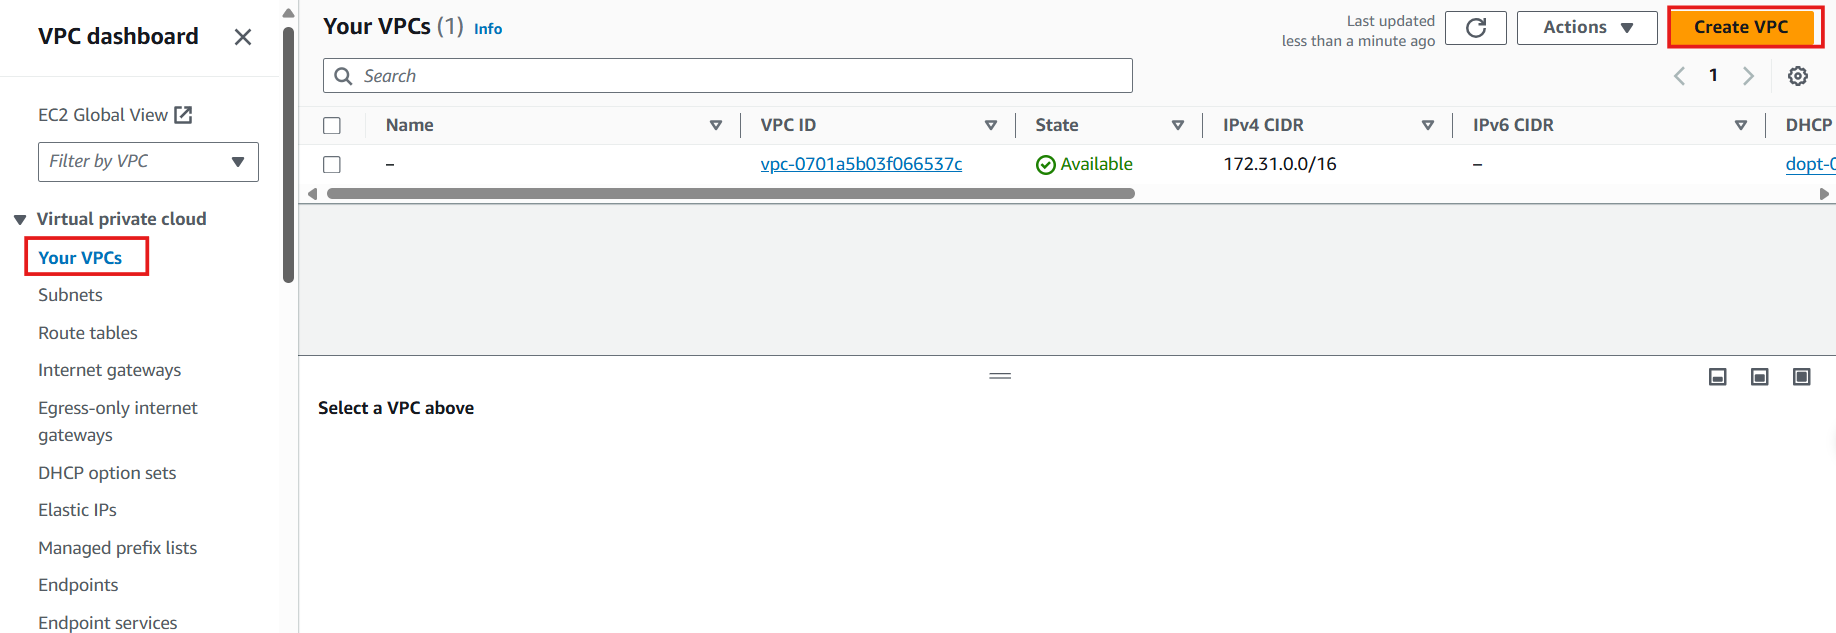
- Select Your VPCs from the left navigation panel
- Initiate VPC creation:
- Click on Create VPC button in the top-right corner
- Configure your VPC settings:
- Under Resources to create, select VPC only
- Enter Name tag:
ASG - Set IPv4 CIDR block:
10.10.0.0/16(providing 65,536 IP addresses)
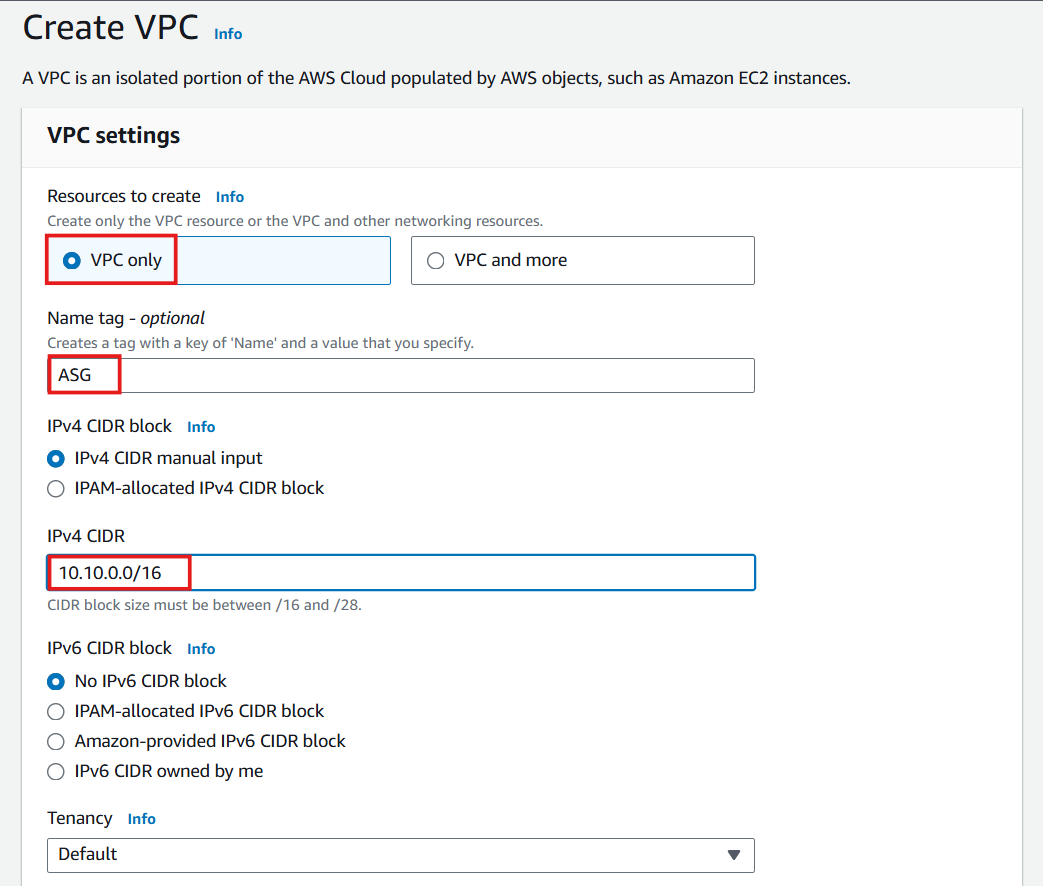
⚠️ Warning
For the Tenancy setting, it’s recommended to keep the Default option. Selecting Dedicated tenancy may limit which EC2 instance types you can launch within this VPC, as some instance types require default tenancy.
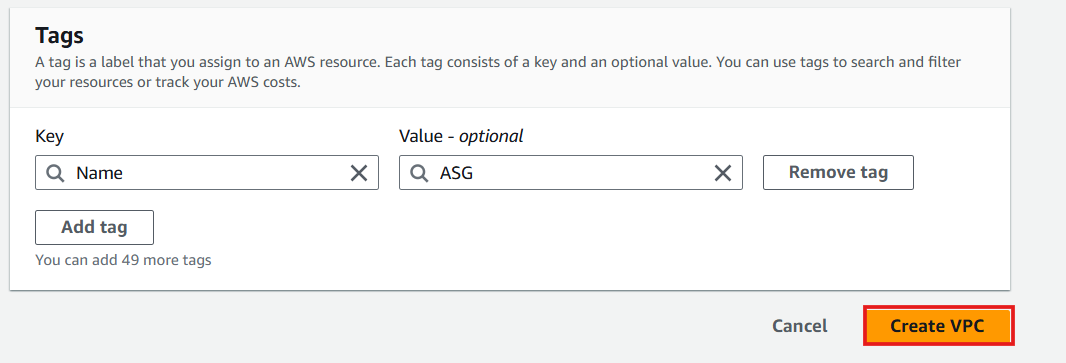
- Complete the VPC creation:
- Review your settings
- Click Create VPC
- Verify successful VPC creation:
- You should see a success message
- Your new VPC will appear in the VPC list
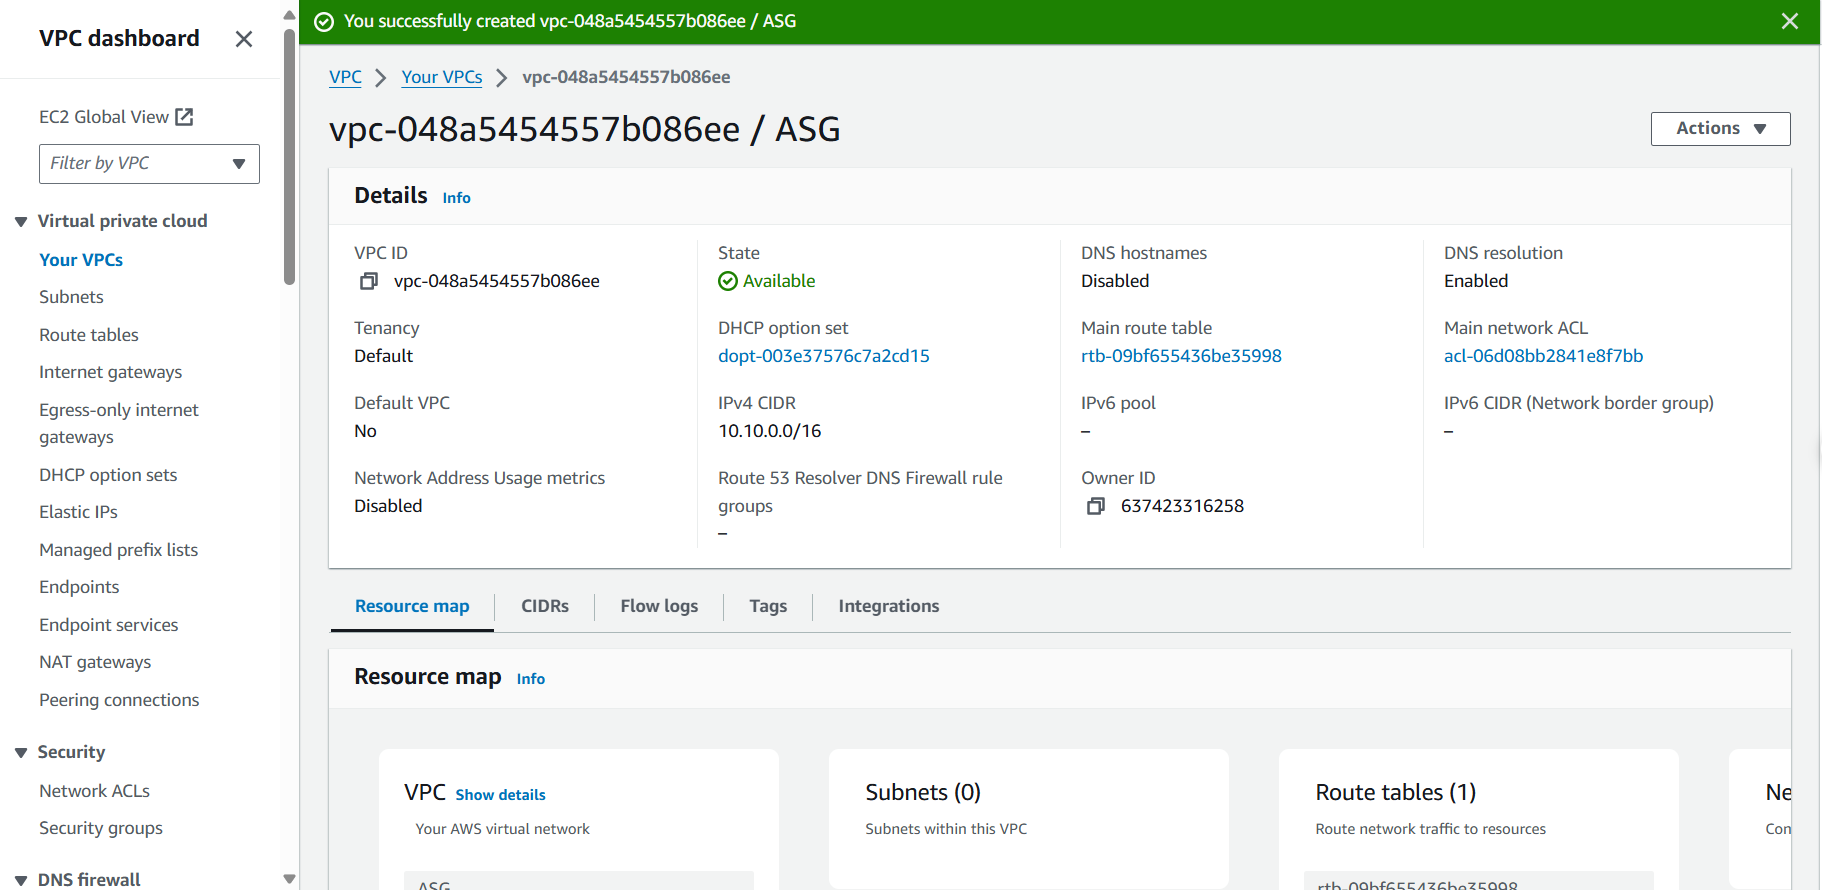
- Configure DNS settings for your VPC:
- Select your newly created VPC
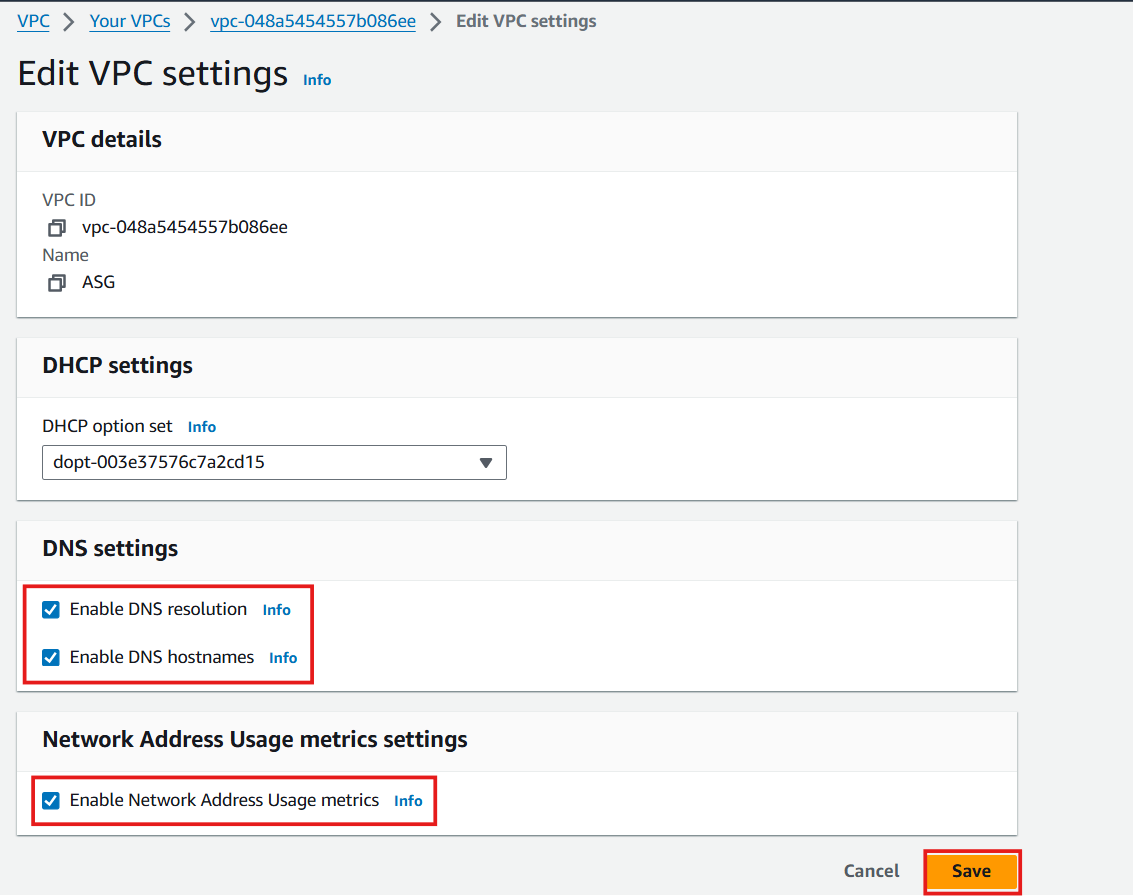
- Click Actions > Edit VPC settings
- Under DNS settings, ensure that Enable DNS hostnames and Enable DNS resolution are configured according to your requirements
- Click Save
💡 Pro Tip
When planning your VPC CIDR block, consider your current and future IP address needs. The CIDR block cannot be changed after the VPC is created, so choose a size that accommodates growth while avoiding unnecessary overlap with other networks you might connect to later.