Customer Gateway Configuration
Configure Customer Gateway
- Access to VPC
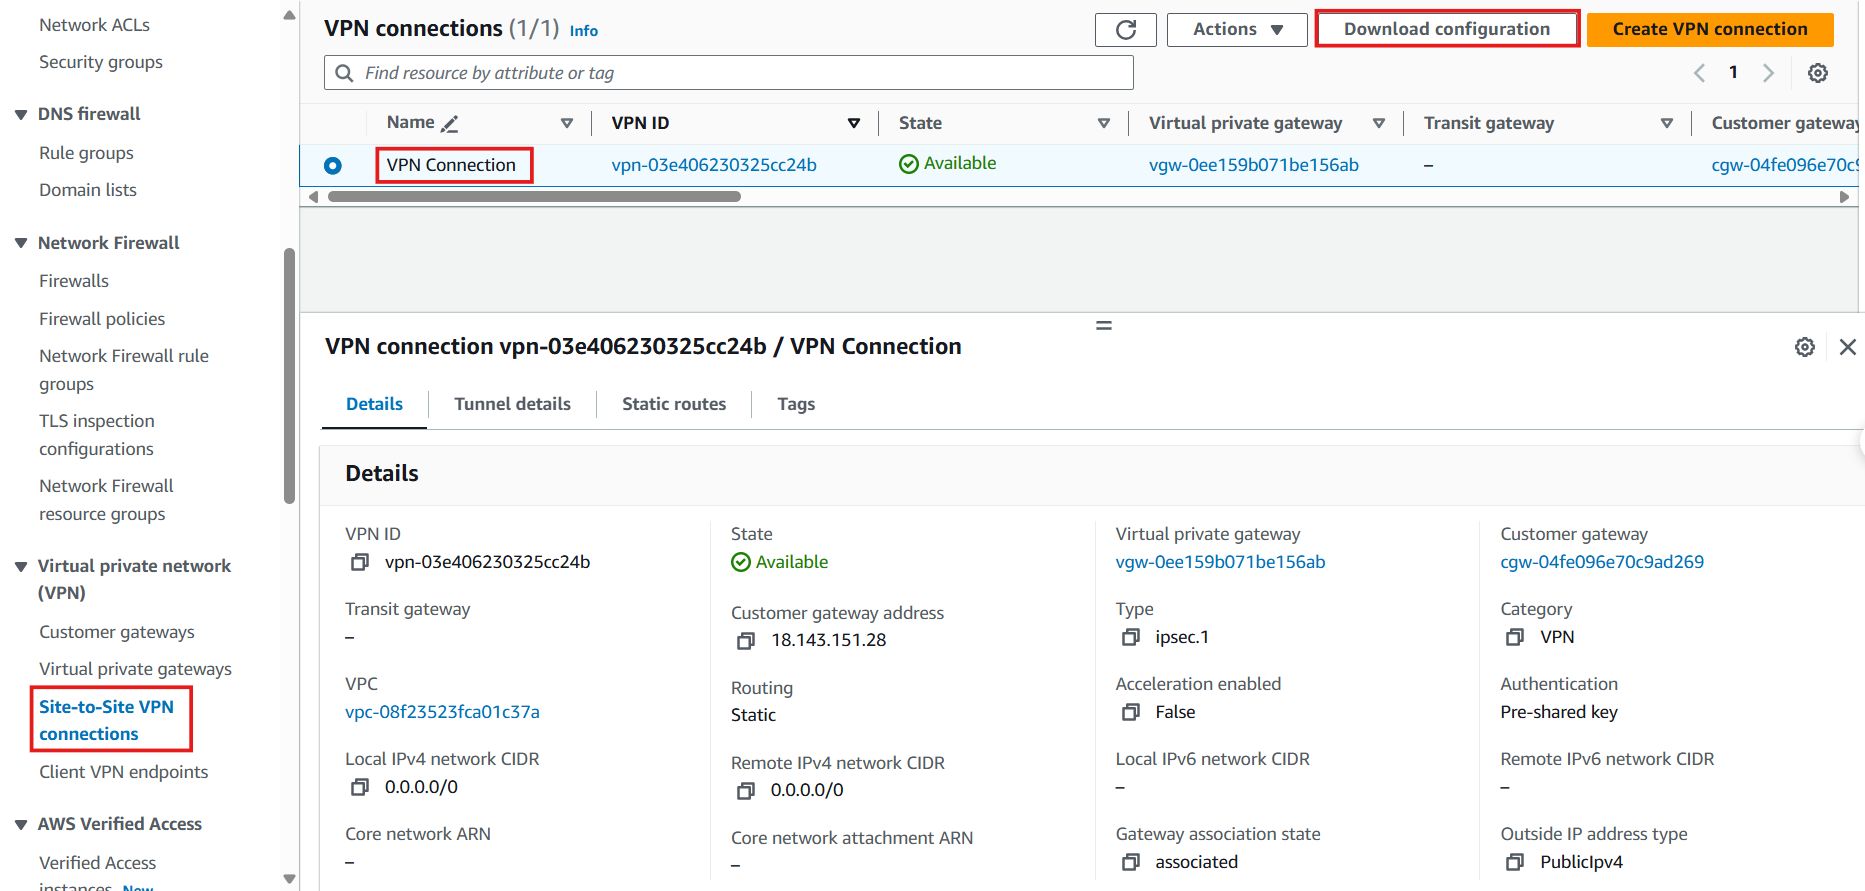
- Select Site-to-Site VPN Connection
- Select VPN Connection created
- Select Download Configuration
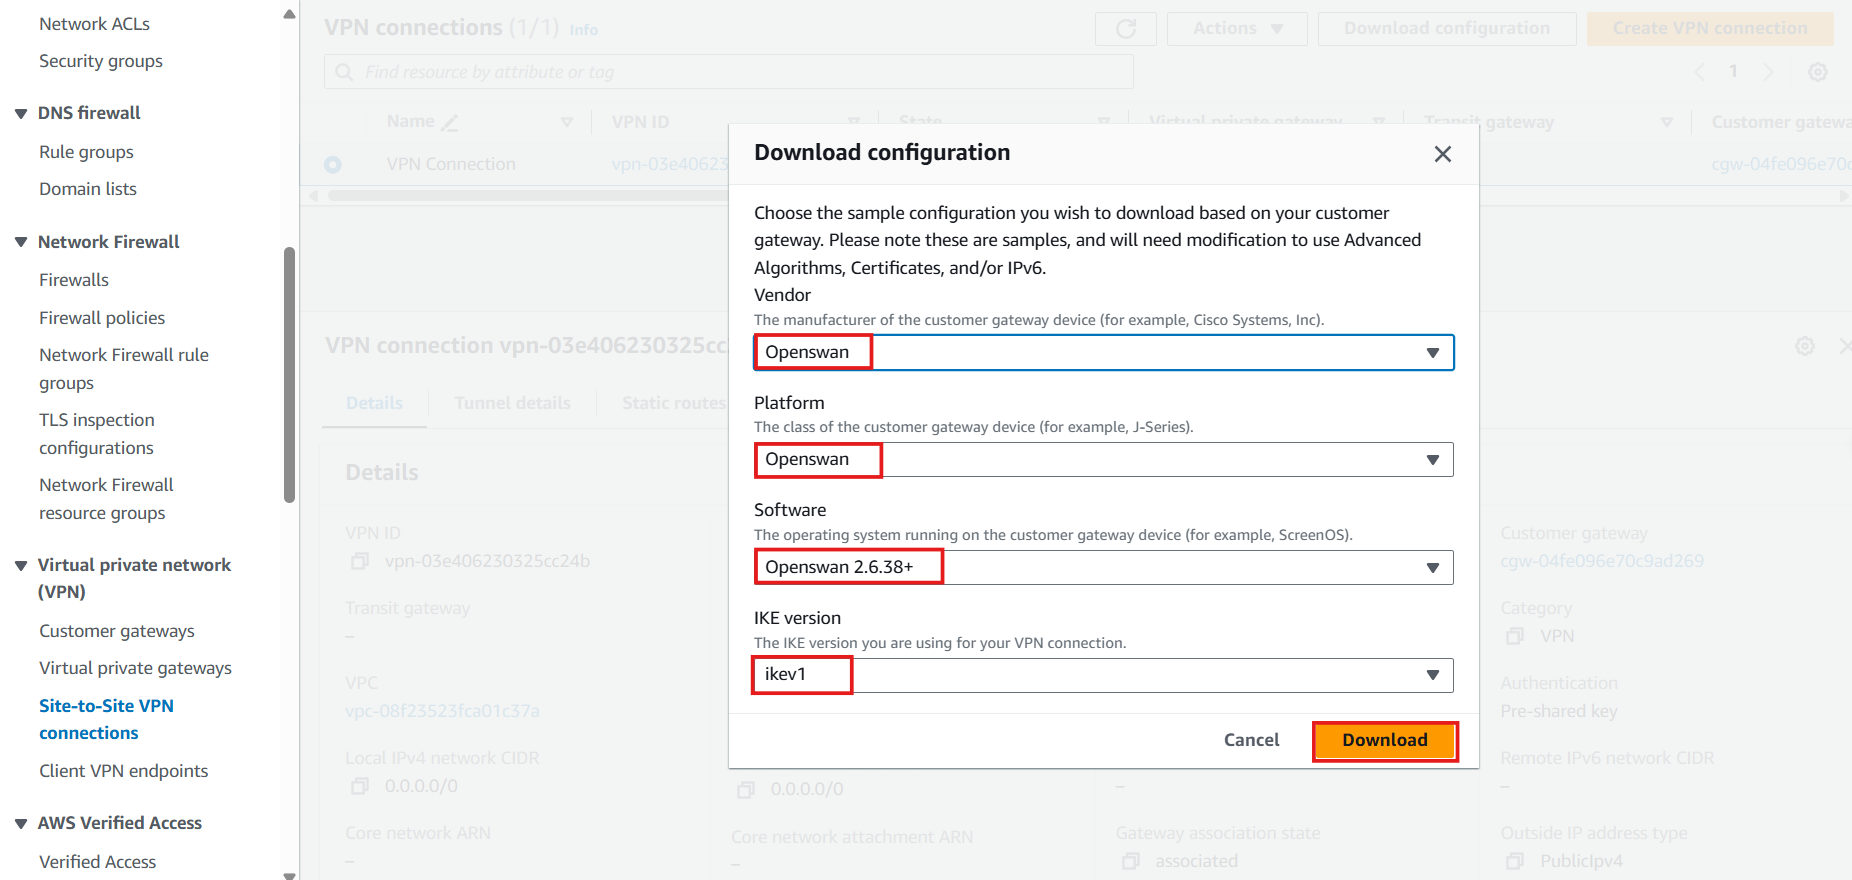
- Download Configuration In the Download Configuration dialog, choose the appropriate appliance, e.g., OpenSwan.
- Vendor: Select OpenSwan
- Platform: Select OpenSwan
- Software: Select OpenSwan 2.6.38+
- IKE version: Select ikev1
- Select Download.
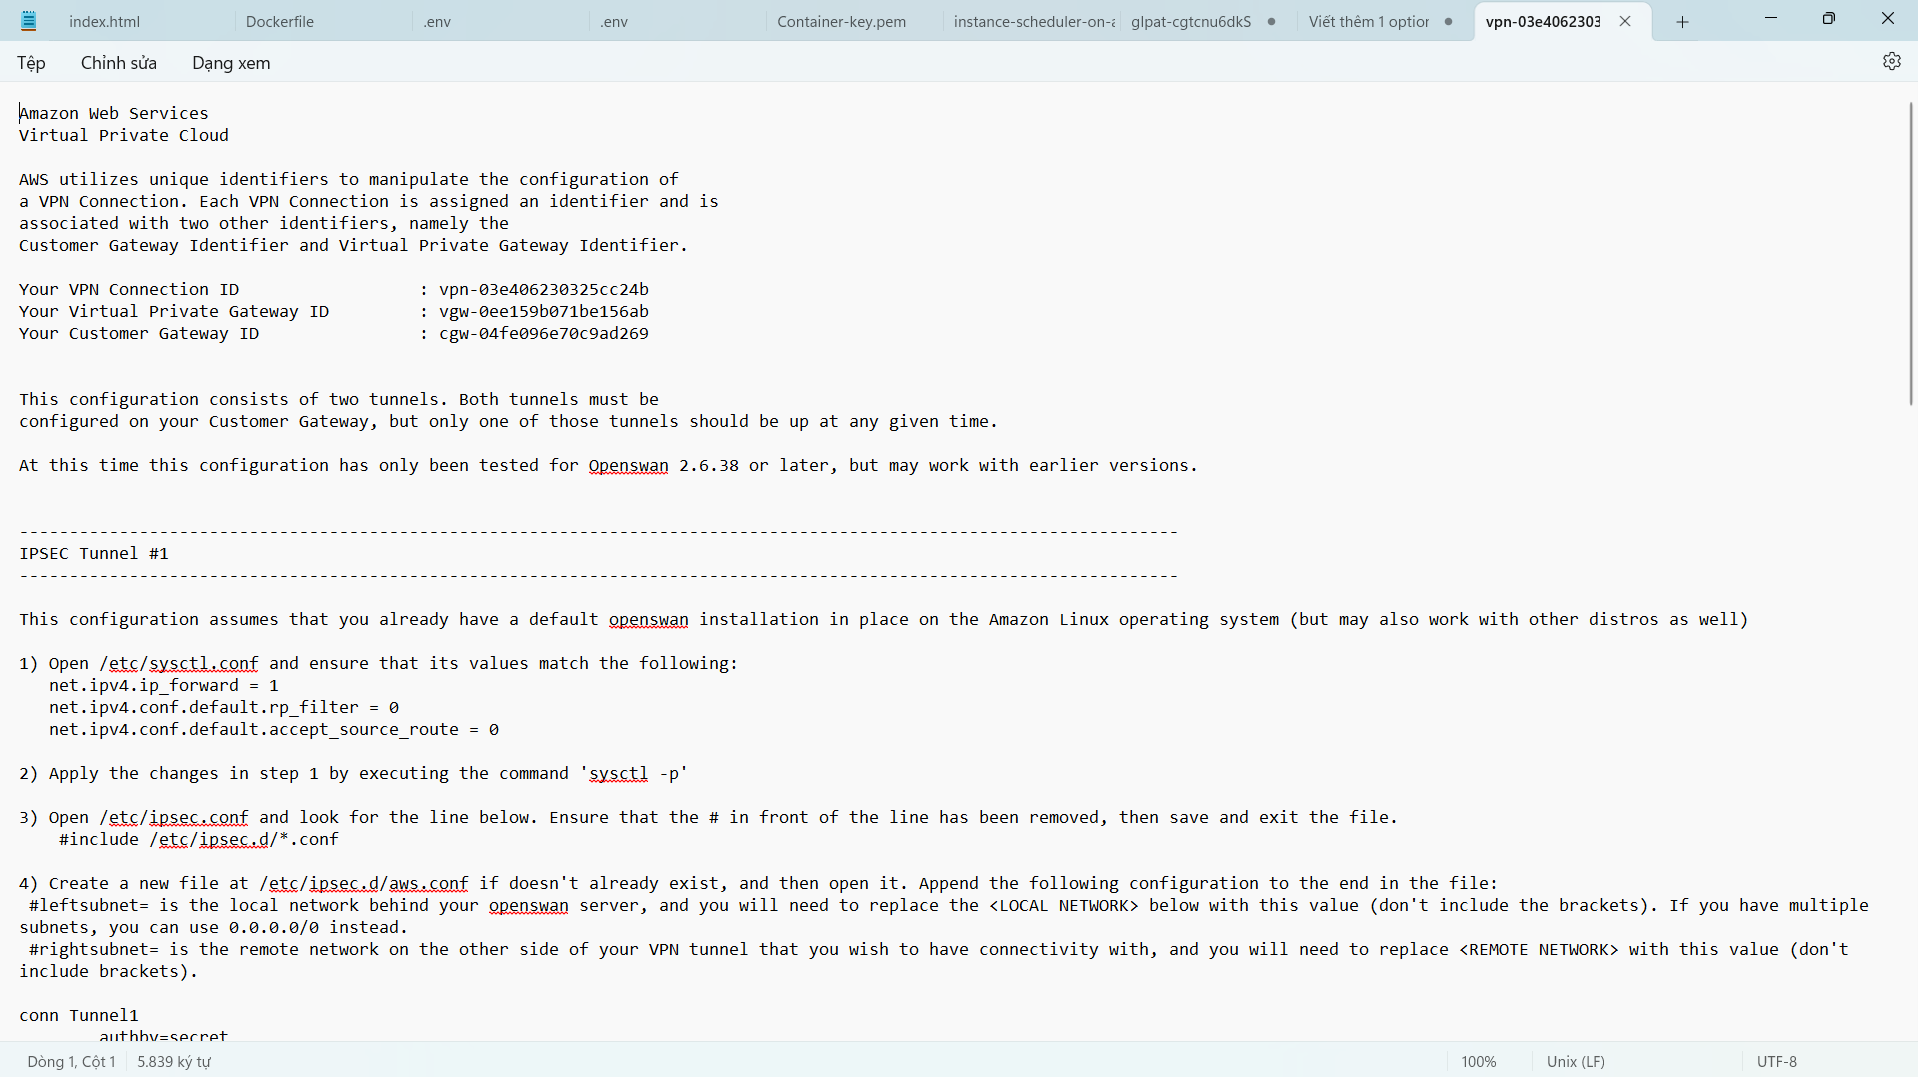
- Save the image file information to the folder used for storing the key pair and lab tools. Modify the configuration based on your device.
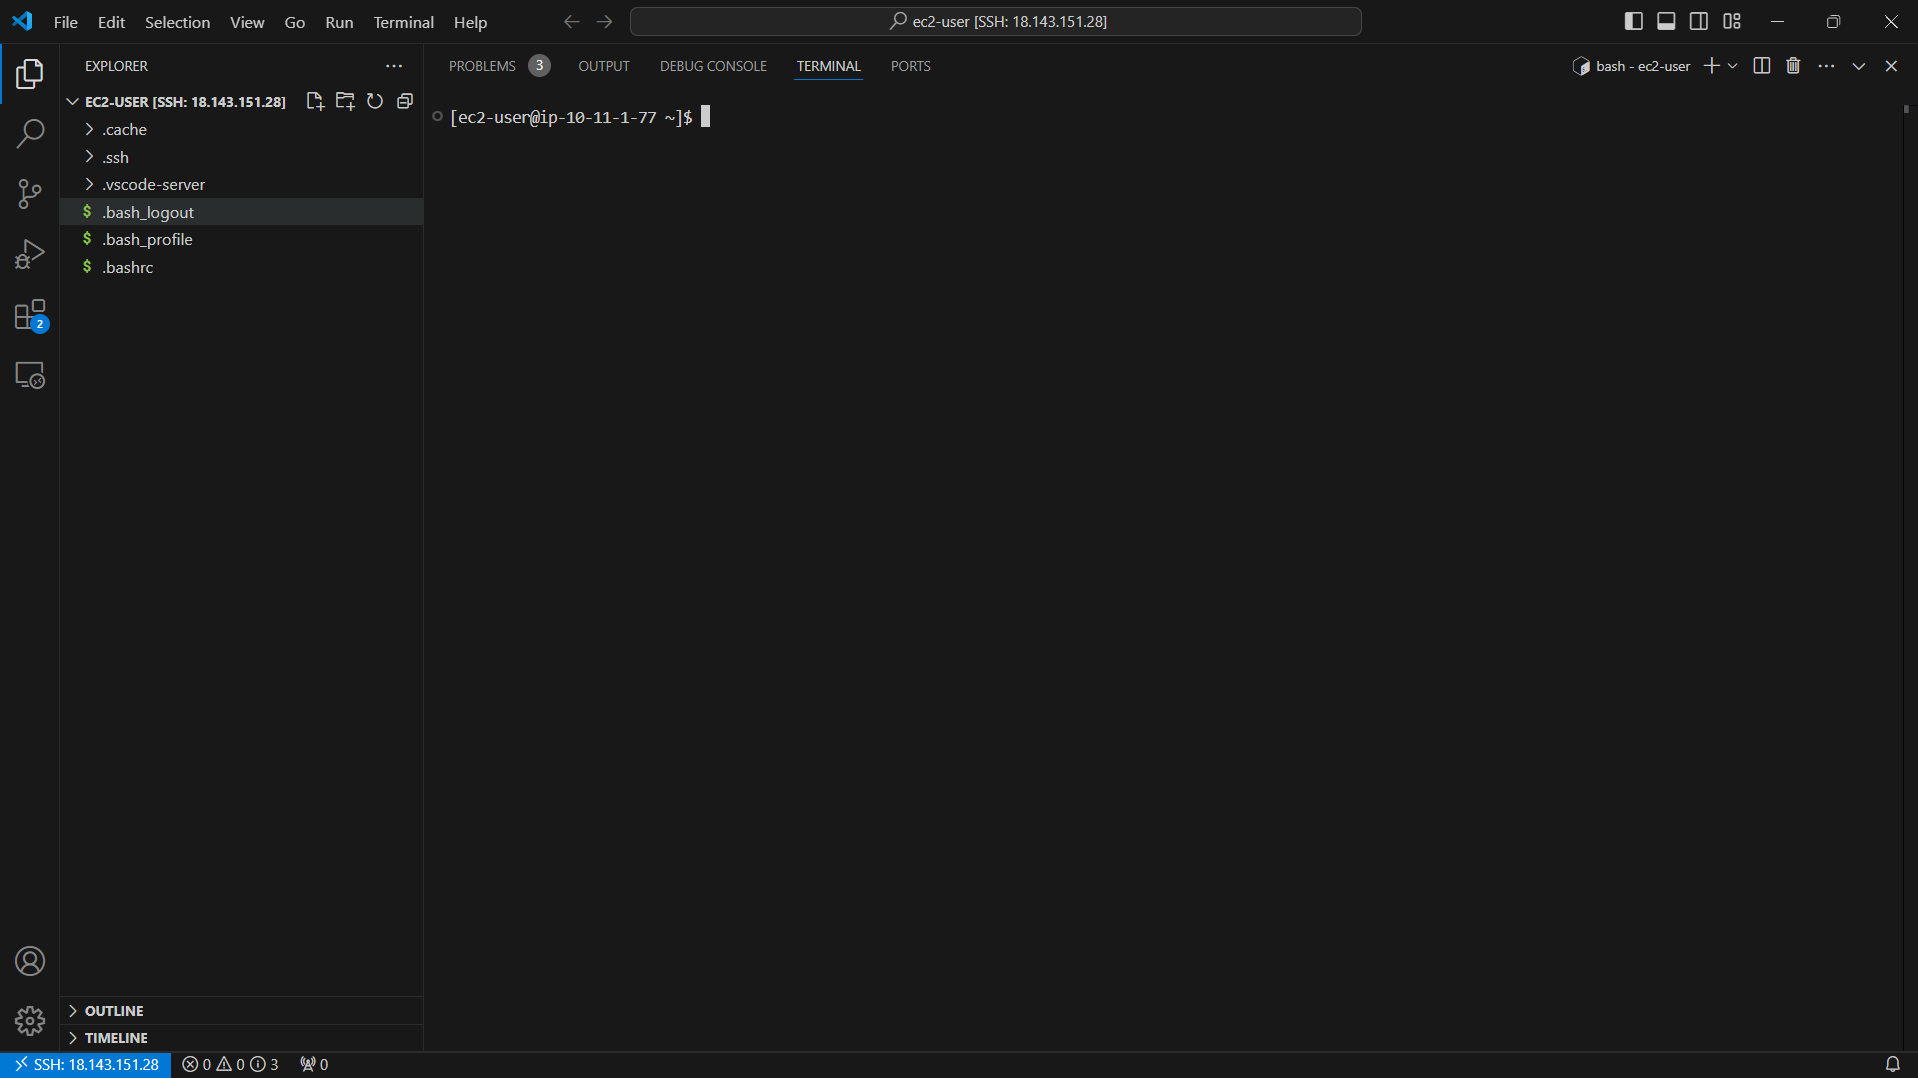
Connect SSH to EC2 Customer Gateway.
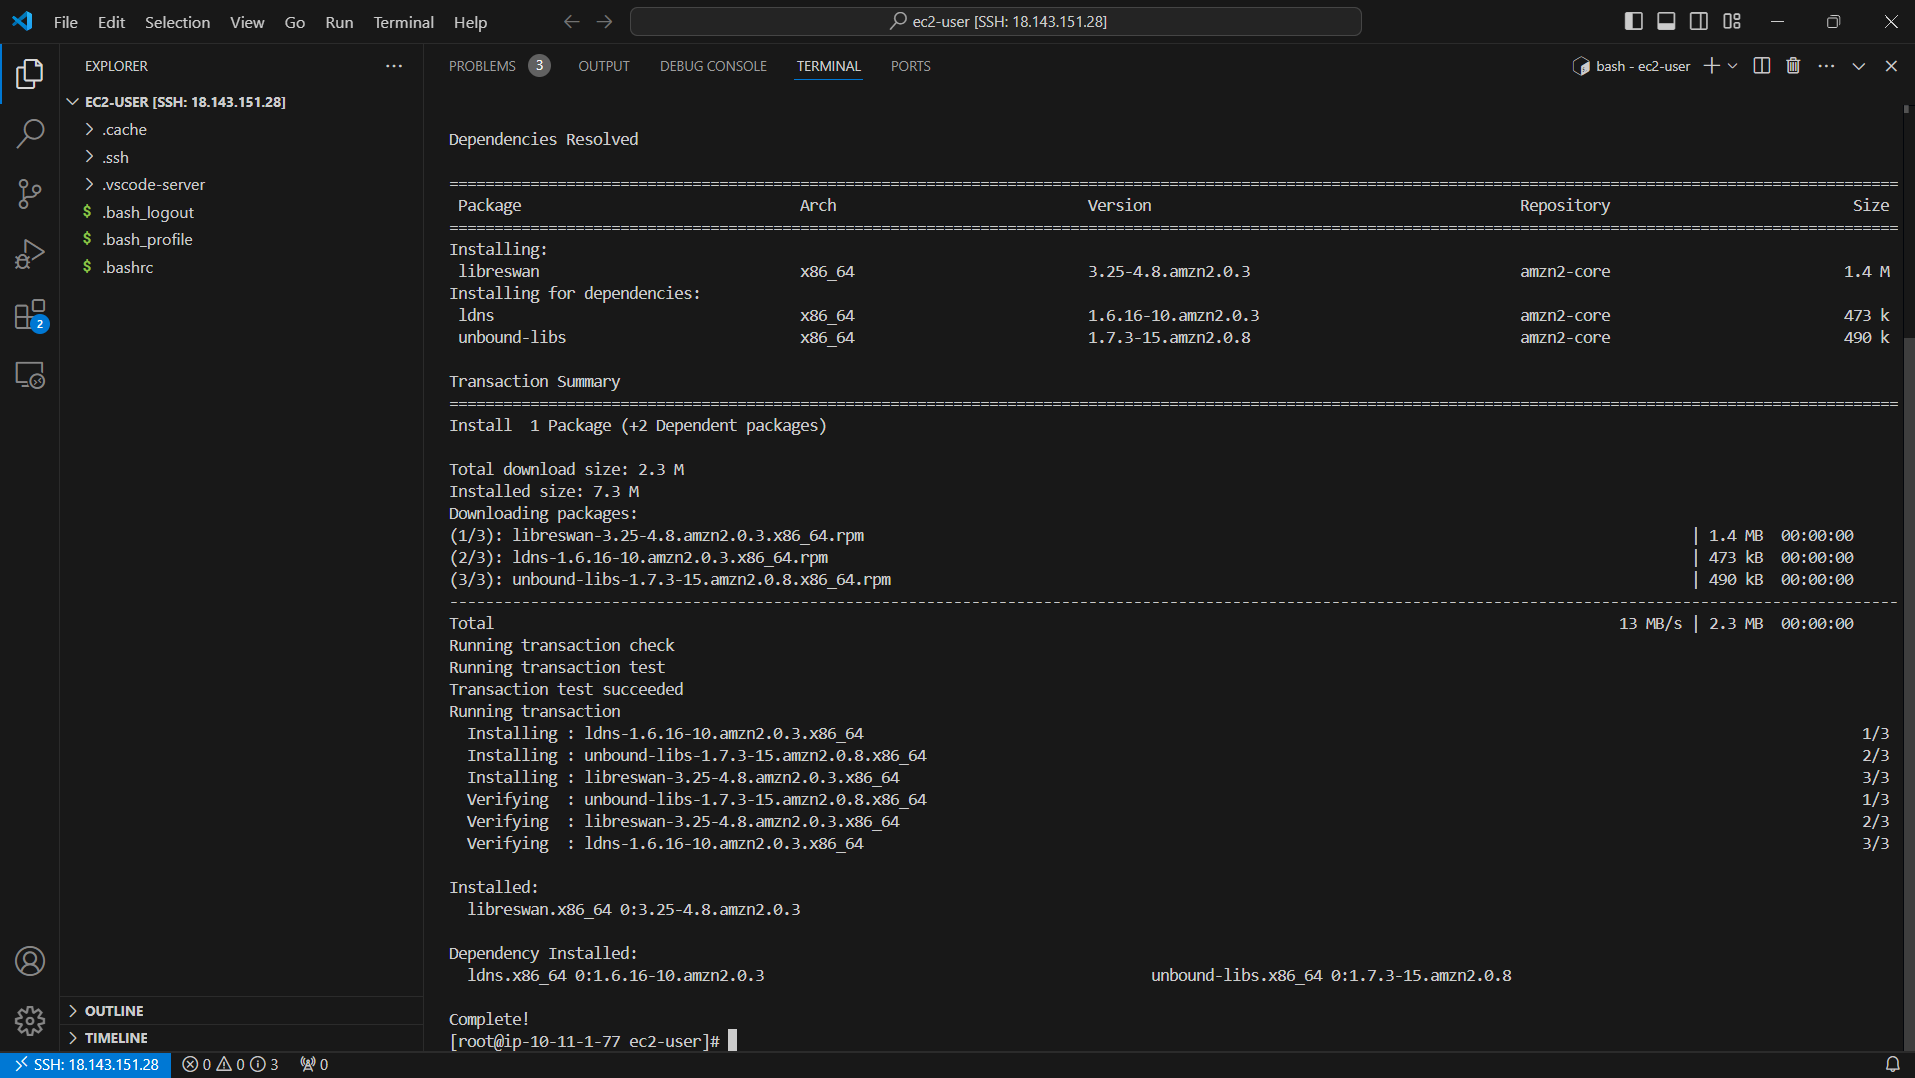
- Install OpenSwan
sudo su
yum install openswan -y
- Check the configuration file /etc/ipsec.conf
vi /etc/ipsec.conf
- Check the configuration is as shown below.

- Press the ESC key and the combination :q! to exit the vi editor.
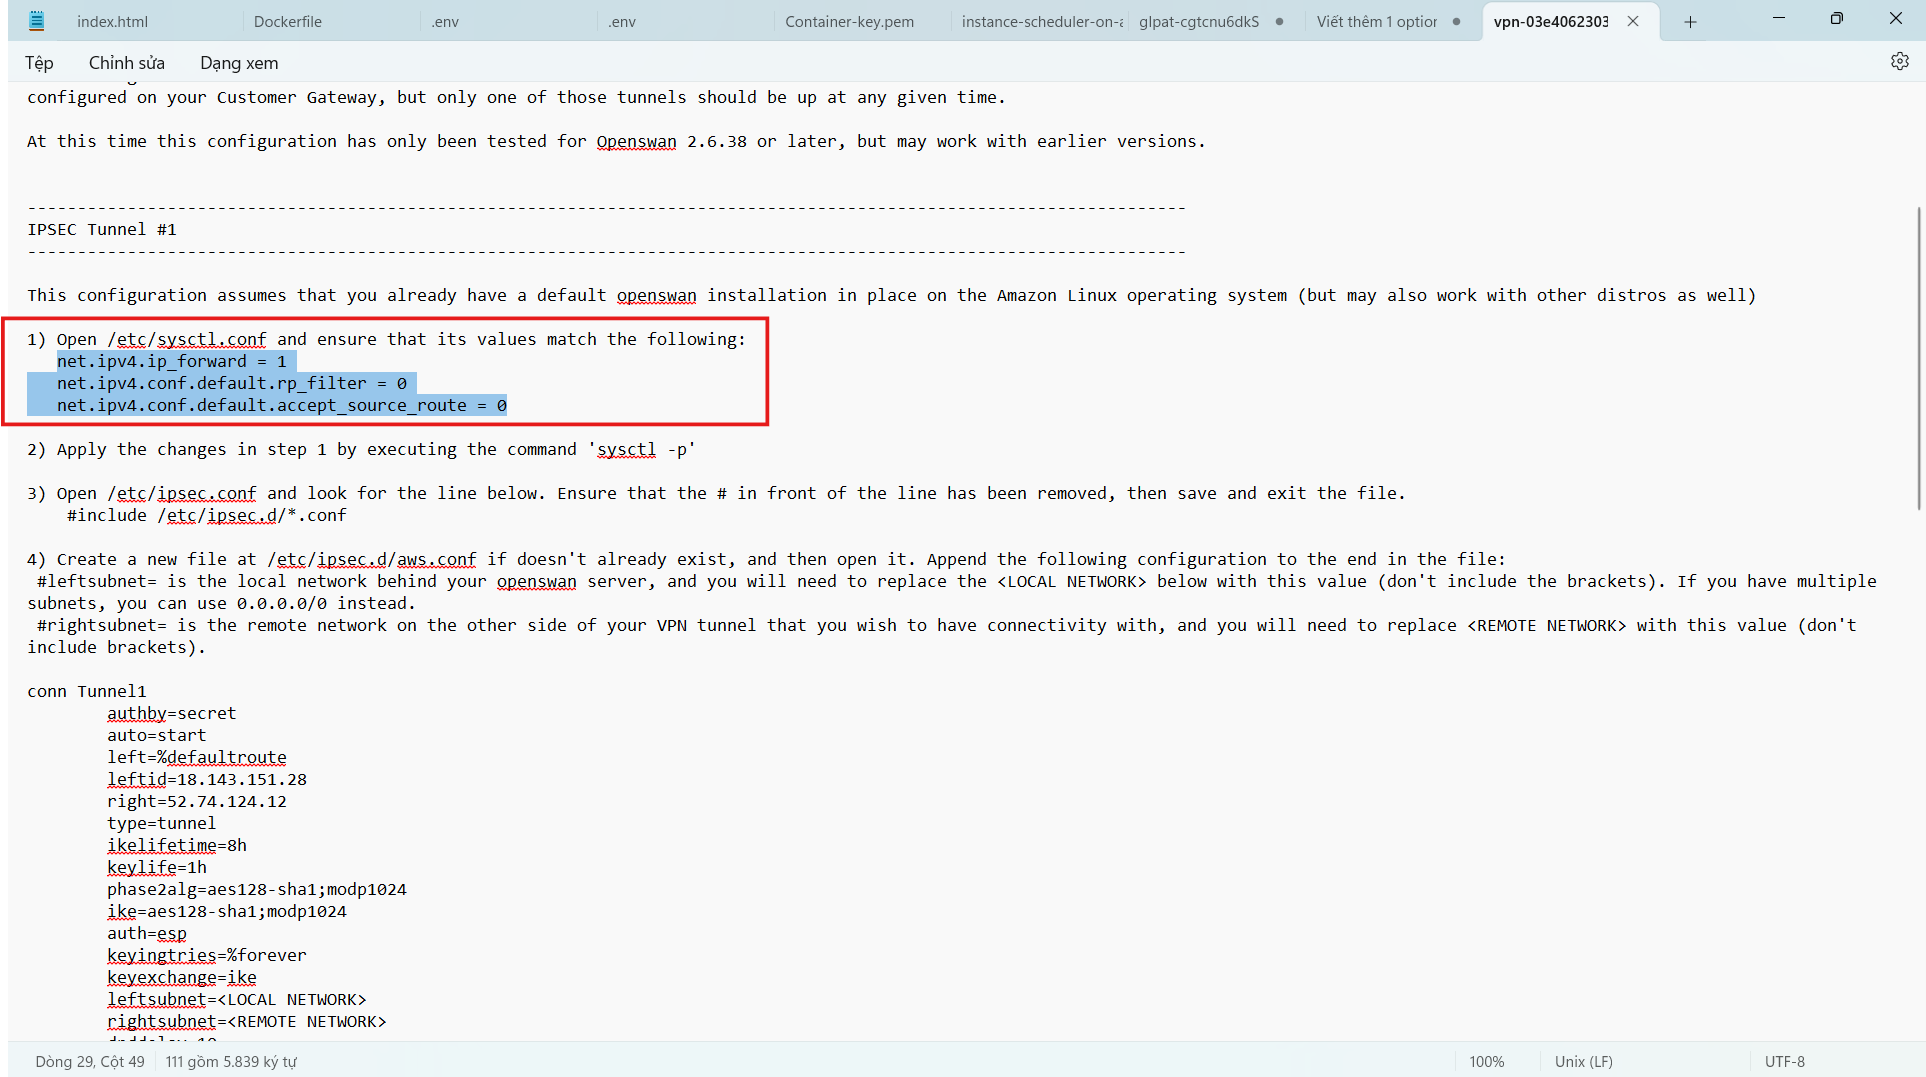
- Configuration file /etc/sysctl.conf
vi /etc/sysctl.conf
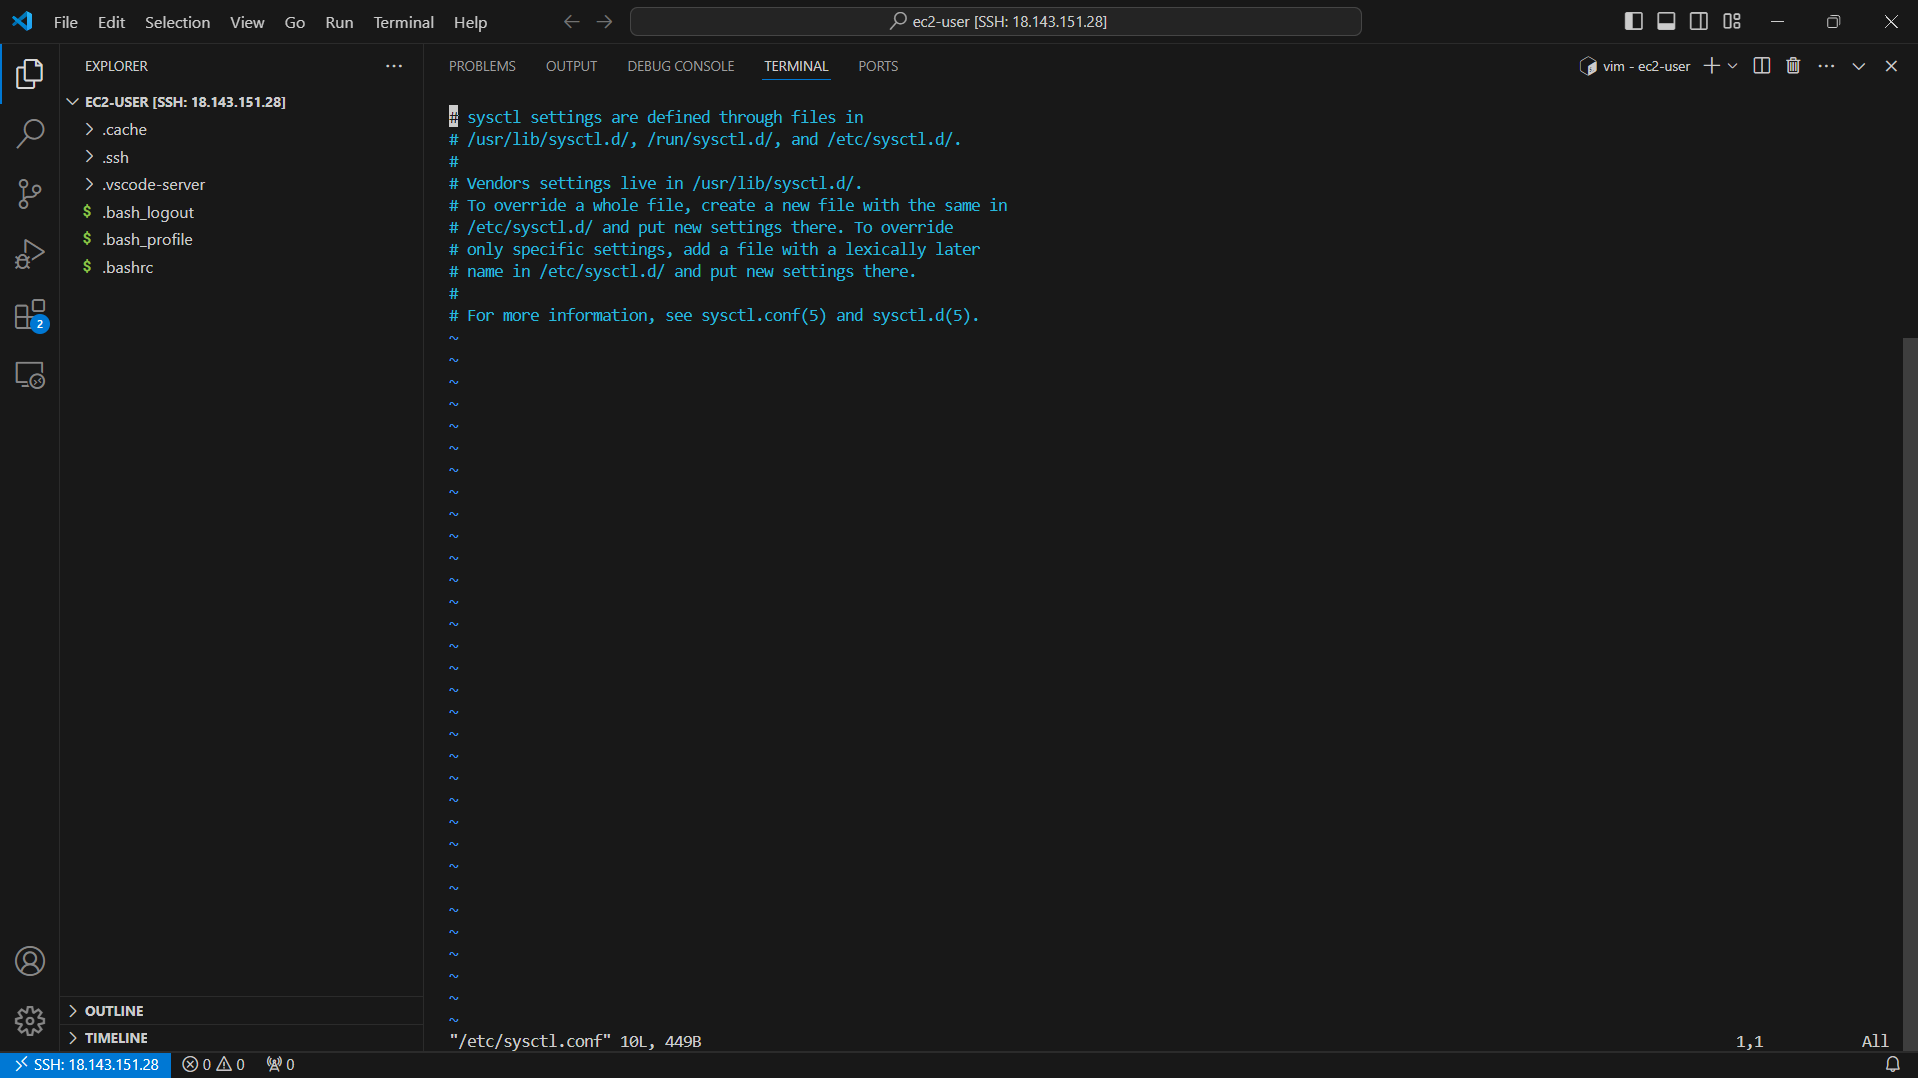
- Move down to the last position in the configuration file. Press the i key to proceed with editing the file.
- Add the following configuration at the end of the configuration file.
- Press the ESC key and the combination :wq! to save the configuration file.
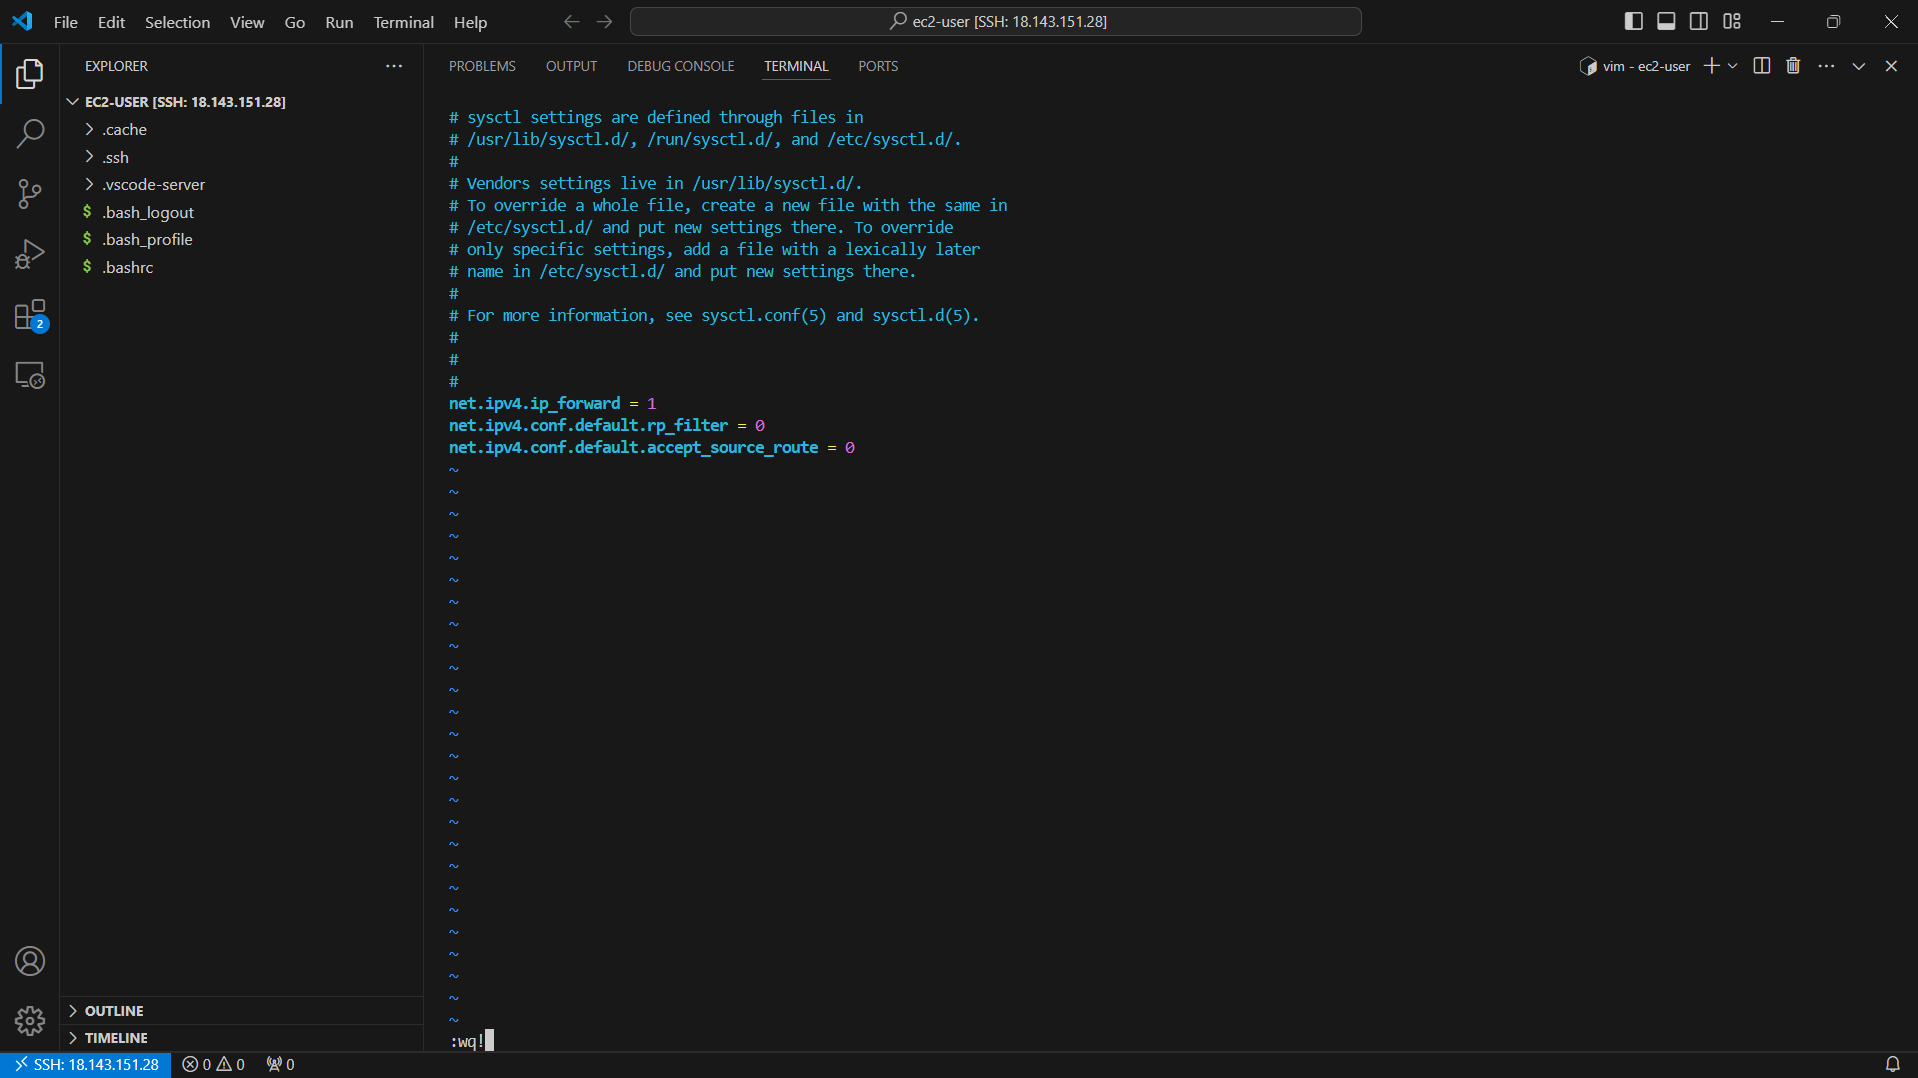
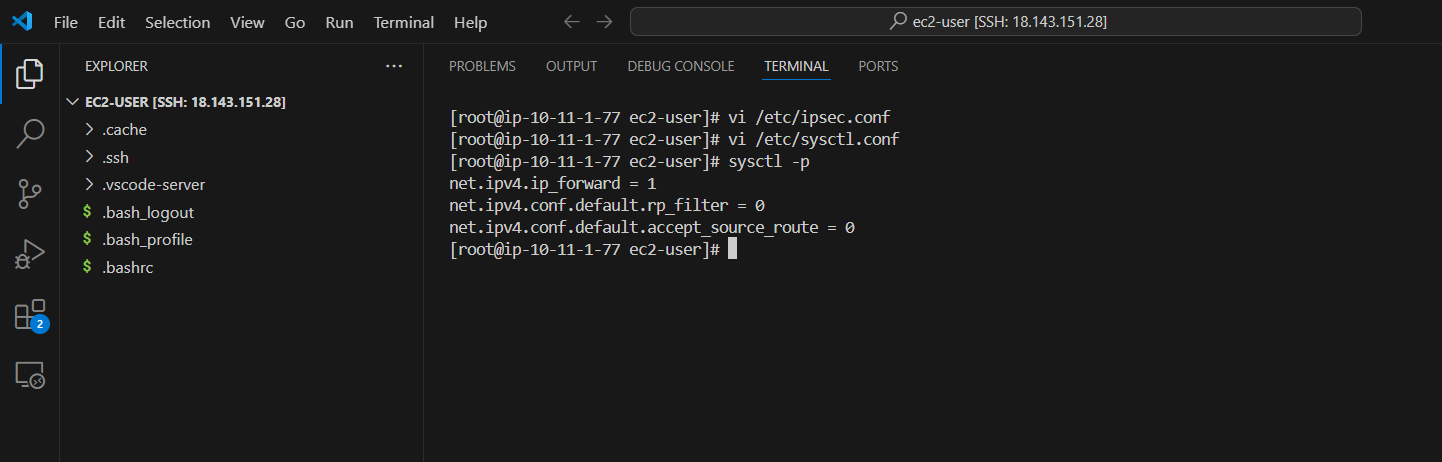
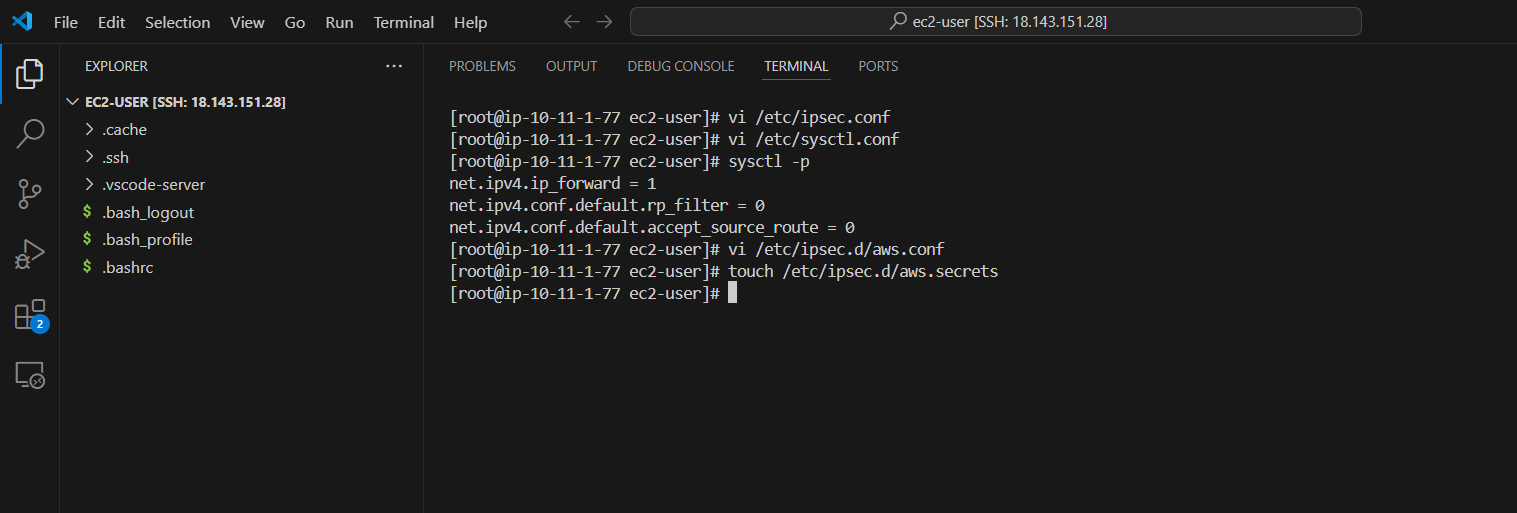
- Then to apply this configuration, run the command:
sysctl -p
- Next we will configure the file /etc/ipsec.d/aws.conf
vi /etc/ipsec.d/aws.conf
- Press i to proceed to edit the file.
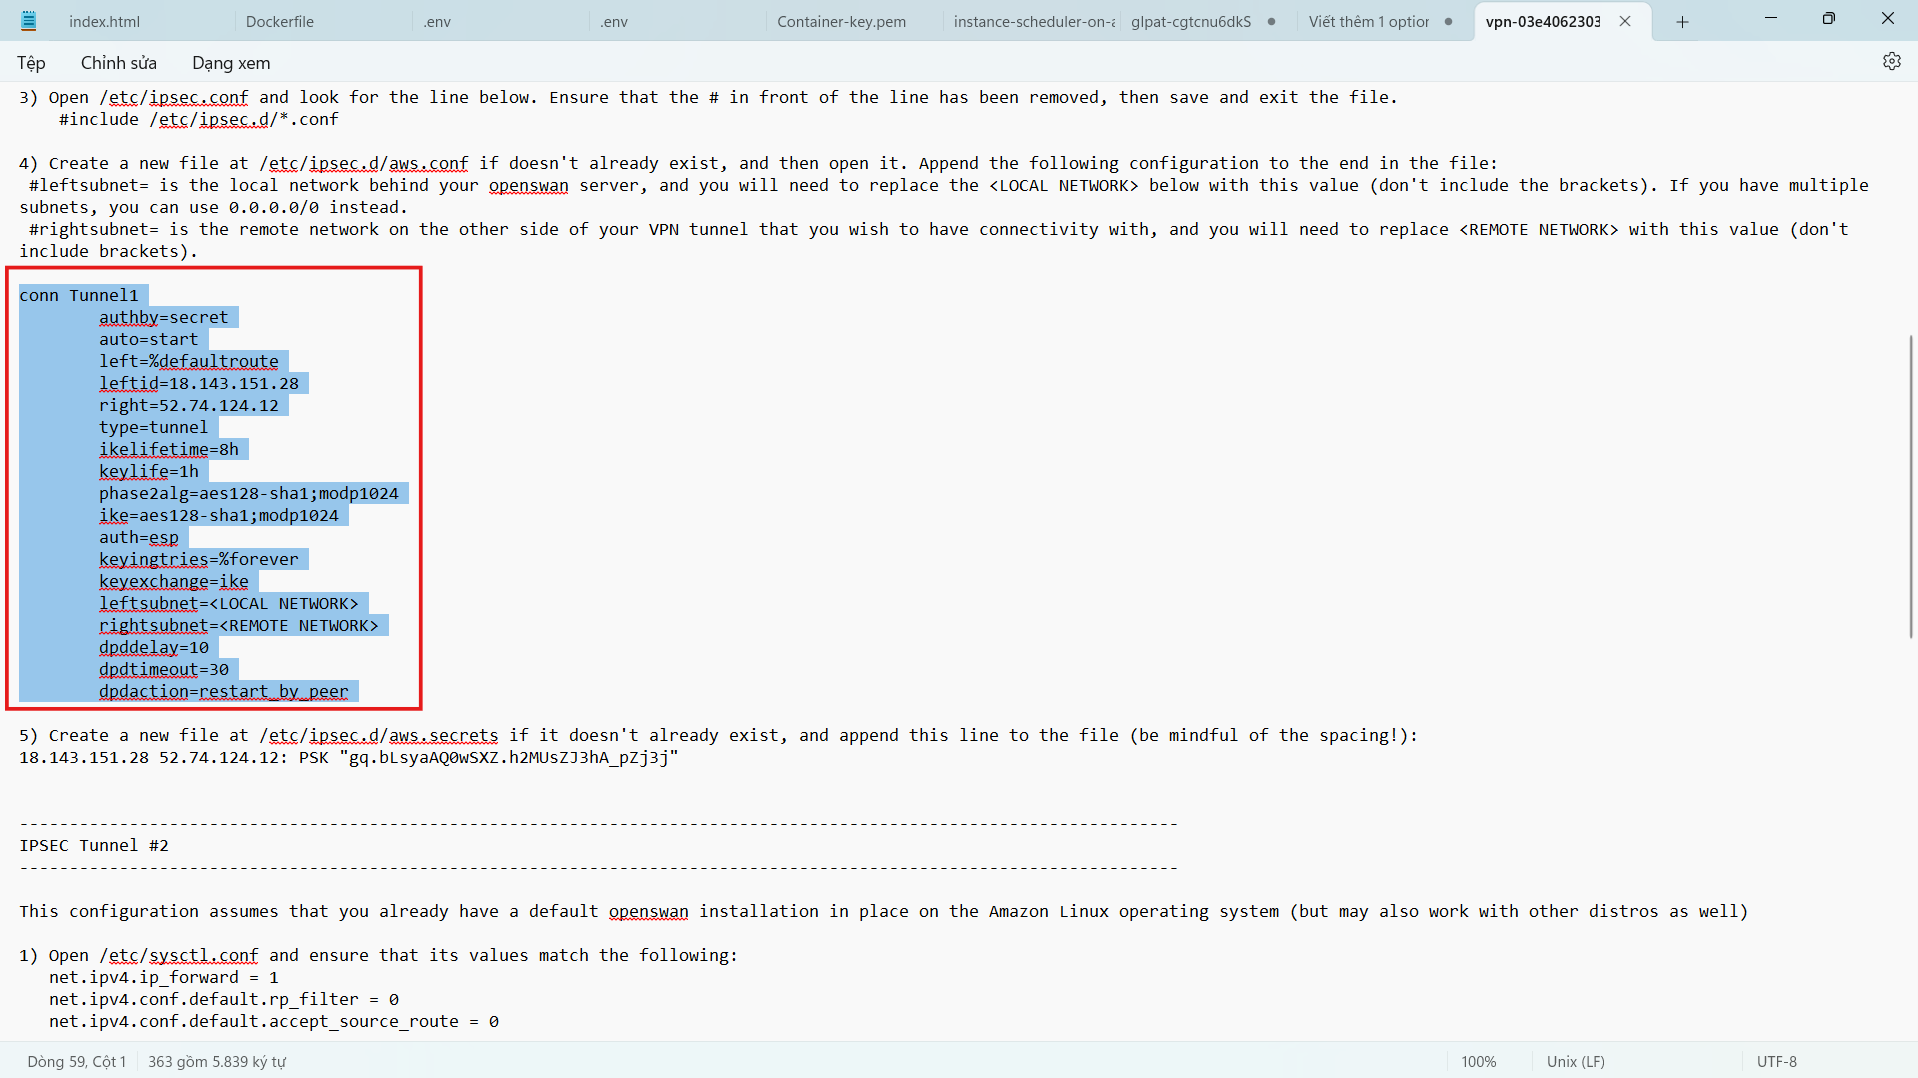
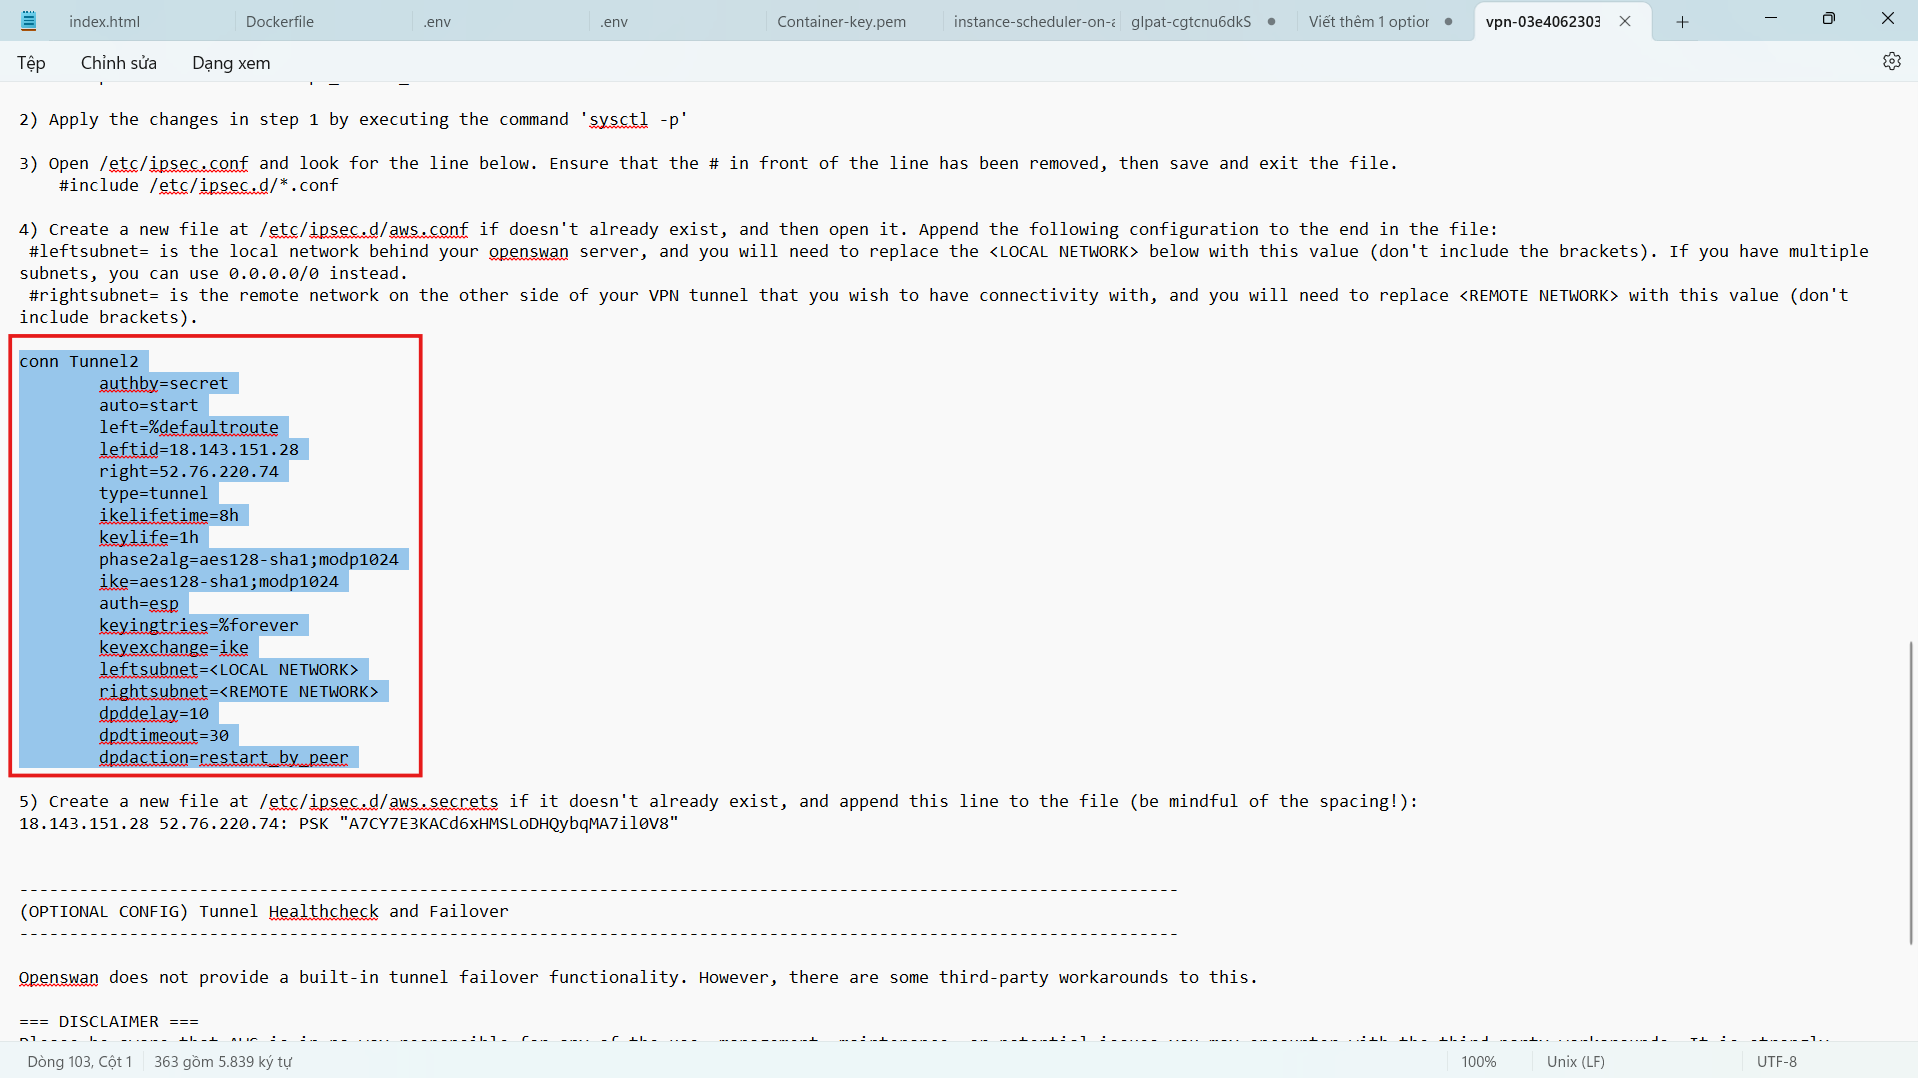
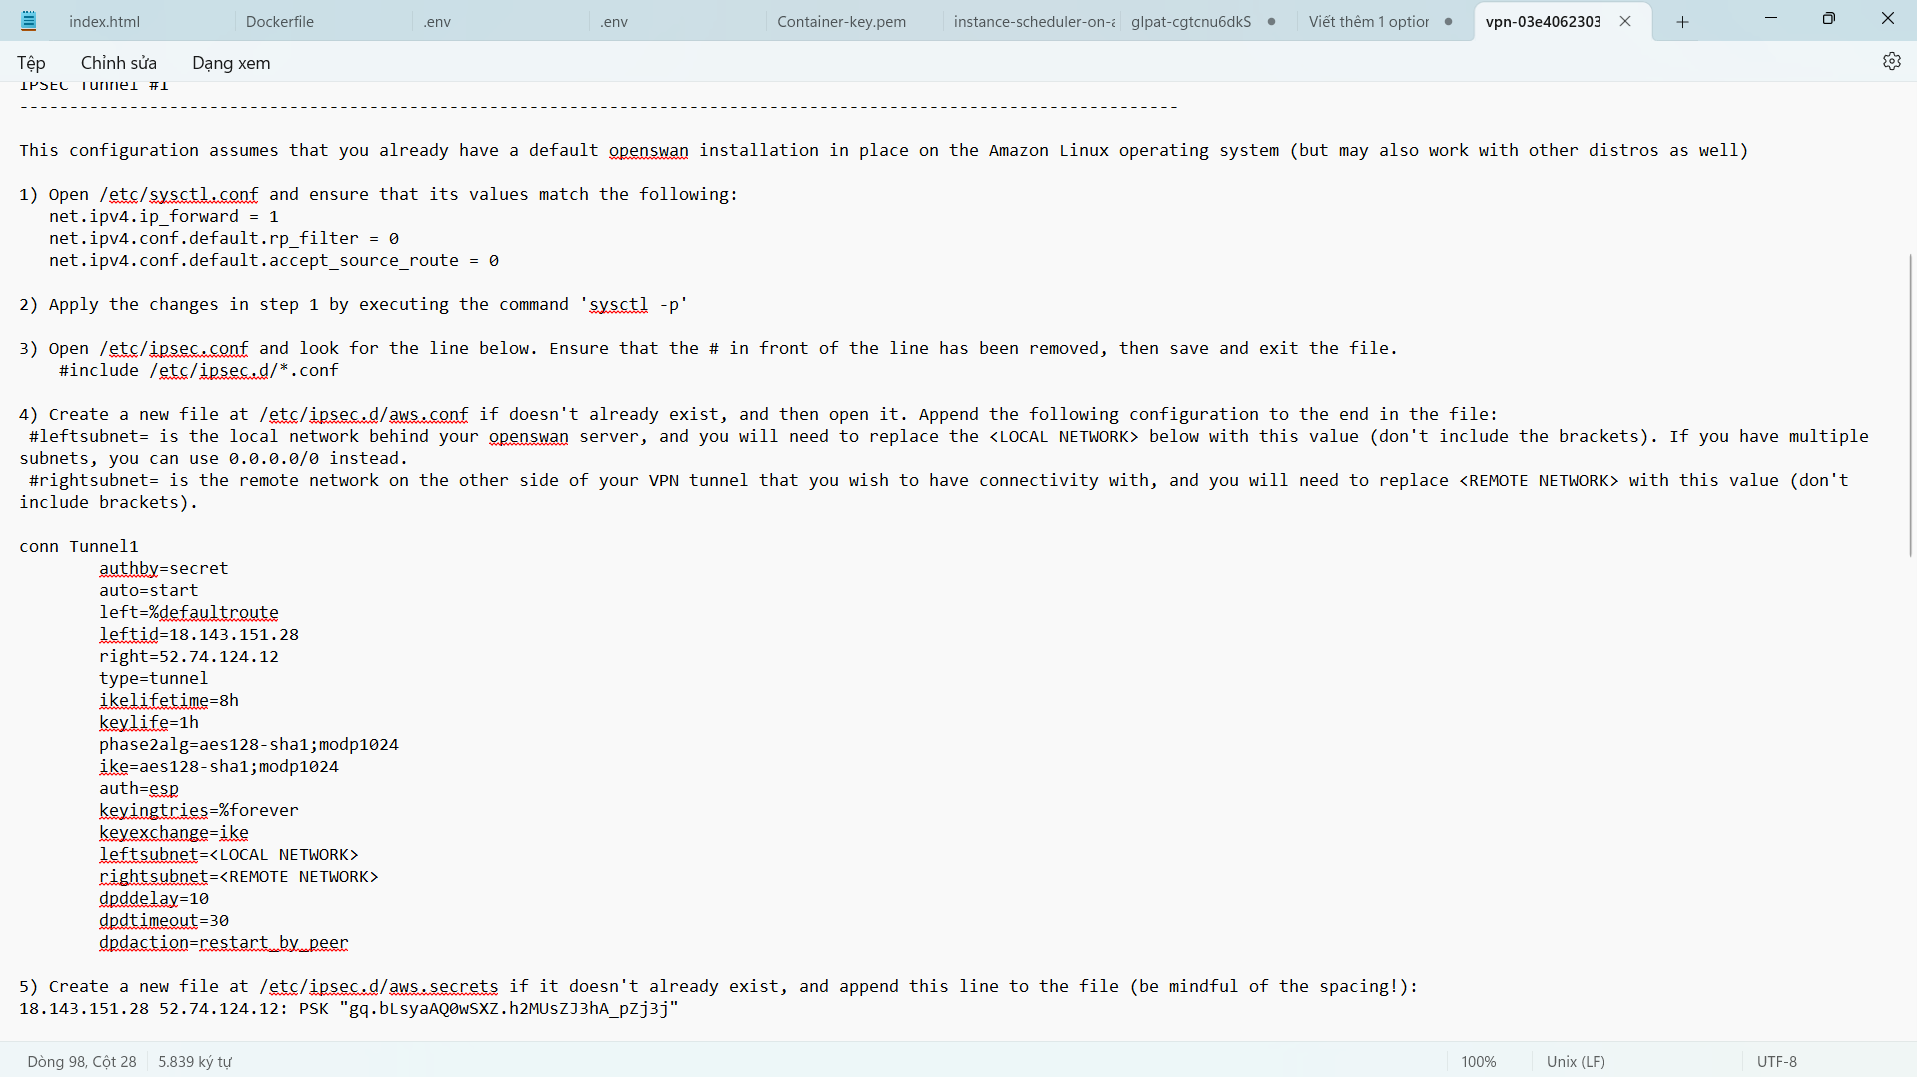
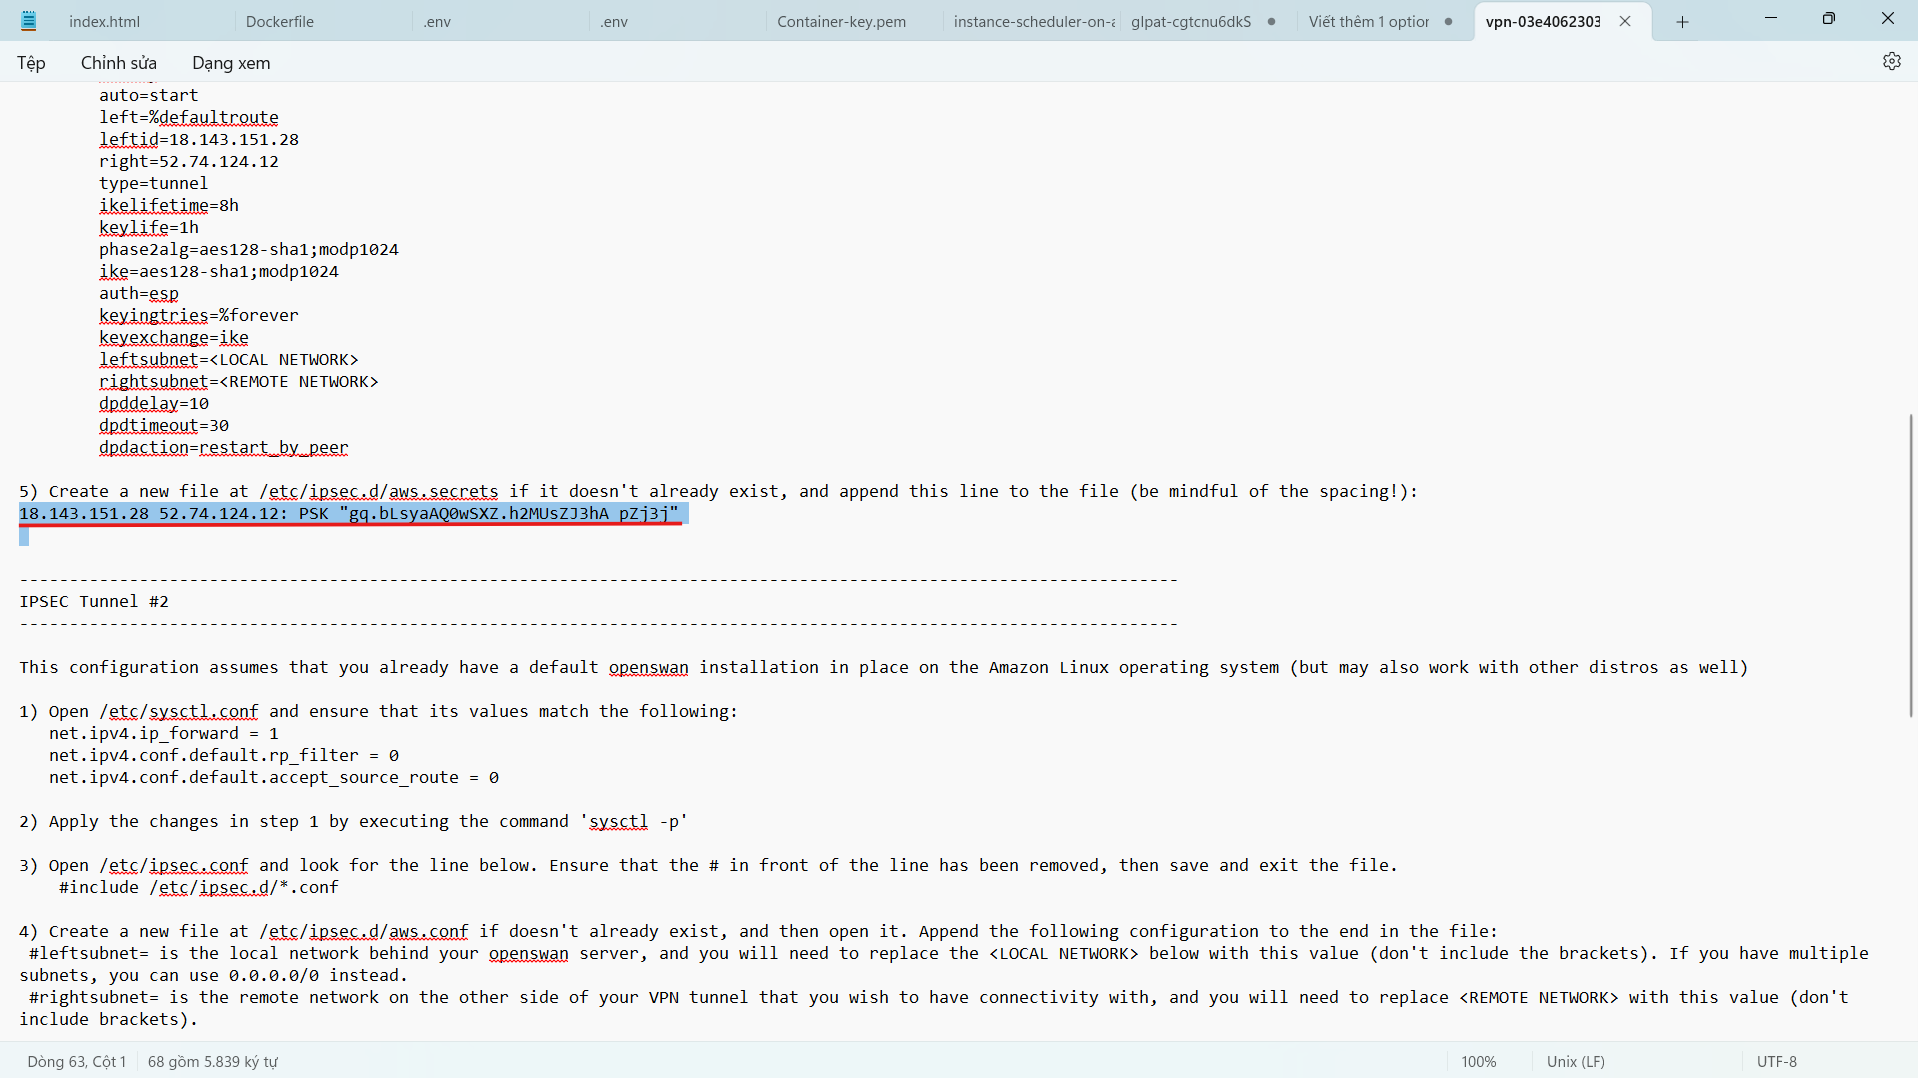
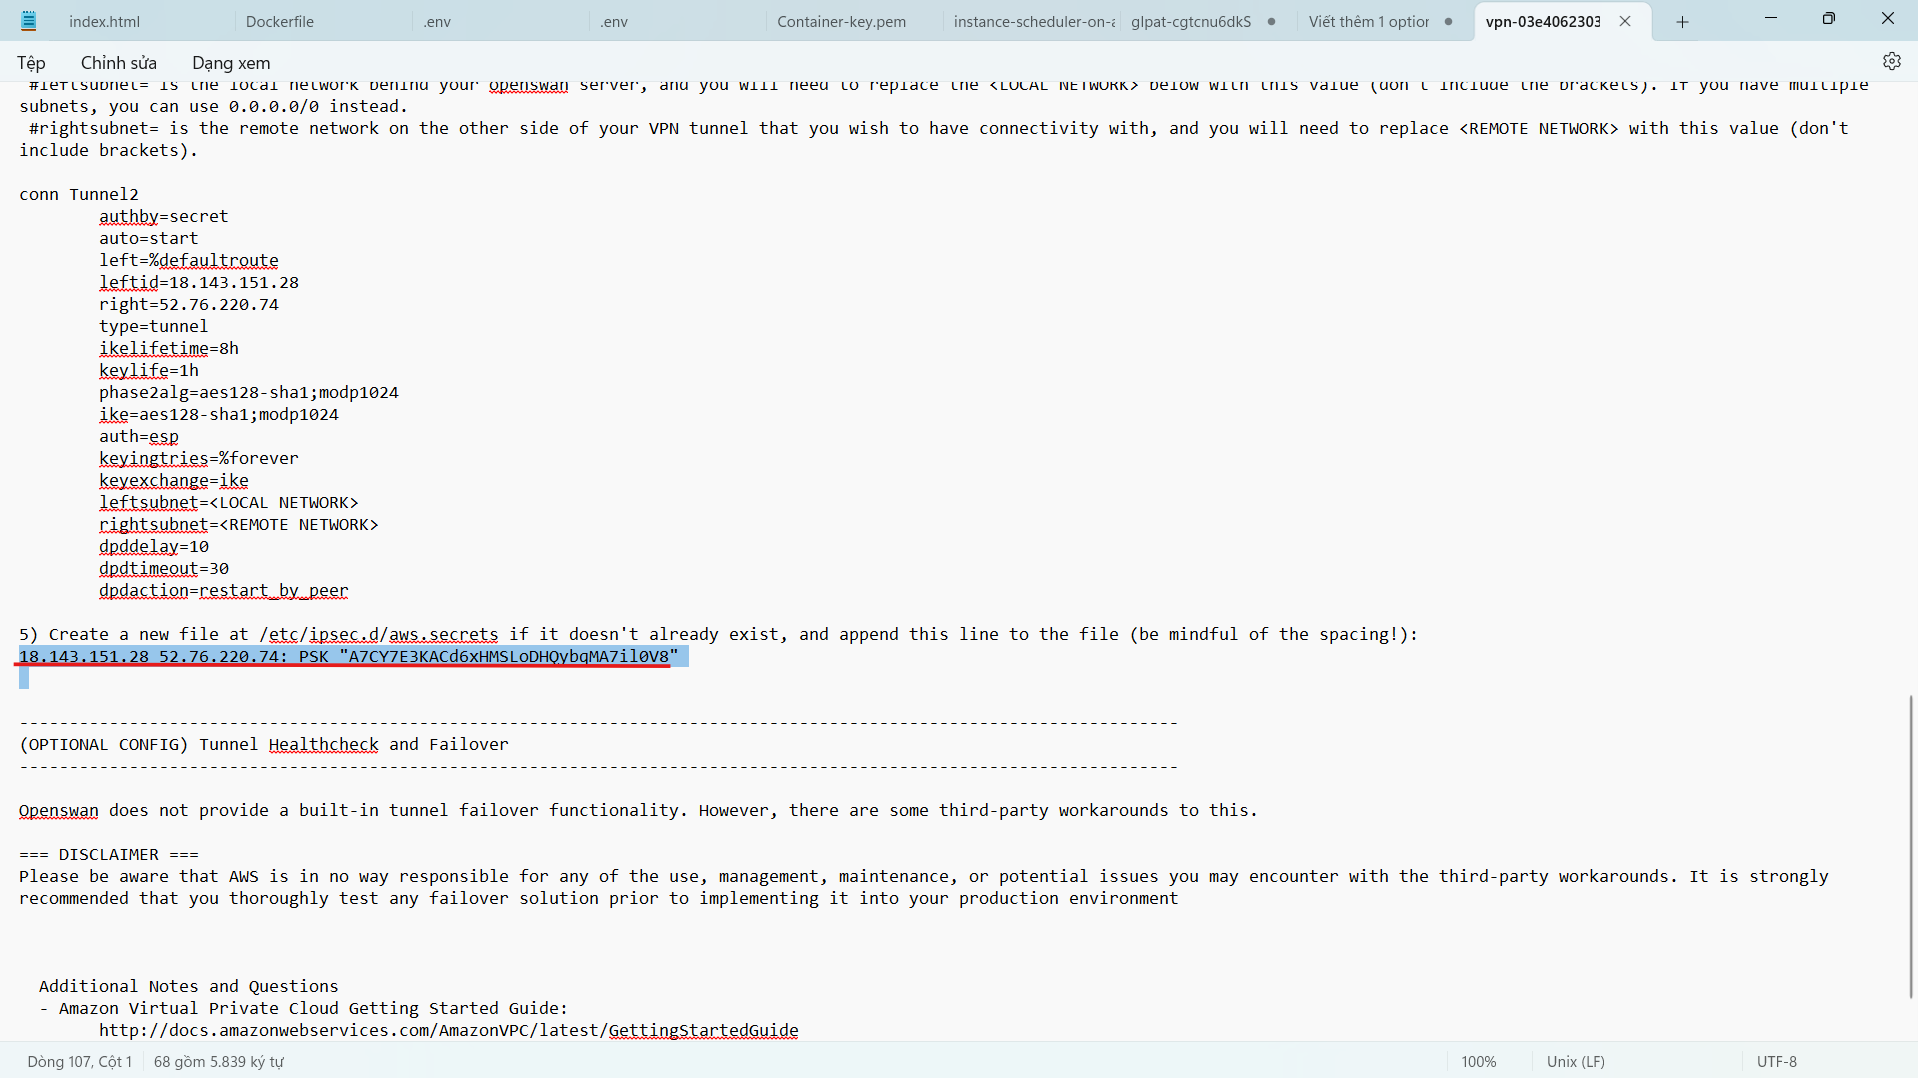
- Add the following configuration to the configuration file. We will create 2 Tunnel with information taken from the VPN Connection configuration file you downloaded and saved in the folder containing the key pair earlier.
- Make sure you edit the IP address and network class accordingly before copying the above configuration.
- For Amazon Linux, we will omit the auth=esp line in the original configuration file.
- Since we only have 1 public IP address for Customer Gateway, we will need to configure overlapip=yes.
- leftid: IP Public Address on the Onprem side. (Here is public IP of EC2 Customer Gateway in ASG VPN VPC) .
- right: IP Public Address on AWS VPN Tunnel side.
- leftsubnet: CIDR of Local Side Network (If there are multiple network layers, you can leave it as 0.0.0.0/0).
- rightsubnet: CIDR of Private Subnet on AWS.
- Based on downloaded configuration file.
- Check code.
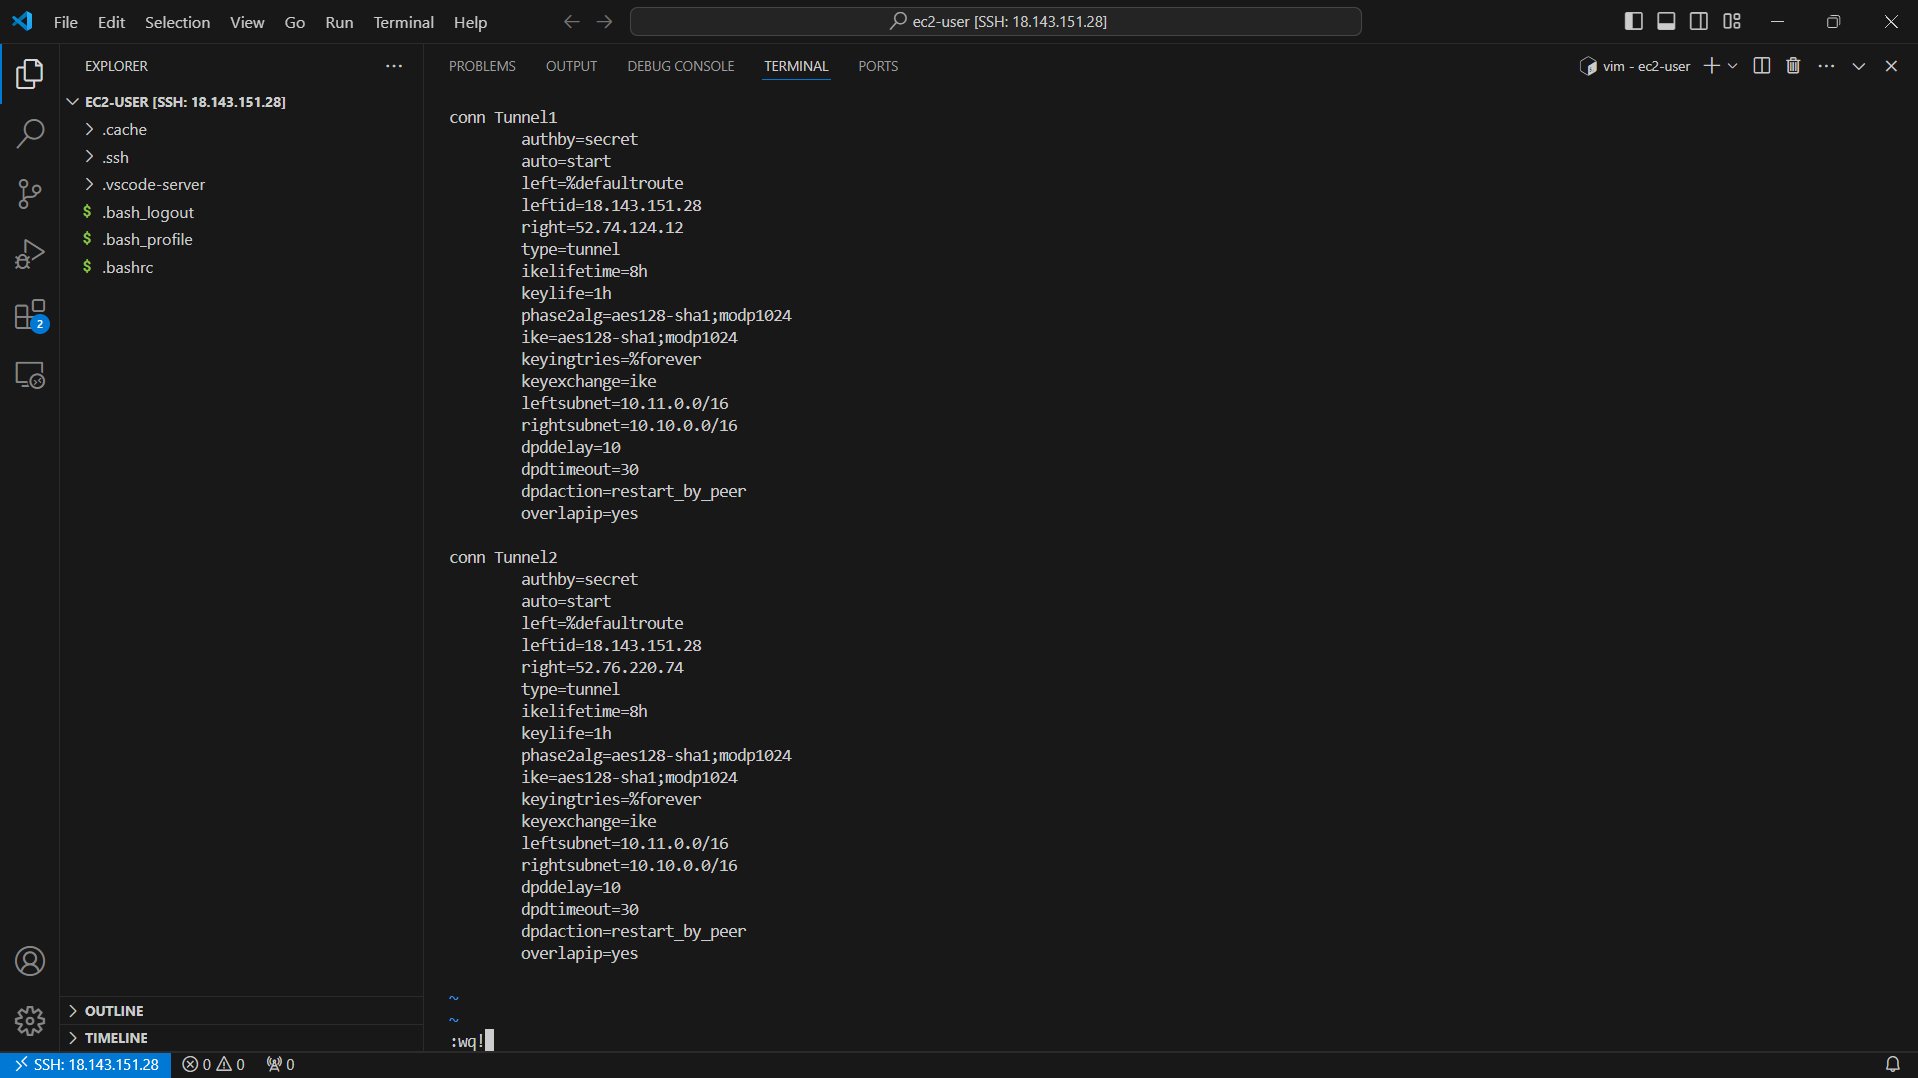
- Press the ESC key and the combination :wq! to save the configuration file.
- Check the next step in the configuration file we downloaded.
- Create and configure the file etc/ipsec.d/aws.secrets Create a new file with the following configuration to set up authentication for the 2 Tunnels.
- Run the command touch /etc/ipsec.d/aws.secrets to create the file.
touch /etc/ipsec.d/aws.secrets
- Run the command vi /etc/ipsec.d/aws.secrets
vi /etc/ipsec.d/aws.secrets
- Press the i key to edit the file.
- Add the following configuration to the end of the configuration file (this configuration is in step 5 of IPSEC Tunnel #1 and IPSEC Tunnel #2)
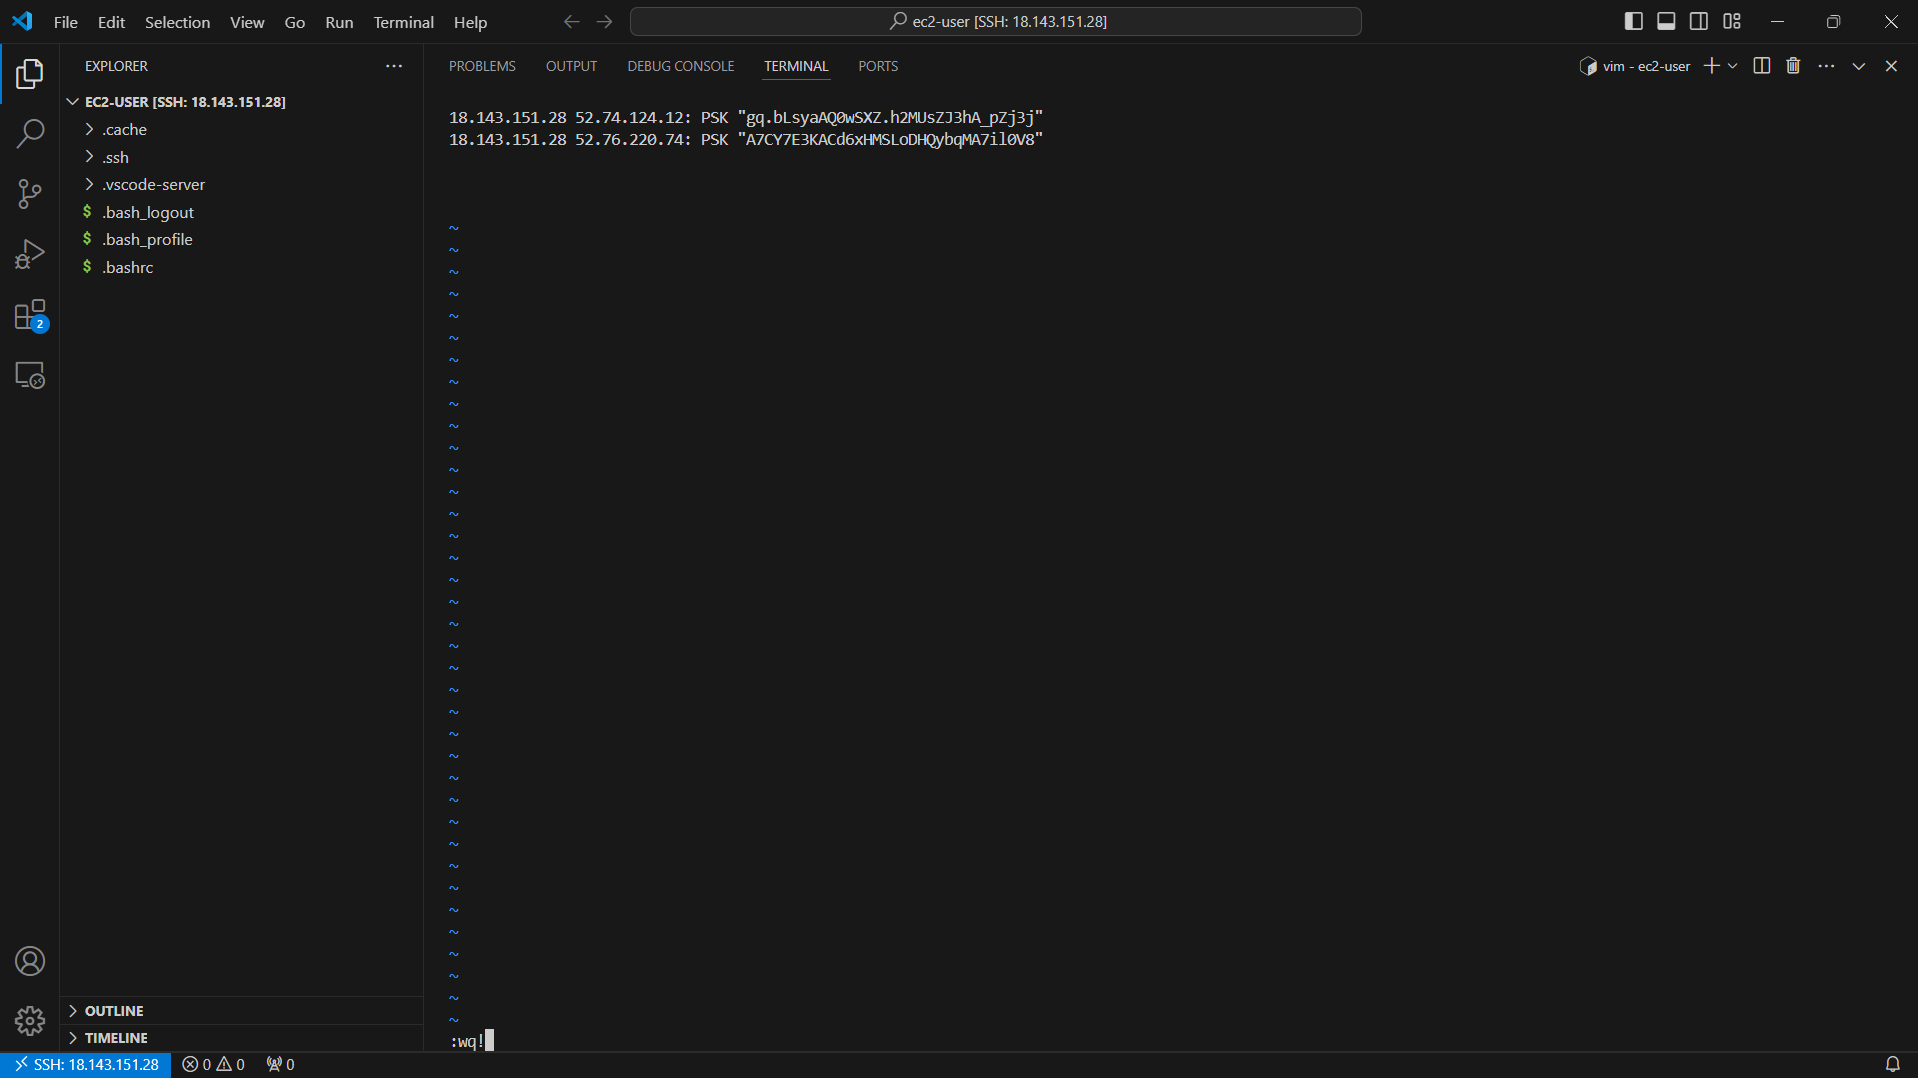
- Press the ESC key and the combination :wq! to save the configuration file.
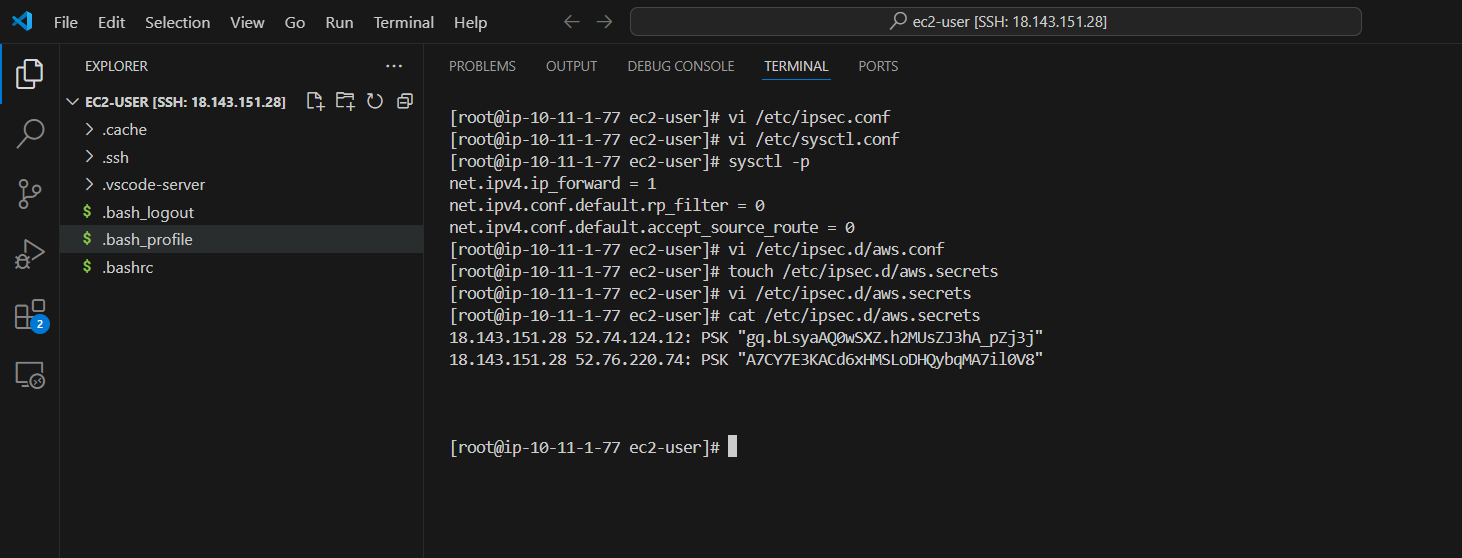
- Run the command cat /etc/ipsec.d/aws.secrets to check the content of the configuration file
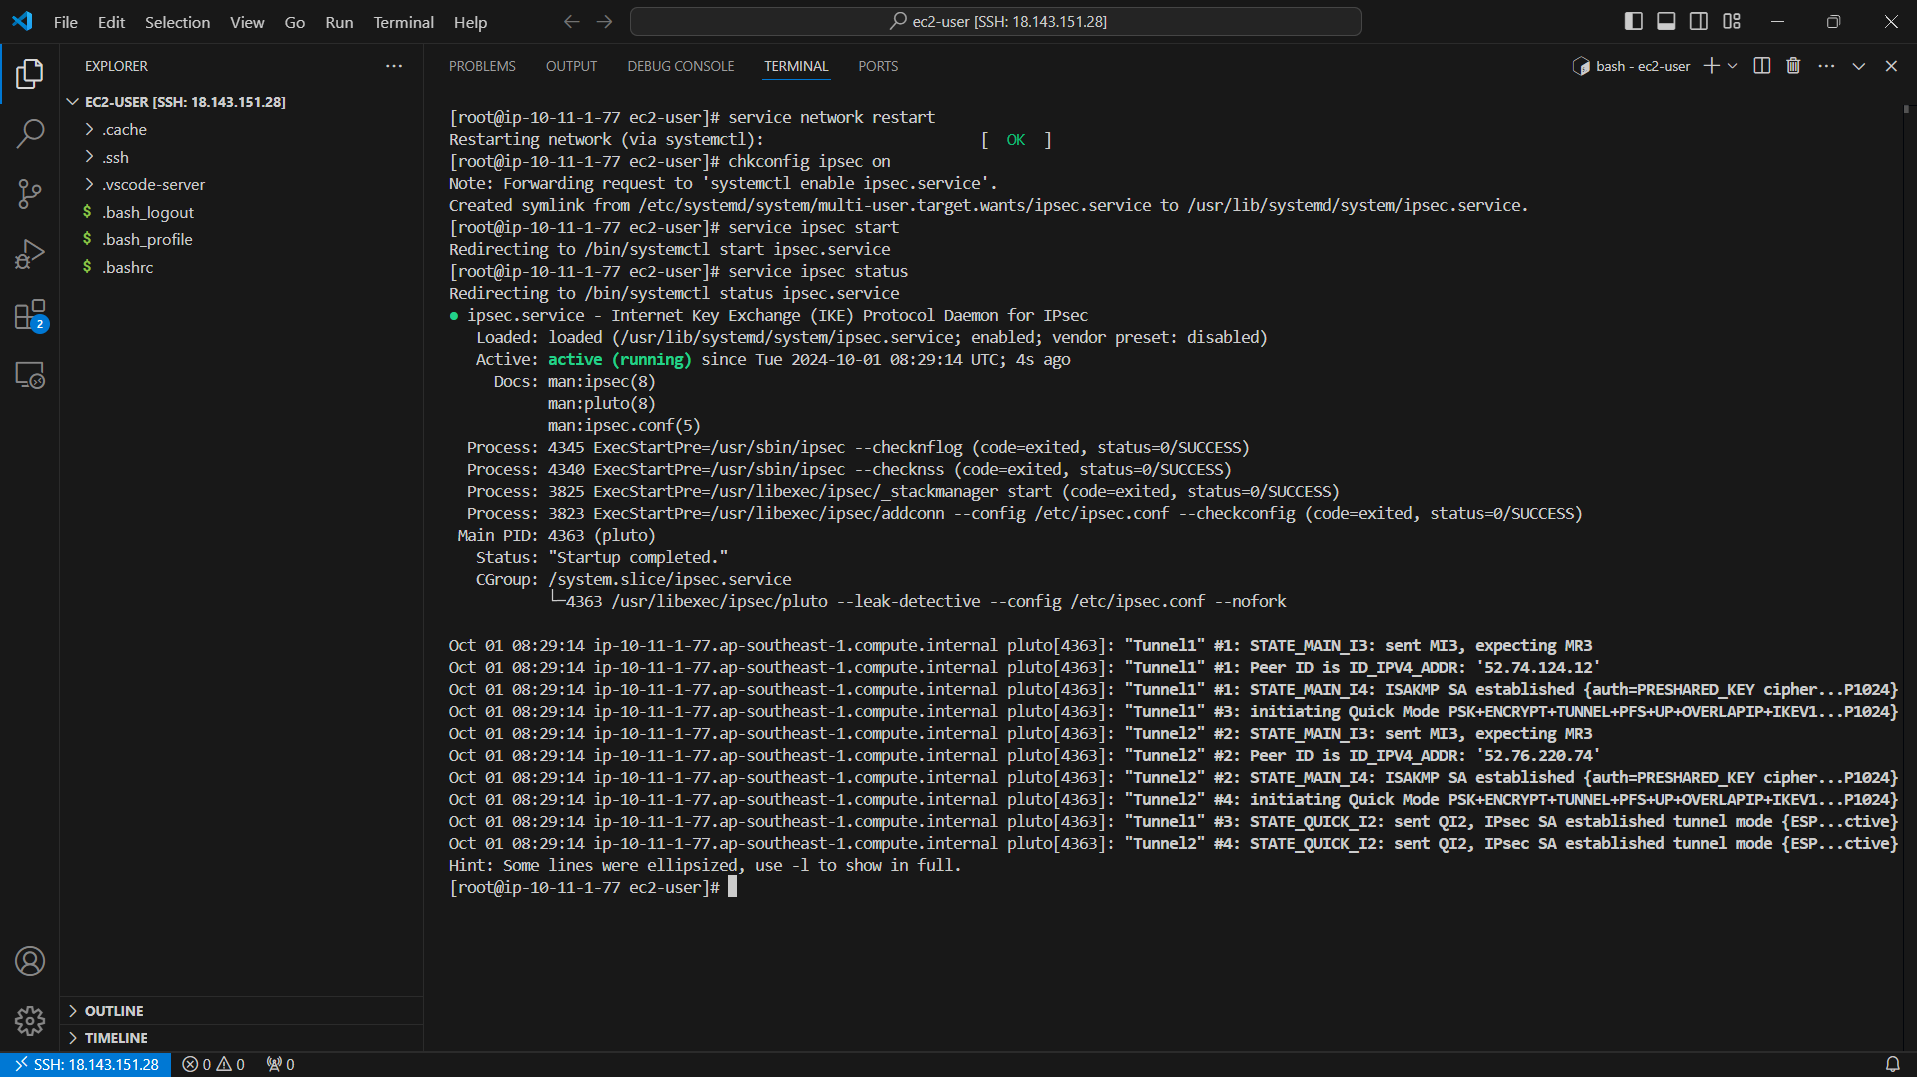
- Restart Network service & IPSEC service
service network restart
chkconfig ipsec on
service ipsec start
service ipsec status
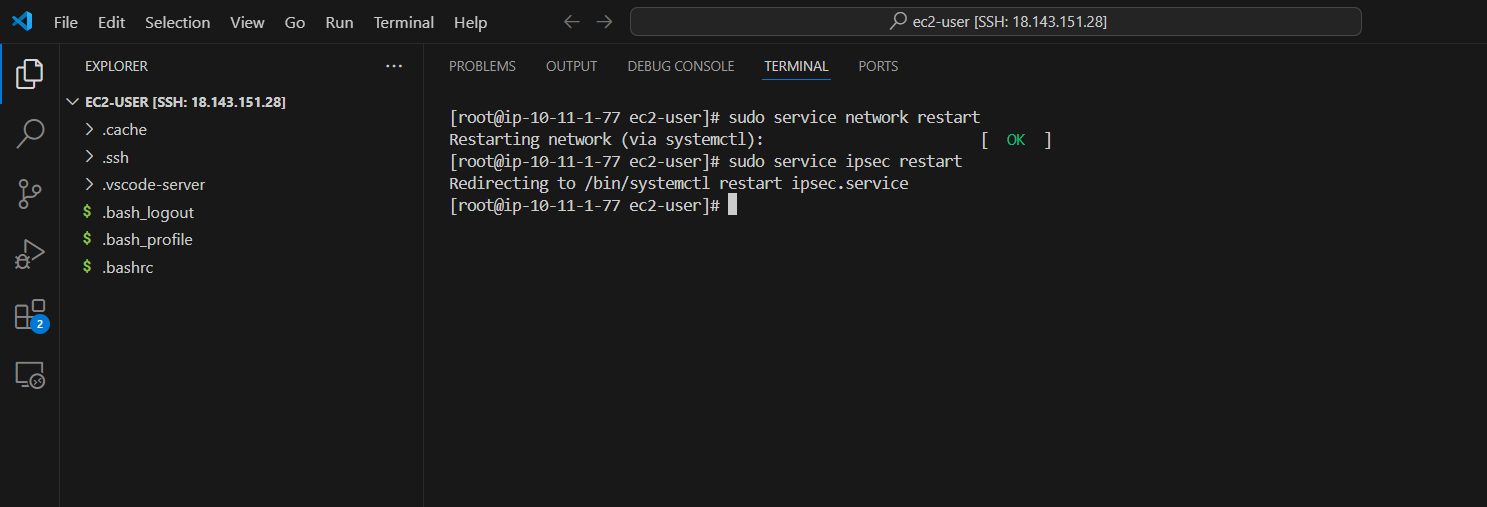
- If the status tunnel is still not running correctly, after checking and updating the configuration you will need to run the command to restart service network and IPsec :
sudo service network restart
sudo service ipsec restart
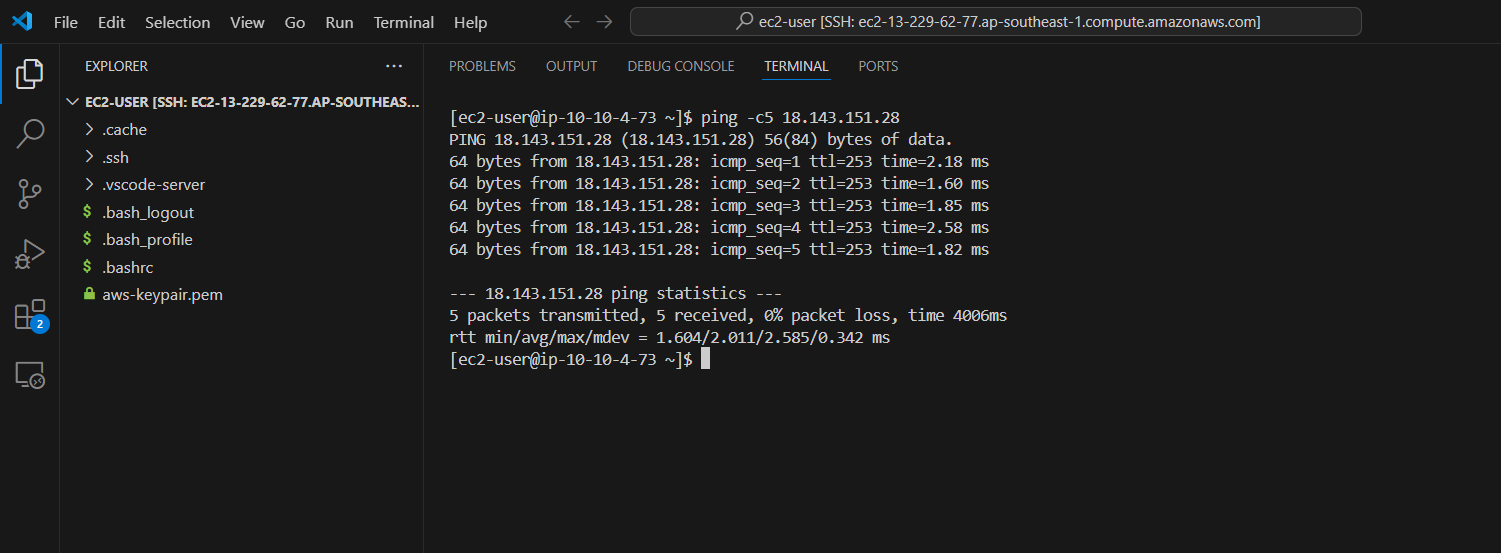
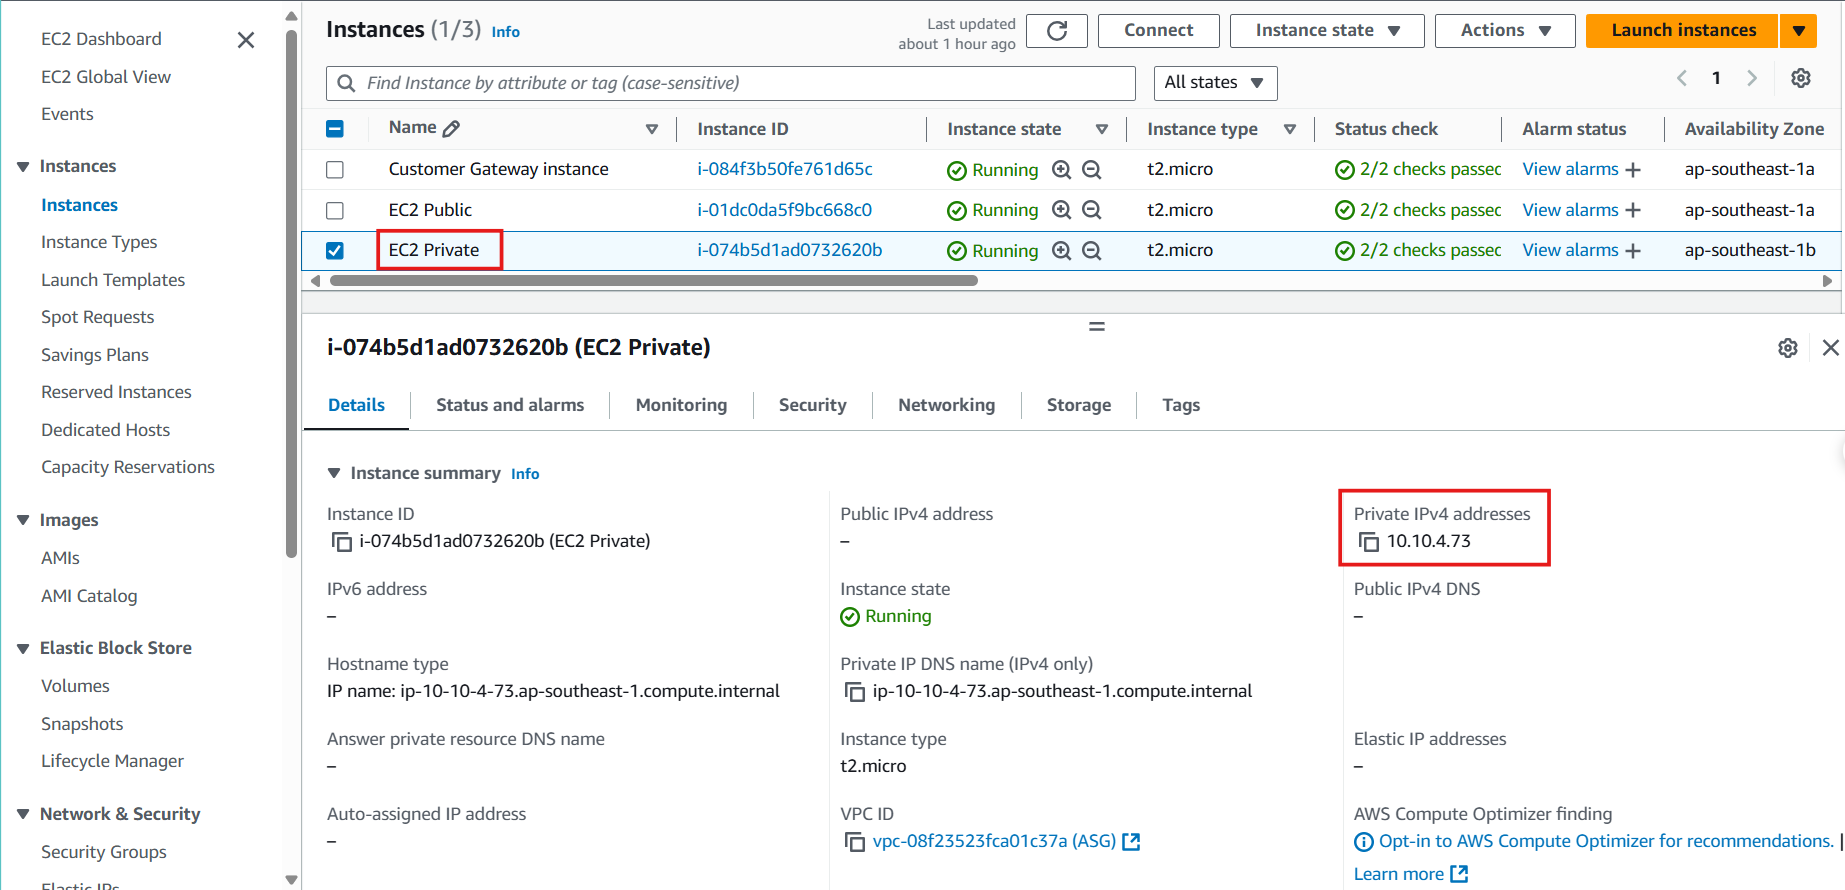
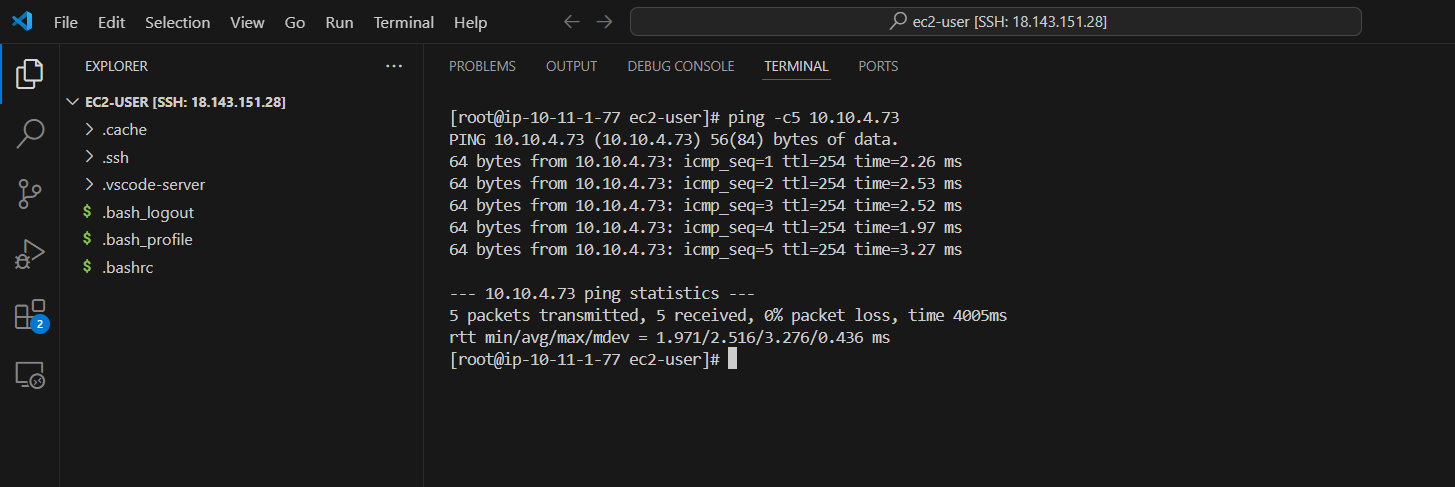
- After completing the configuration.Try to ping from the Customer Gateway server side to the EC2 Private server. If the VPN configuration is successful you will get the result as below.
ping <EC2 Private IP> -c5
- After completing the configuration.Try to ping from the EC2 Private server side to the Customer Gateway server. If the VPN configuration is successful you will get the result as below.
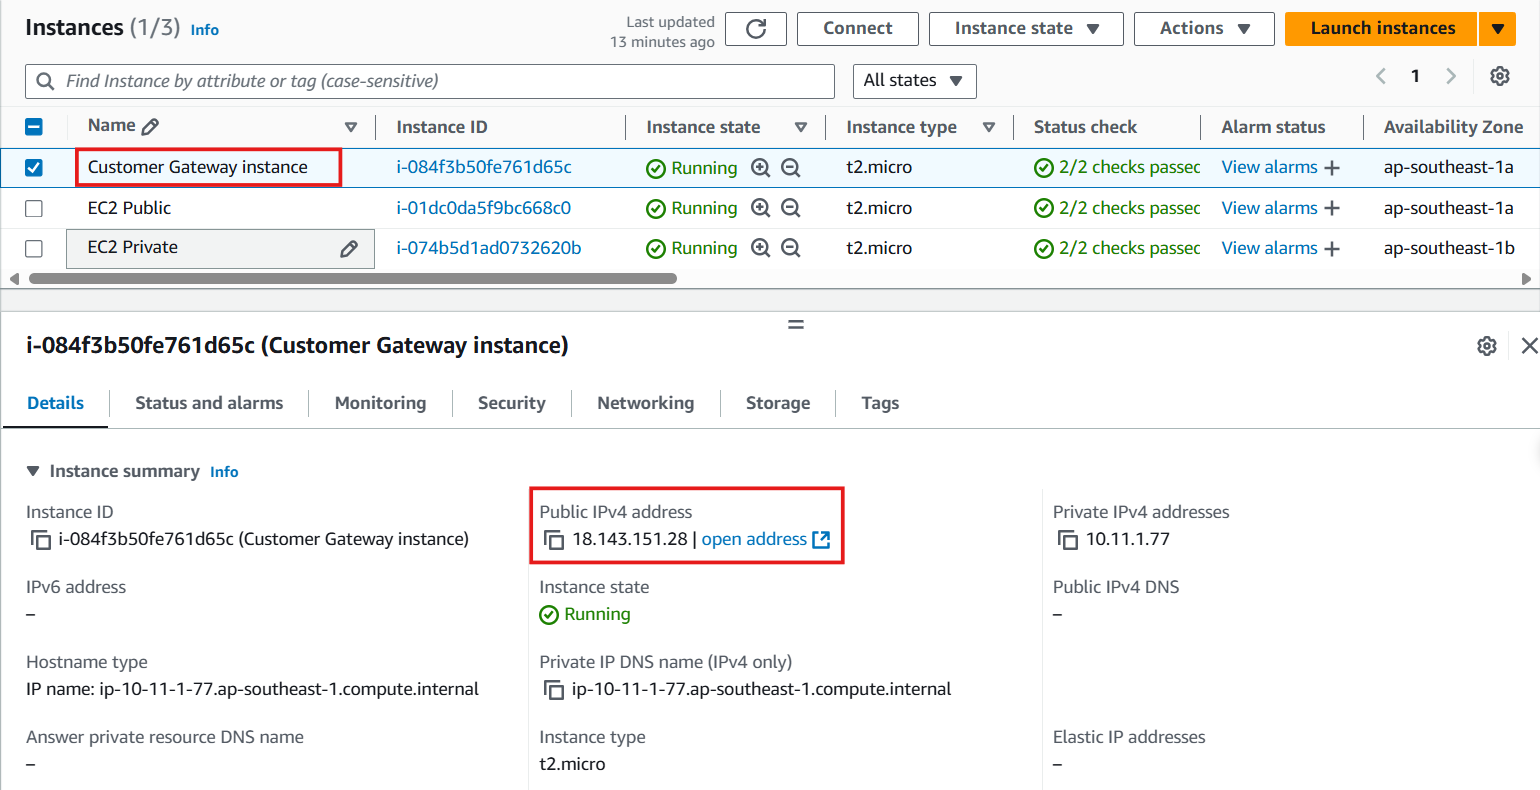
ping <Customer gateway instance IP> -c5