Configure Customer Gateway
Configuring Customer Gateway
-
Access the VPC console
- Select Site-to-Site VPN Connection.
- Choose the VPN Connection you created.
- Click on Download Configuration.

-
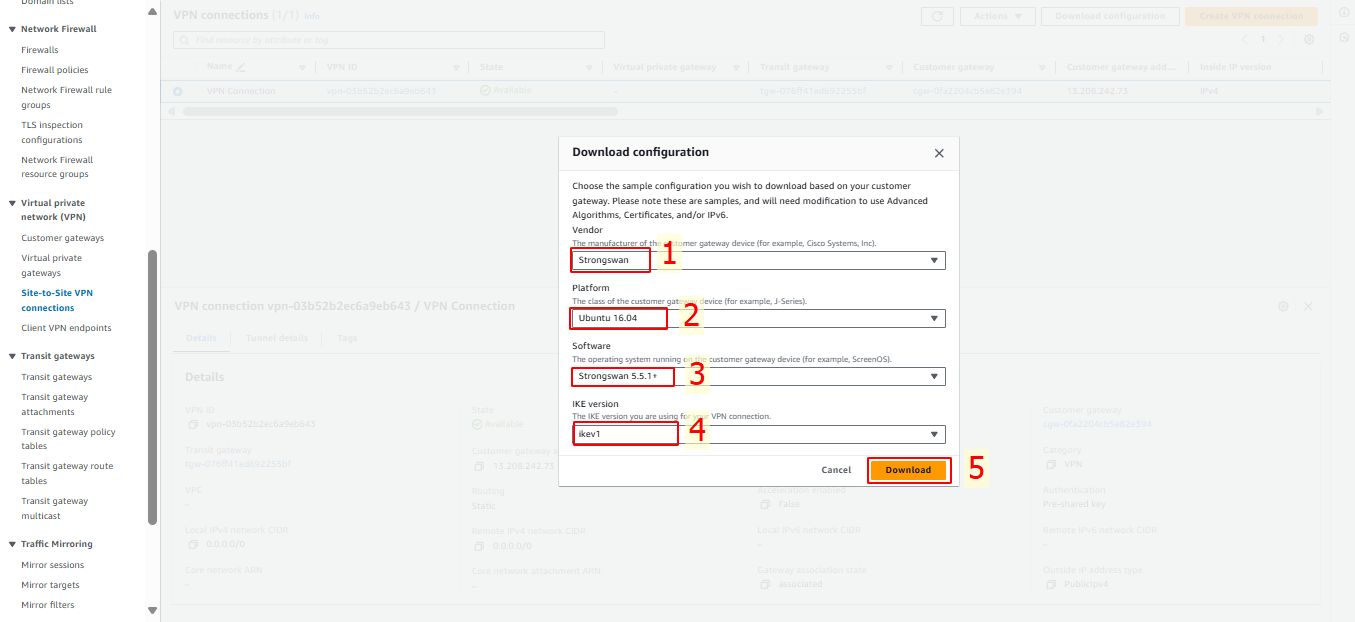
In the Download Configuration dialog, select the appropriate appliance for your environment. For this guide, we will use Strongswan:
- Vendor: Choose Strongswan.
- Platform: Ubuntu 16.04.
- Software: Strongswan 5.5.1+.
- IKE version: ikev1.
- Click Download.
-
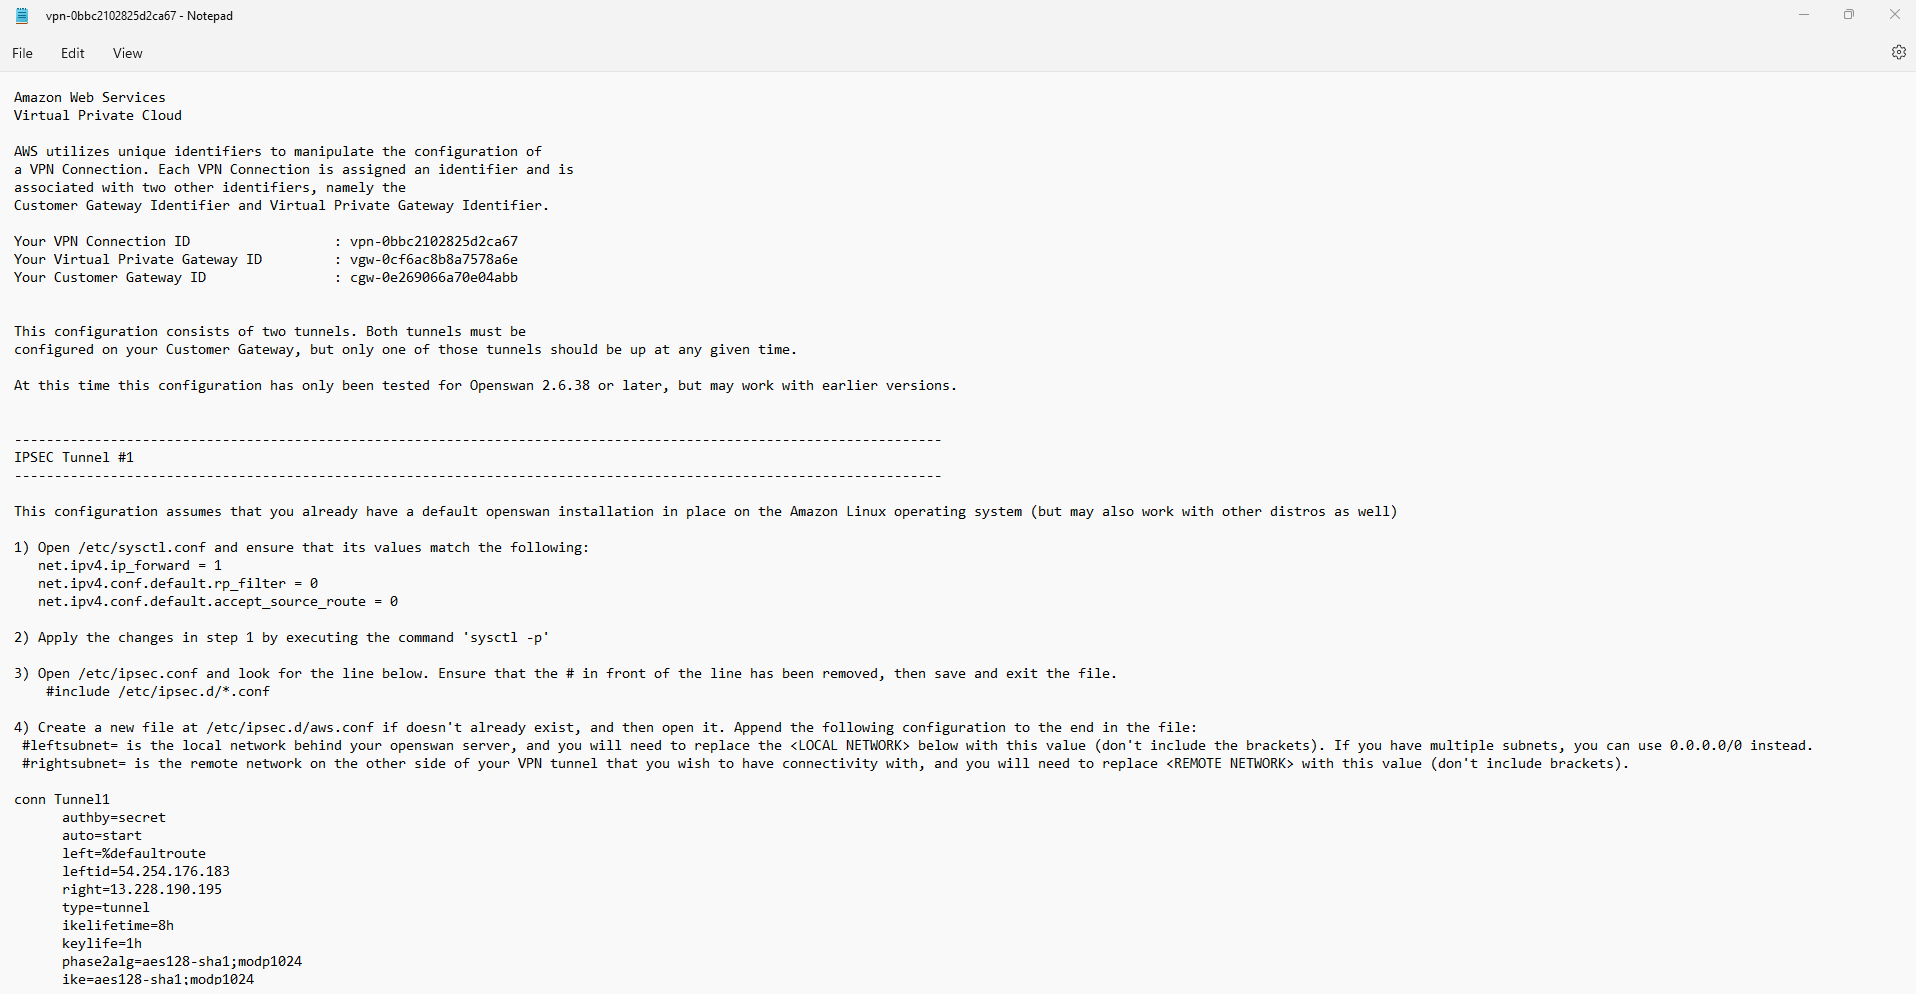
Save the configuration file to the directory where you store your key pair and other lab tools. Modify the provided configuration details to fit your device.
- SSH into the EC2 Customer Gateway.

-
Configure the /etc/sysctl.conf file:
vi /etc/sysctl.conf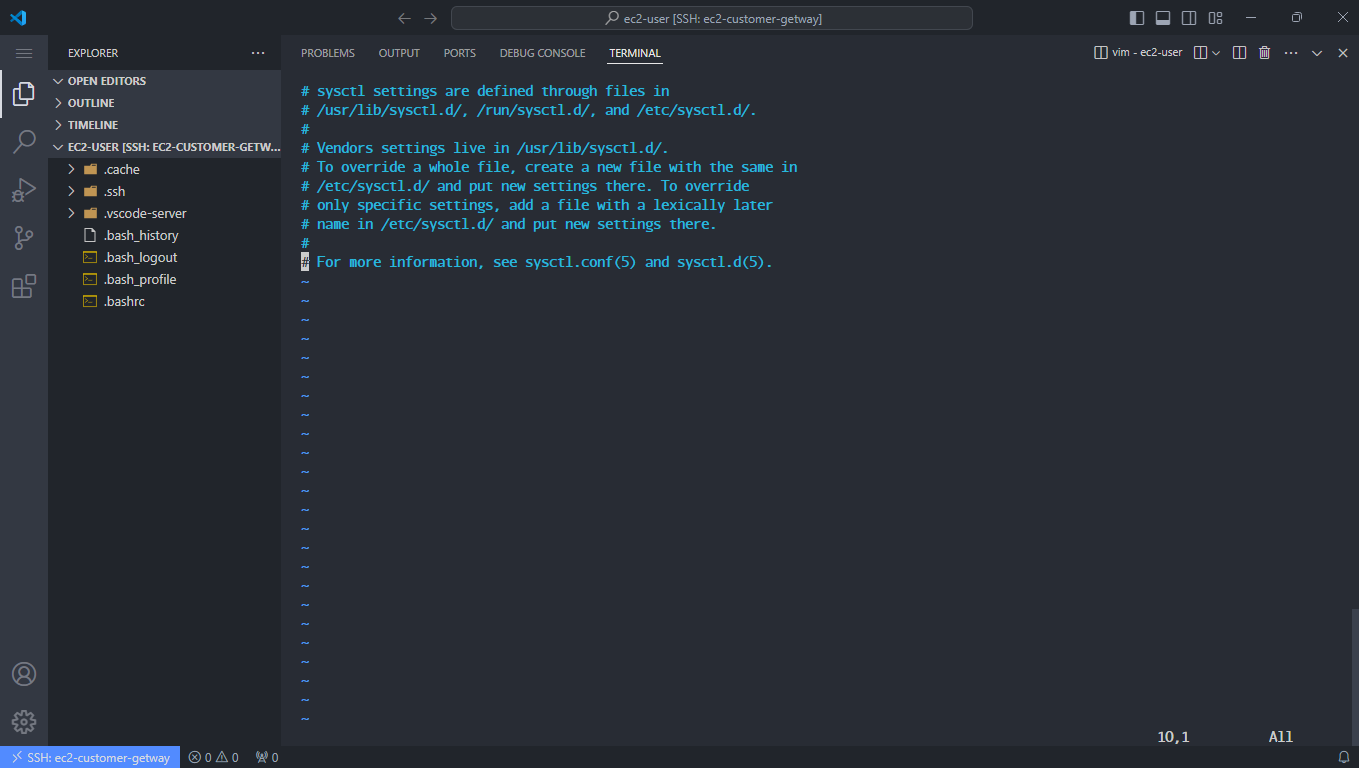
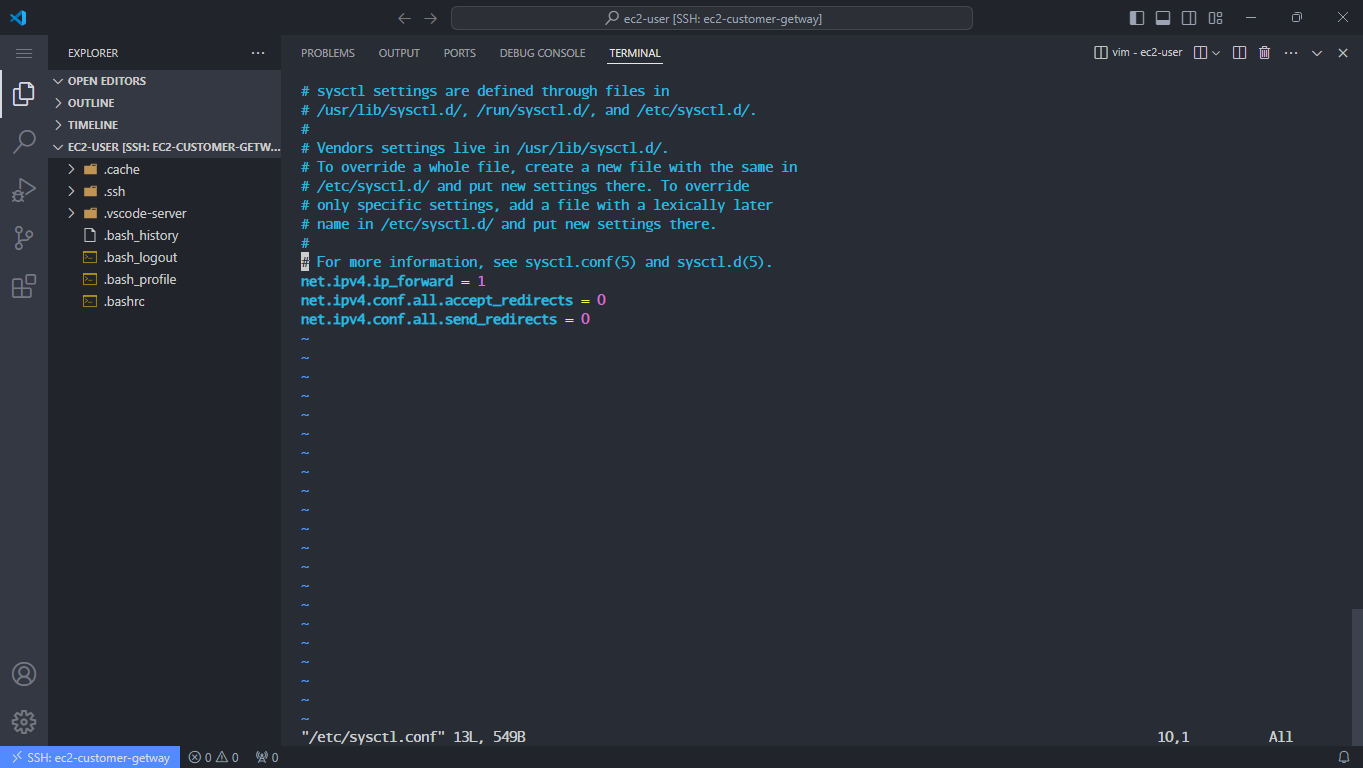
- Scroll to the end of the file, press i to enter insert mode, and add the following:
net.ipv4.ip_forward = 1 net.ipv4.conf.all.accept_redirects = 0 net.ipv4.conf.all.send_redirects = 0- Press ESC, then type :wq! to save and exit the file.
-
Apply the configuration with:
sysctl -p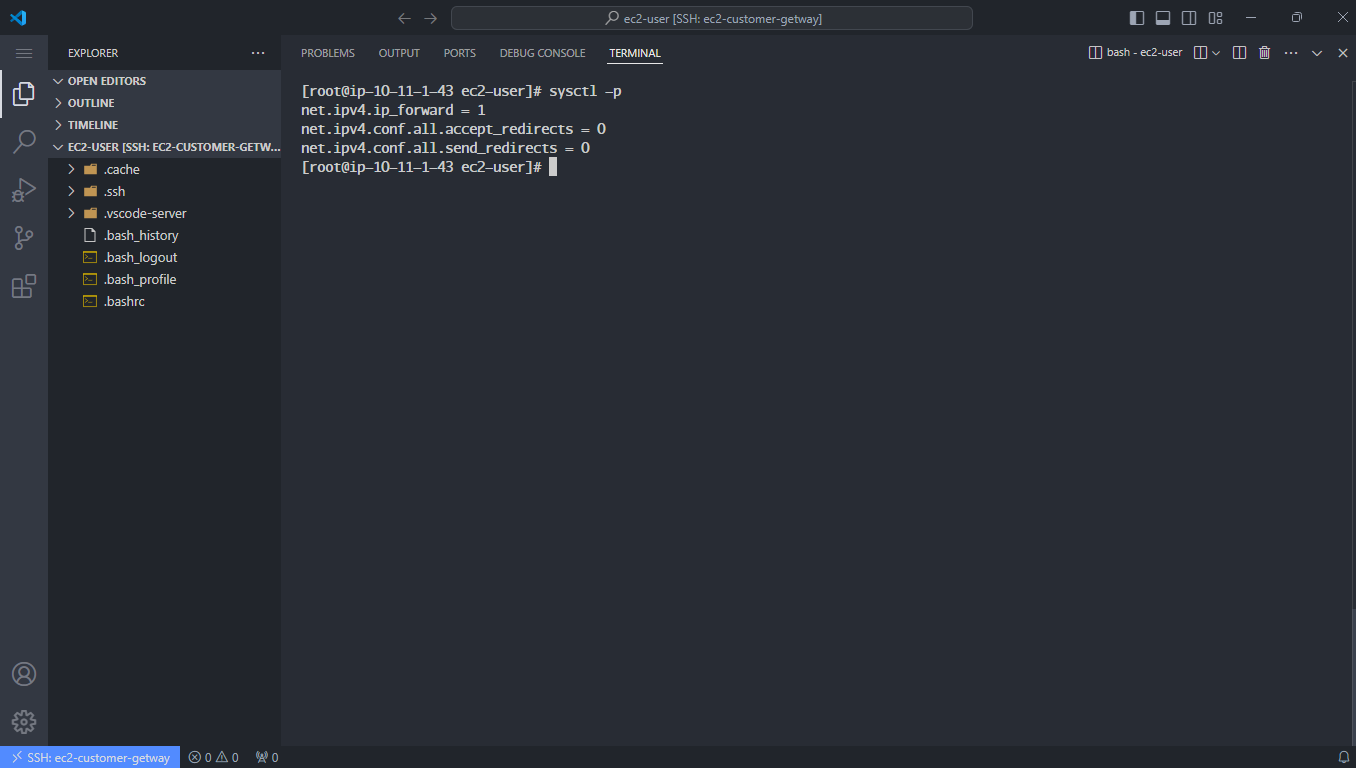
-
Install Strongswan:
sudo su
amazon-linux-extras install epel -y
yum install strongswan -y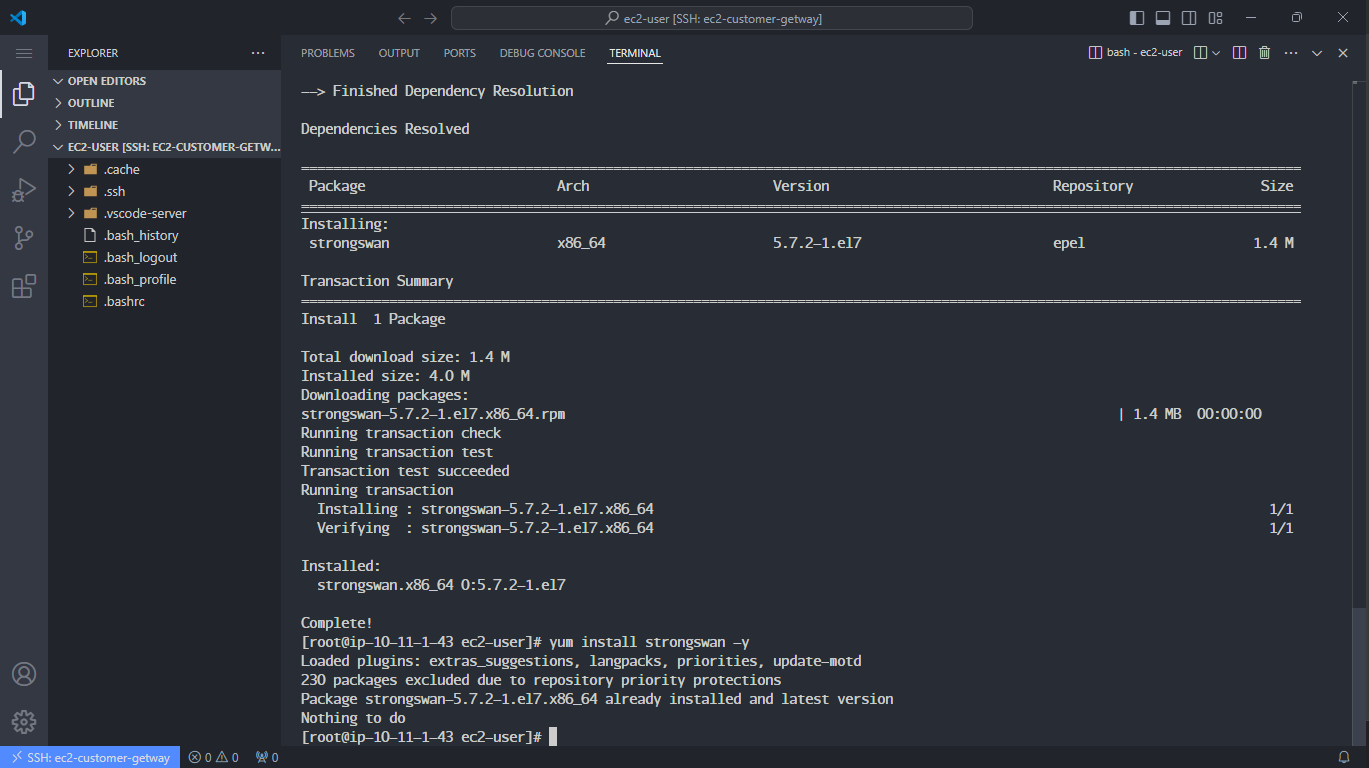
-
Verify installation by listing the Strongswan directory:
ls -la /etc/strongswan/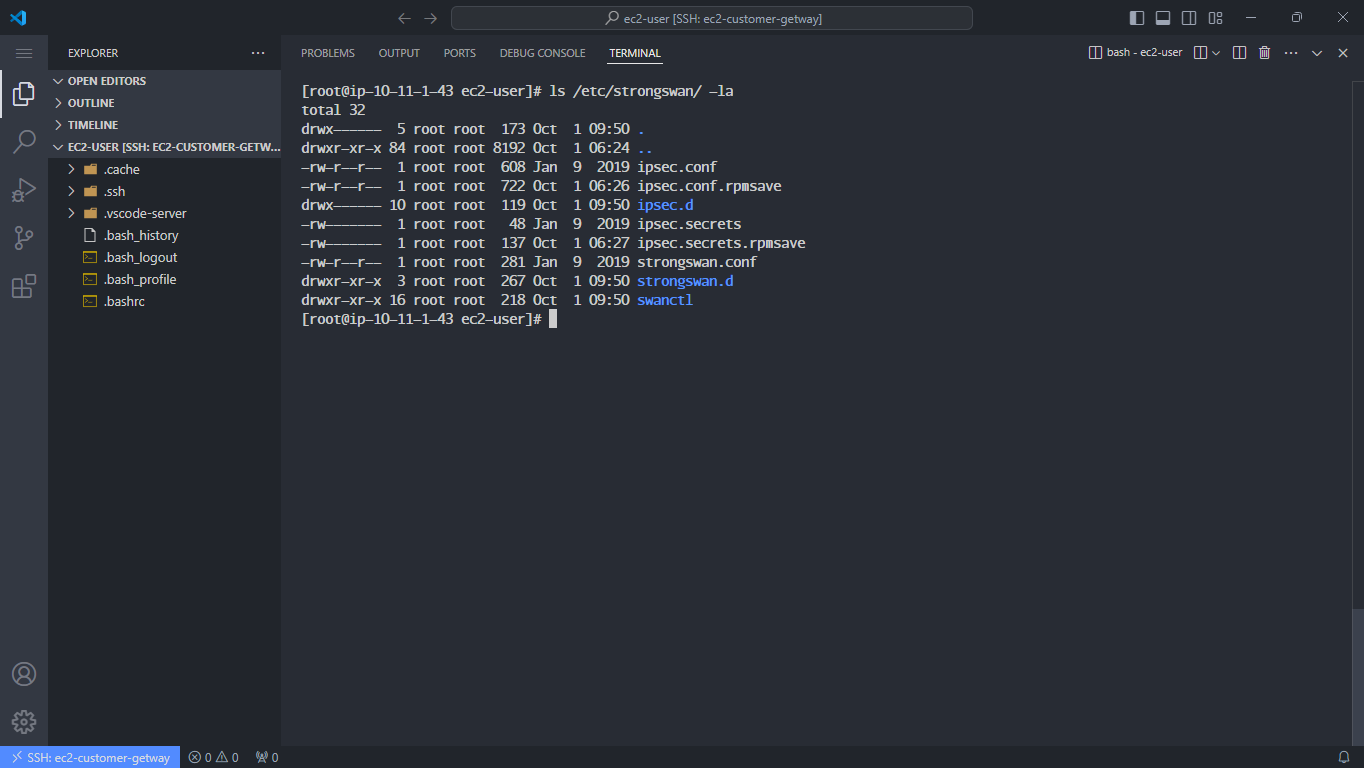
-
Configure ipsec.conf:
vi /etc/strongswan/ipsec.conf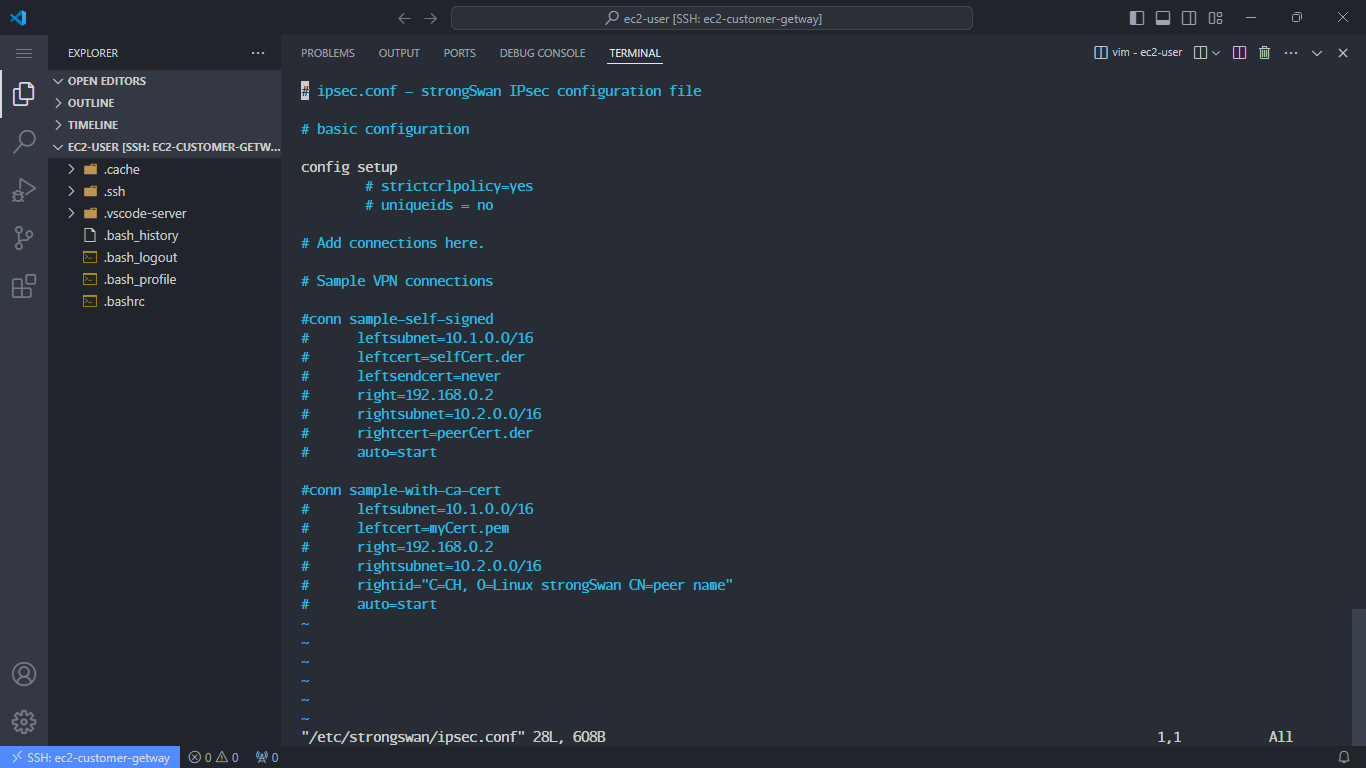
- Delete all content using
:%d. - Press i to enter insert mode and add the configuration below. Ensure you update the IP addresses and network subnets.
conn Tunnel1
    authby=secret
    auto=start
    left=%defaultroute
    leftid=YOUR_ONPREM_PUBLIC_IP
    right=AWS_VPN_TUNNEL1_IP
    ike=aes128-sha1-modp1024
    esp=aes128-sha1-modp1024
    keyexchange=ike
    ikelifetime=8h
    keylife=1h
    dpdaction=restart
    dpddelay=10s
    dpdtimeout=30s
    leftsubnet=10.11.0.0/16
    rightsubnet=10.10.0.0/16
    type=tunnel

conn Tunnel2
    authby=secret
    auto=start
    left=%defaultroute
    leftid=YOUR_ONPREM_PUBLIC_IP
    right=AWS_VPN_TUNNEL2_IP
    ike=aes128-sha1-modp1024
    esp=aes128-sha1-modp1024
    keyexchange=ike
    ikelifetime=8h
    keylife=1h
    dpdaction=restart
    dpddelay=10s
    dpdtimeout=30s
    leftsubnet=10.11.0.0/16
    rightsubnet=10.10.0.0/16
    type=tunnel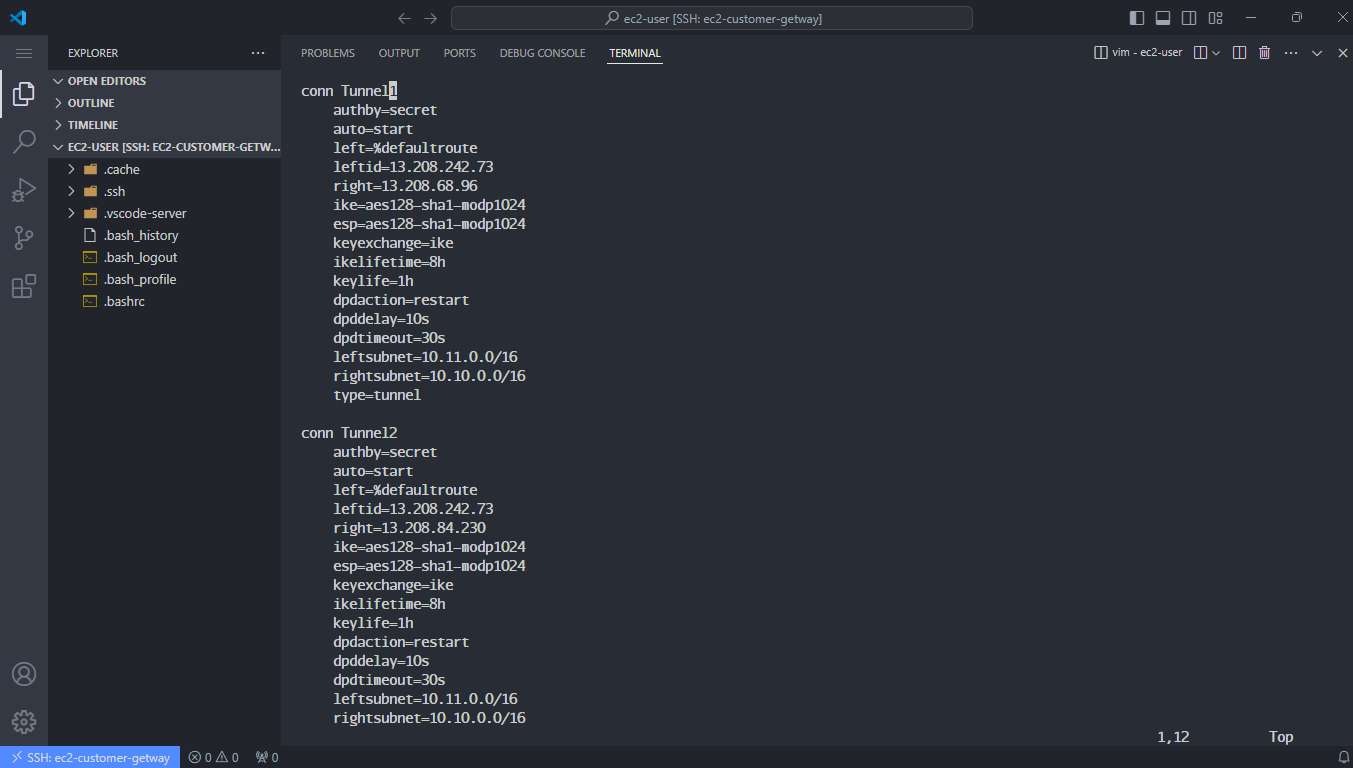
- Delete all content using
-
Edit ipsec.secrets for Tunnel authentication:
vi /etc/strongswan/ipsec.secrets- Clear all content and add the following:
YOUR_ONPREM_PUBLIC_IP AWS_VPN_TUNNEL1_IP : PSK "YOUR_PSK_1"
YOUR_ONPREM_PUBLIC_IP AWS_VPN_TUNNEL2_IP : PSK "YOUR_PSK_2"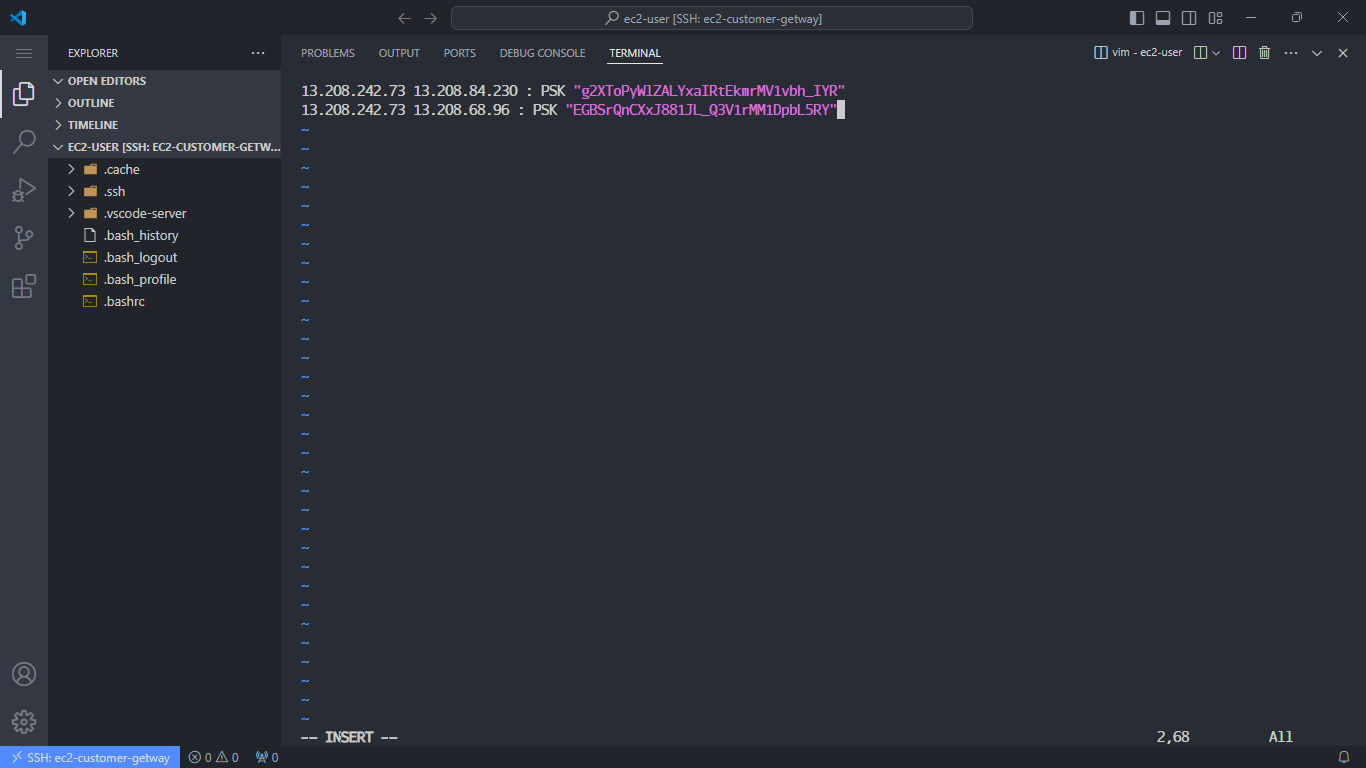
-
Start and enable Strongswan:
sudo systemctl enable strongswan
sudo systemctl start strongswan
sudo systemctl status strongswan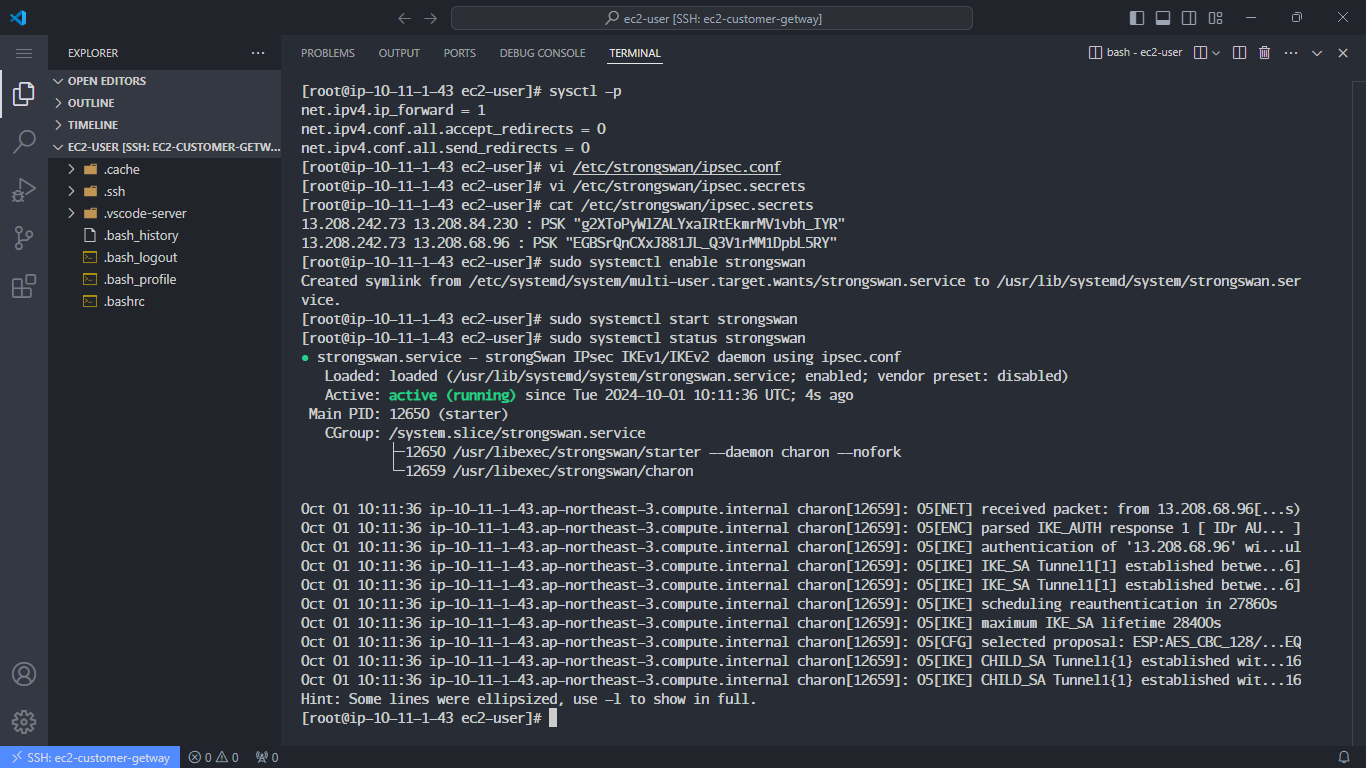
-
Check connection status:
- Verify VPN connections:
sudo swanctl --list-conns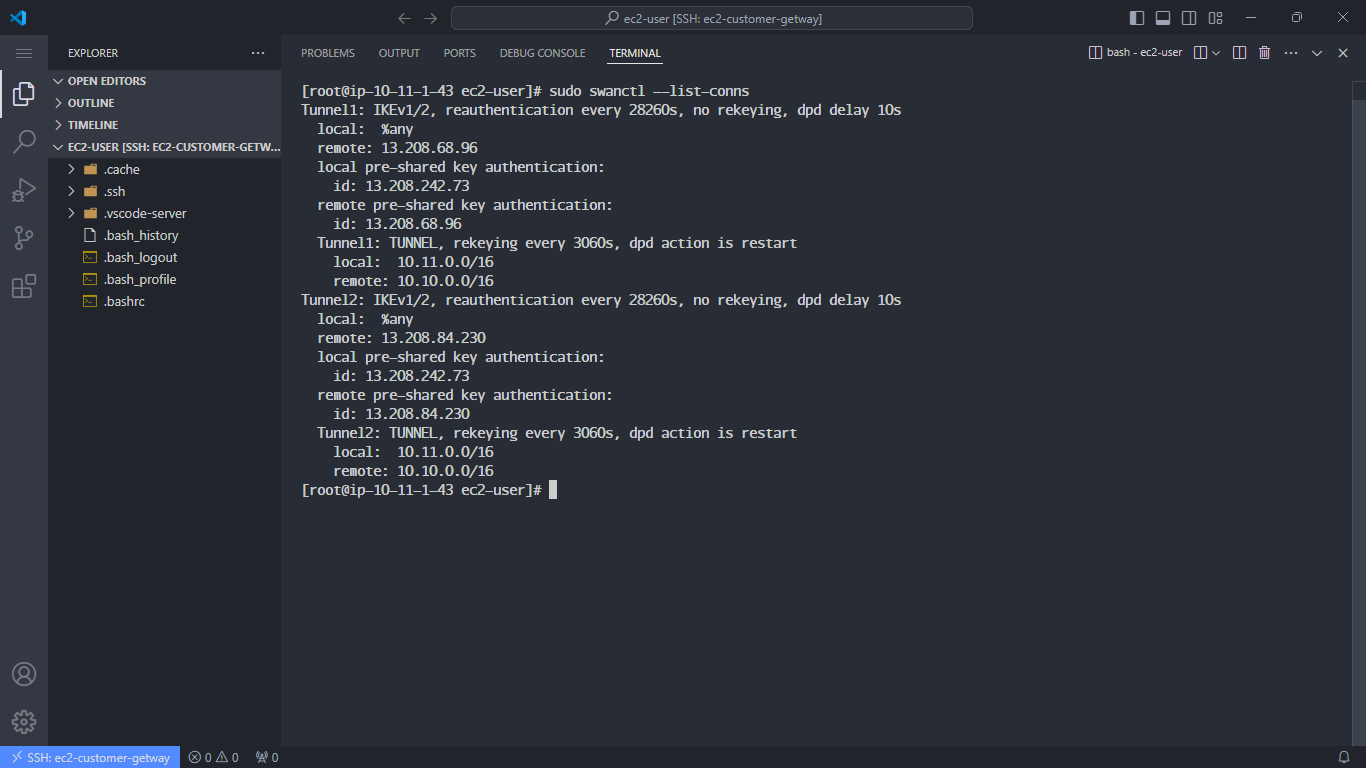
- Check the status of the Pre-Shared Key:
sudo swanctl --list-sas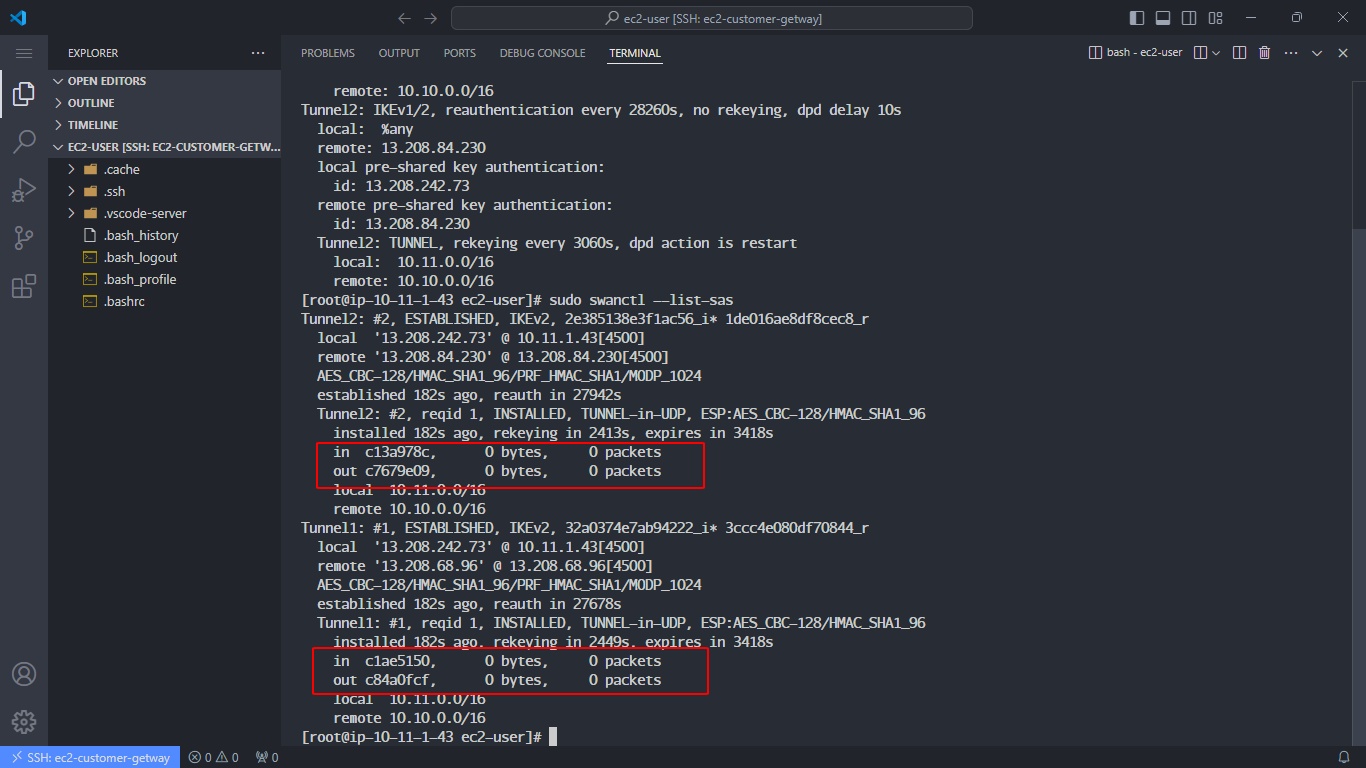
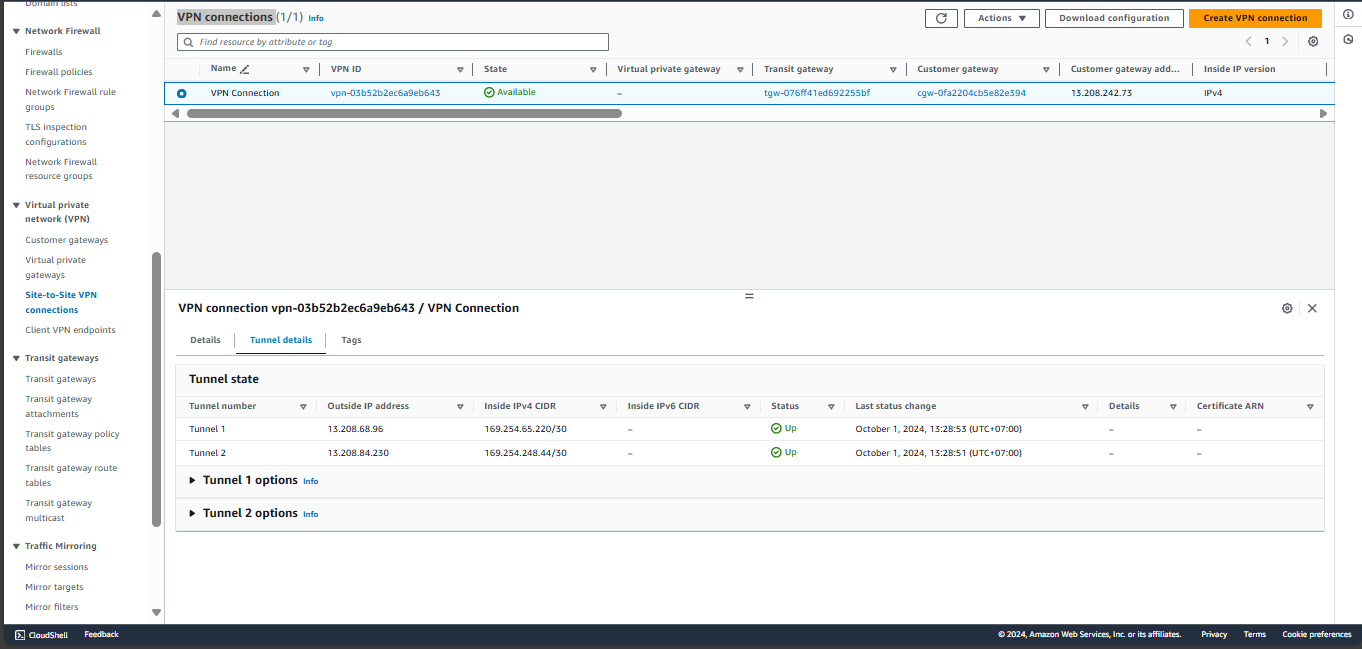
Verify the connection status under VPN connections in the AWS Console. Both tunnels should show Up.
-
Ping to verify the connection:
- From Customer Gateway, ping the EC2 Private instance:
ping <EC2 Private IP> -c5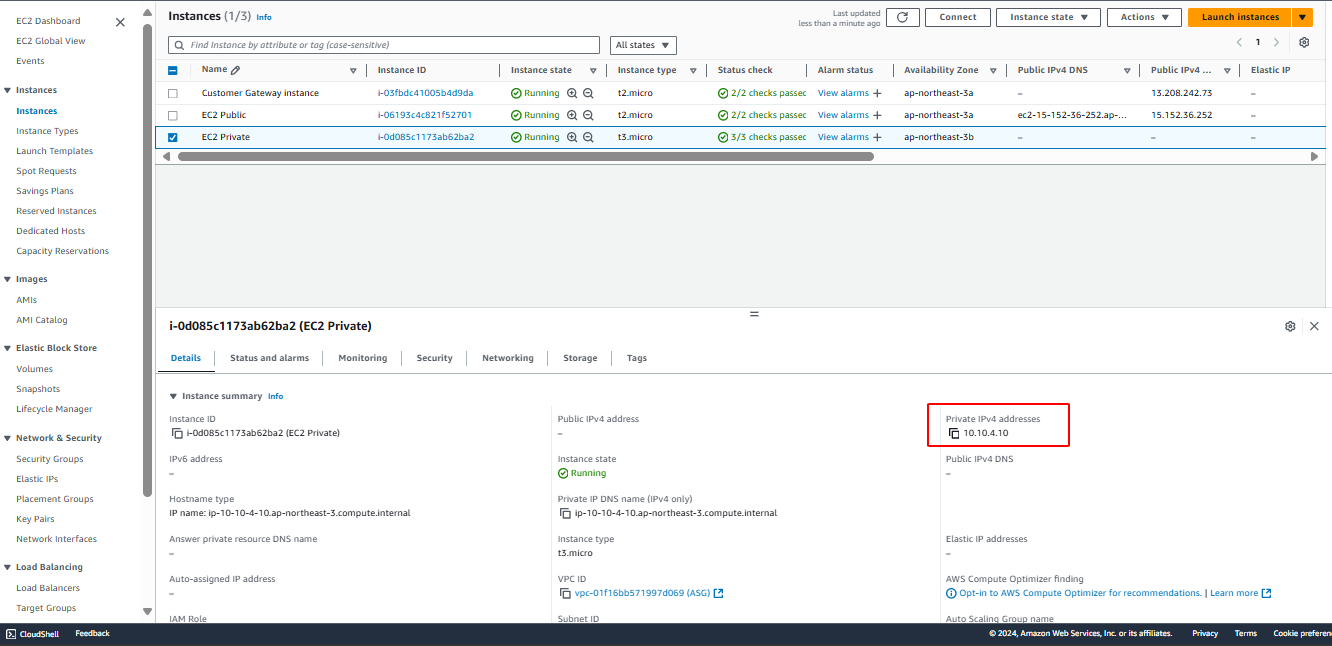
- Ping from EC2 Private back to the Customer Gateway:
ping <Customer Gateway IPV4> -c5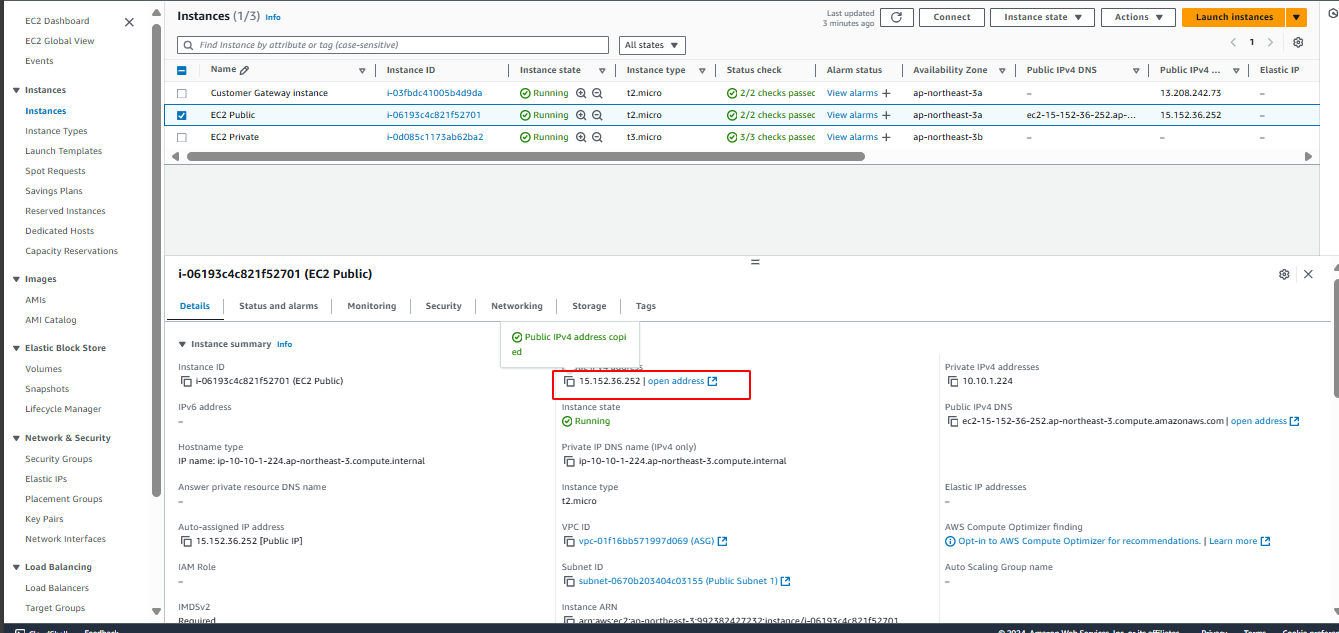
This guide should help with setting up a VPN connection and configuring a Customer Gateway using AWS services and Strongswan on an EC2 instance.