Create EC2 Server
Create EC2 Instances in Subnets
-
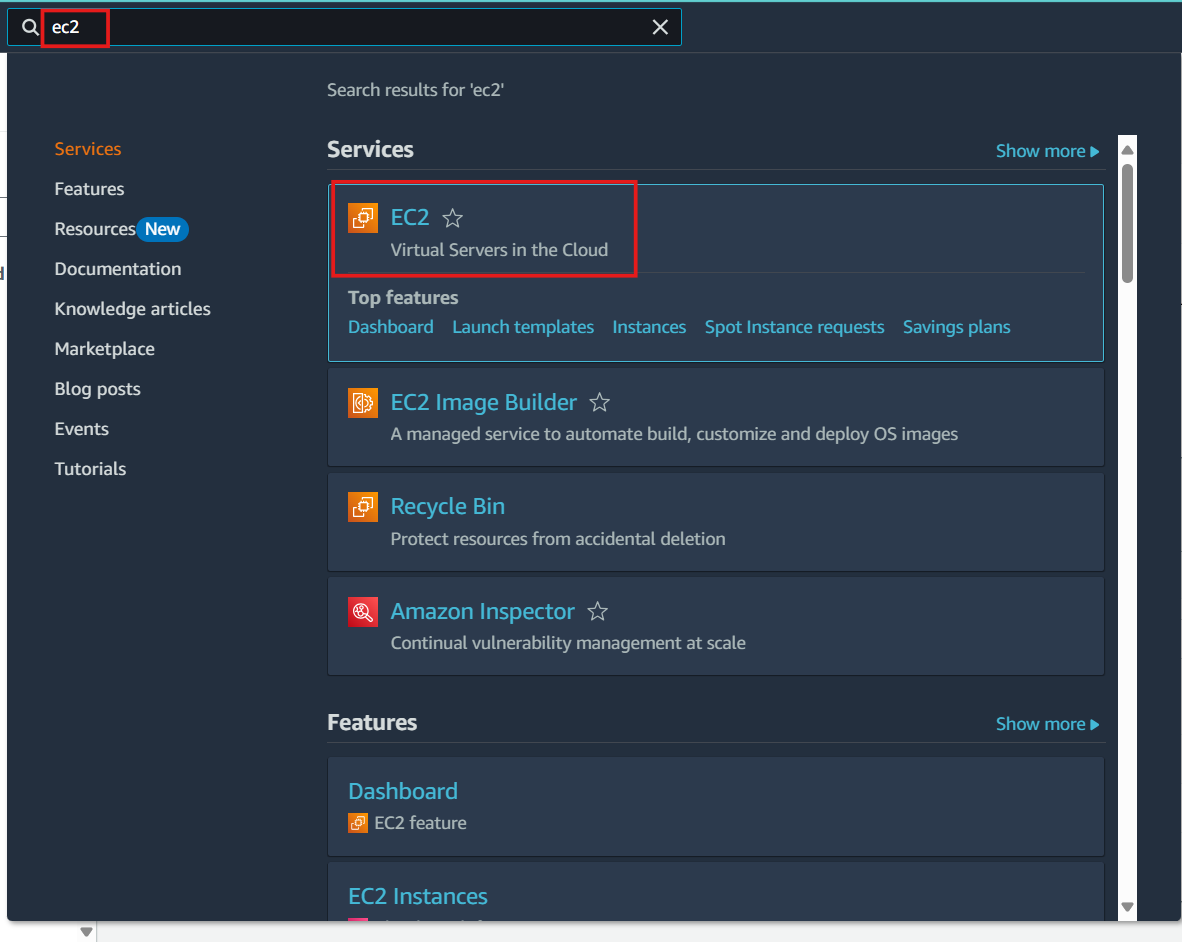
Access the AWS Management Console:
- Navigate to EC2
- Click on Instances
-
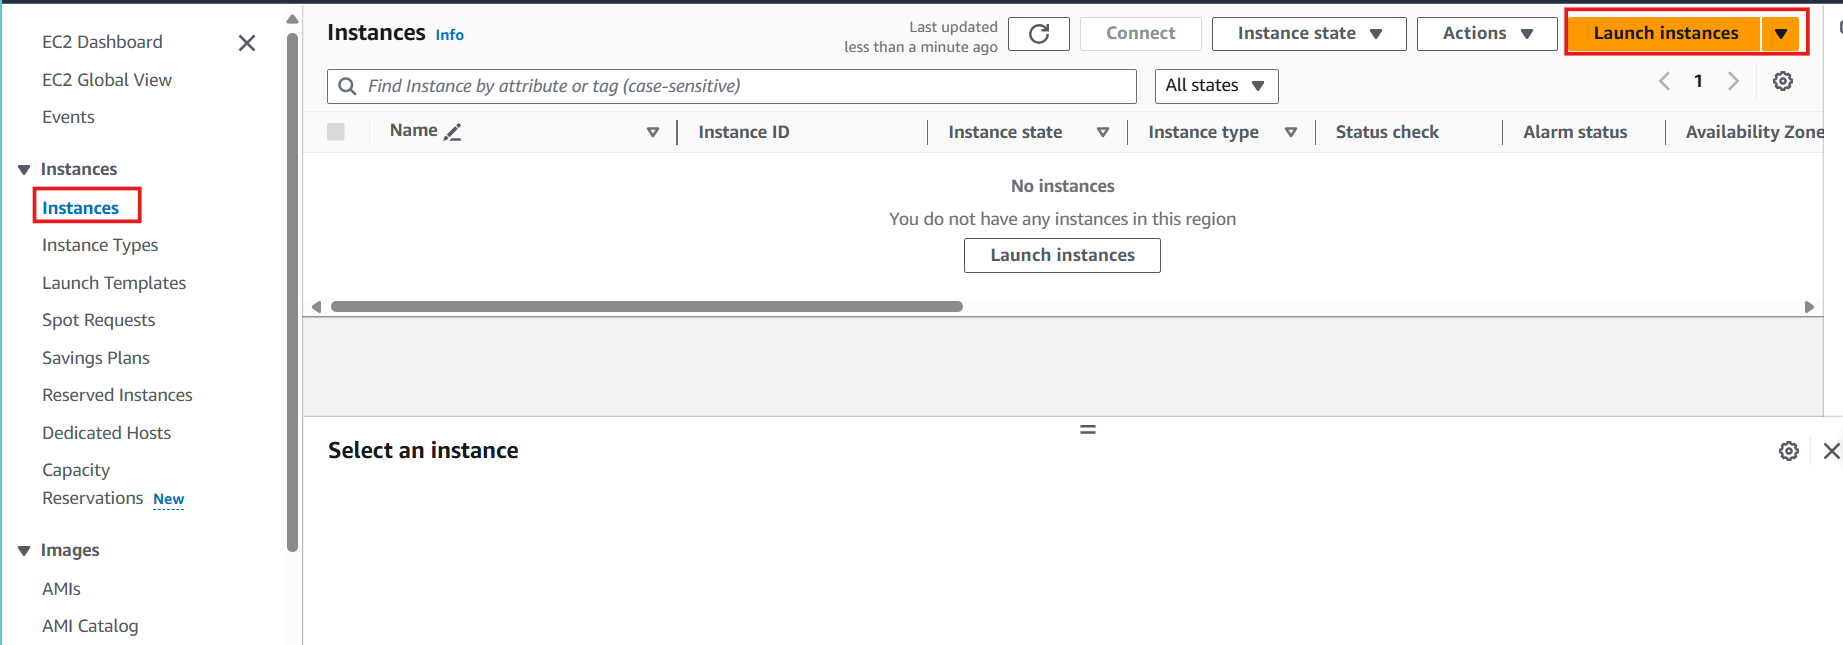
In the EC2 interface:
- Select Instances
- Choose Launch instances
-
Provide a Name and tags for the instance, enter
EC2 Public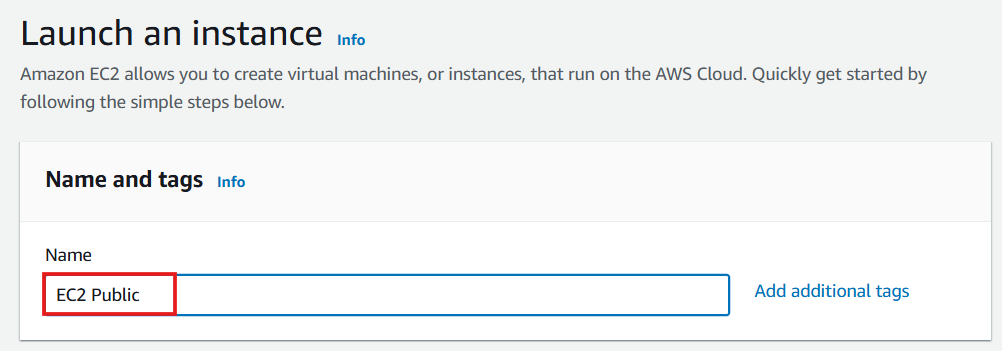
-
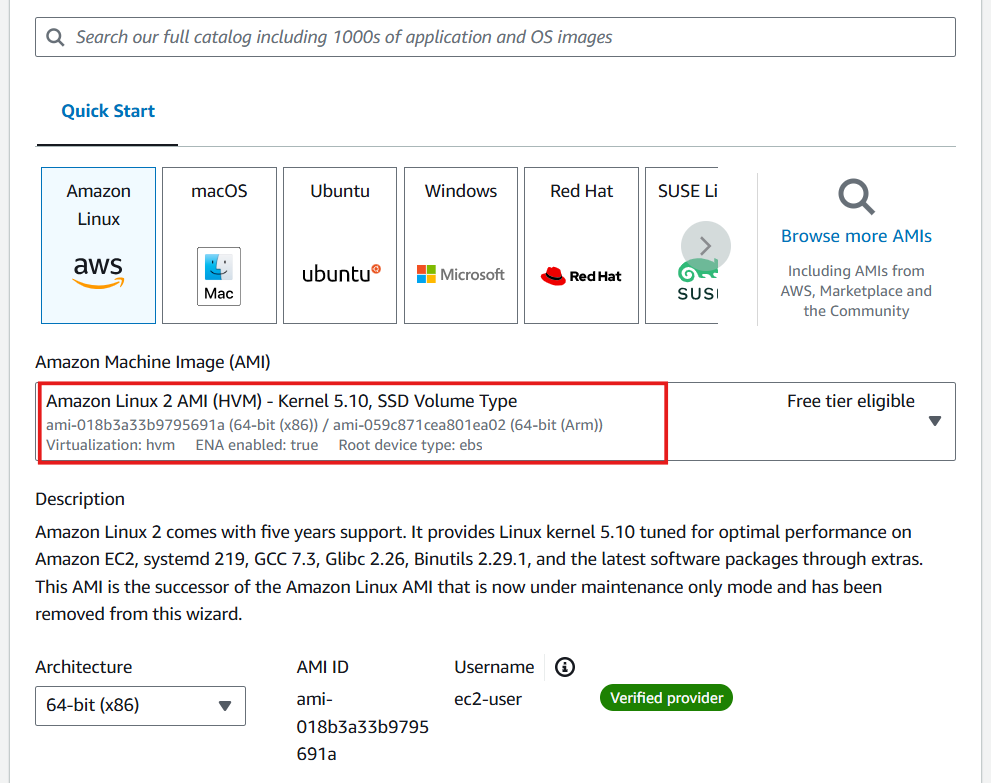
Choose the AMI:
- Select Quick Start
- Choose Amazon Linux 2
- Select an AMI
-
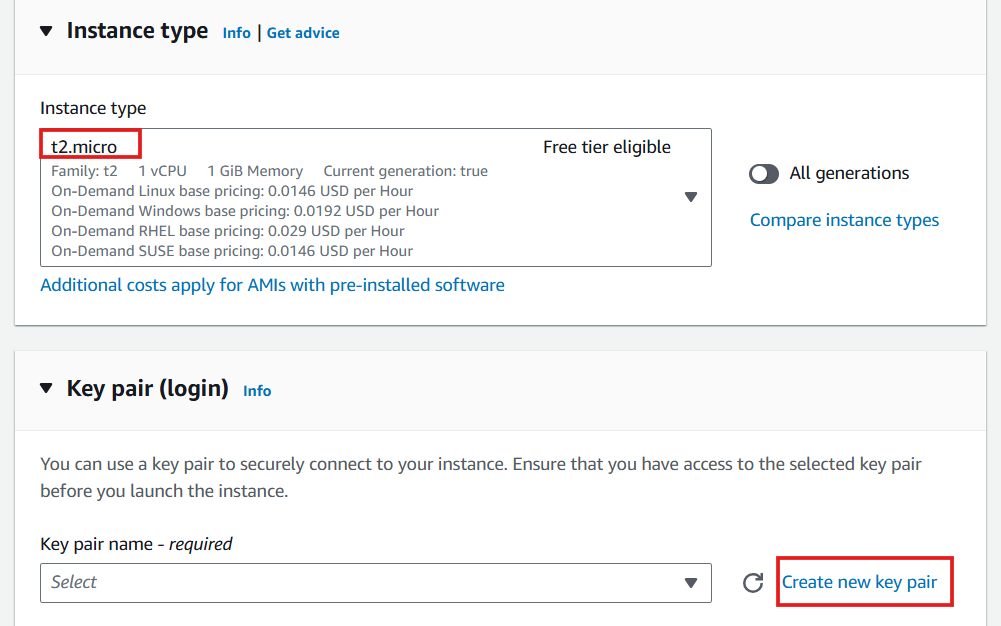
Select an Instance type and opt to Create a new key pair
-
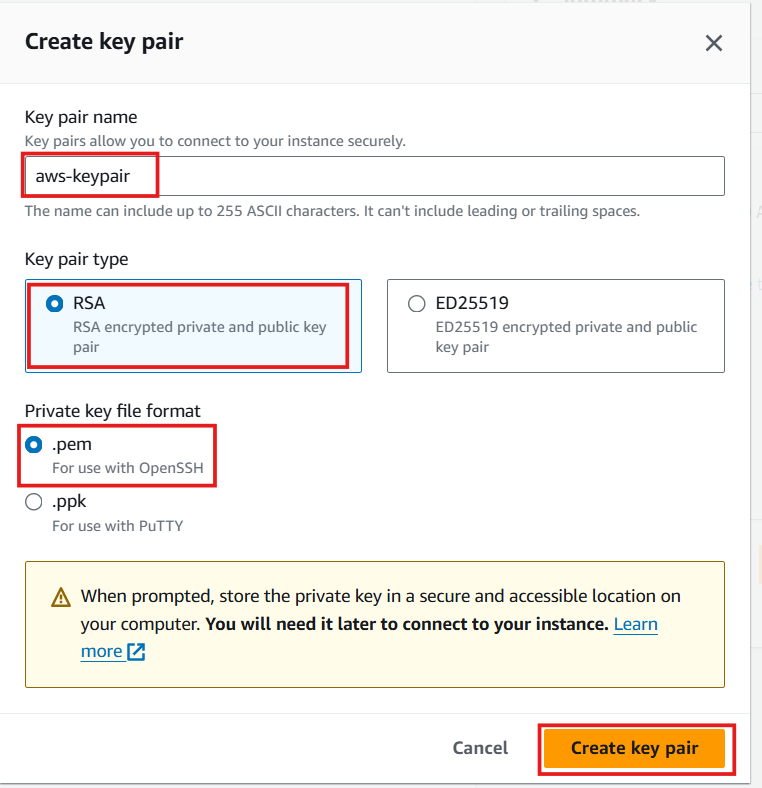
In the Create key pair interface:
- Specify the Key pair name, e.g.,
aws-keypair(optional name, you can set any). - Choose Key pair type: RSA
- Select Private key file format: .pem
- Specify the Key pair name, e.g.,
-
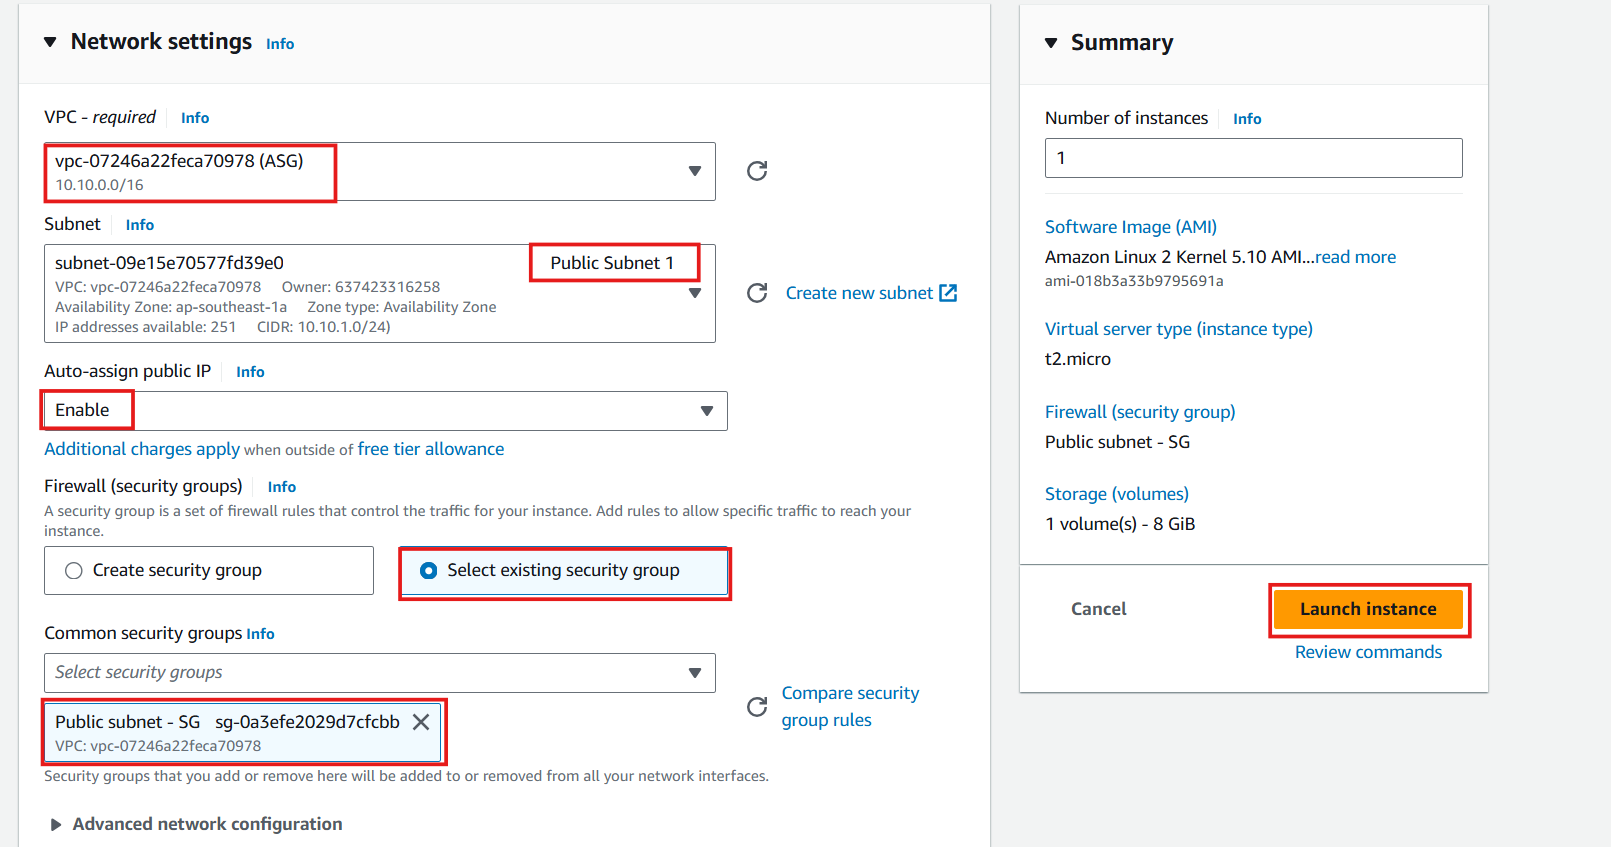
Configure the Network:
- Select the VPC: ASG
- Choose the Subnet: Public Subnet 1
- Enable Auto-assign public IP
- For Firewall (Security Group), select Select existing security group
- Choose Public subnet -SG
- Click Launch instance
-
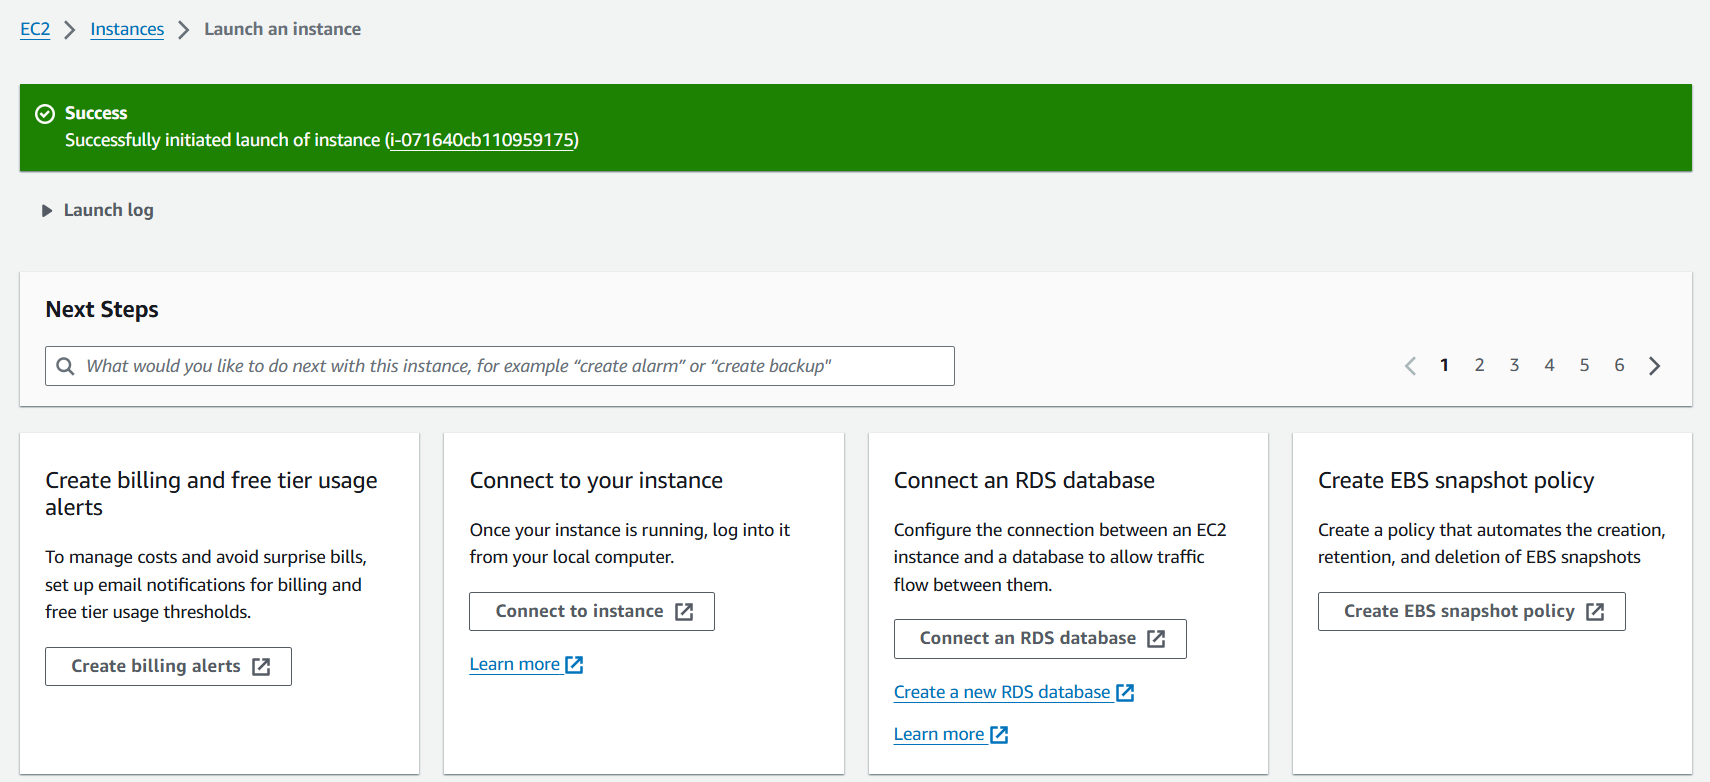
Complete the instance creation
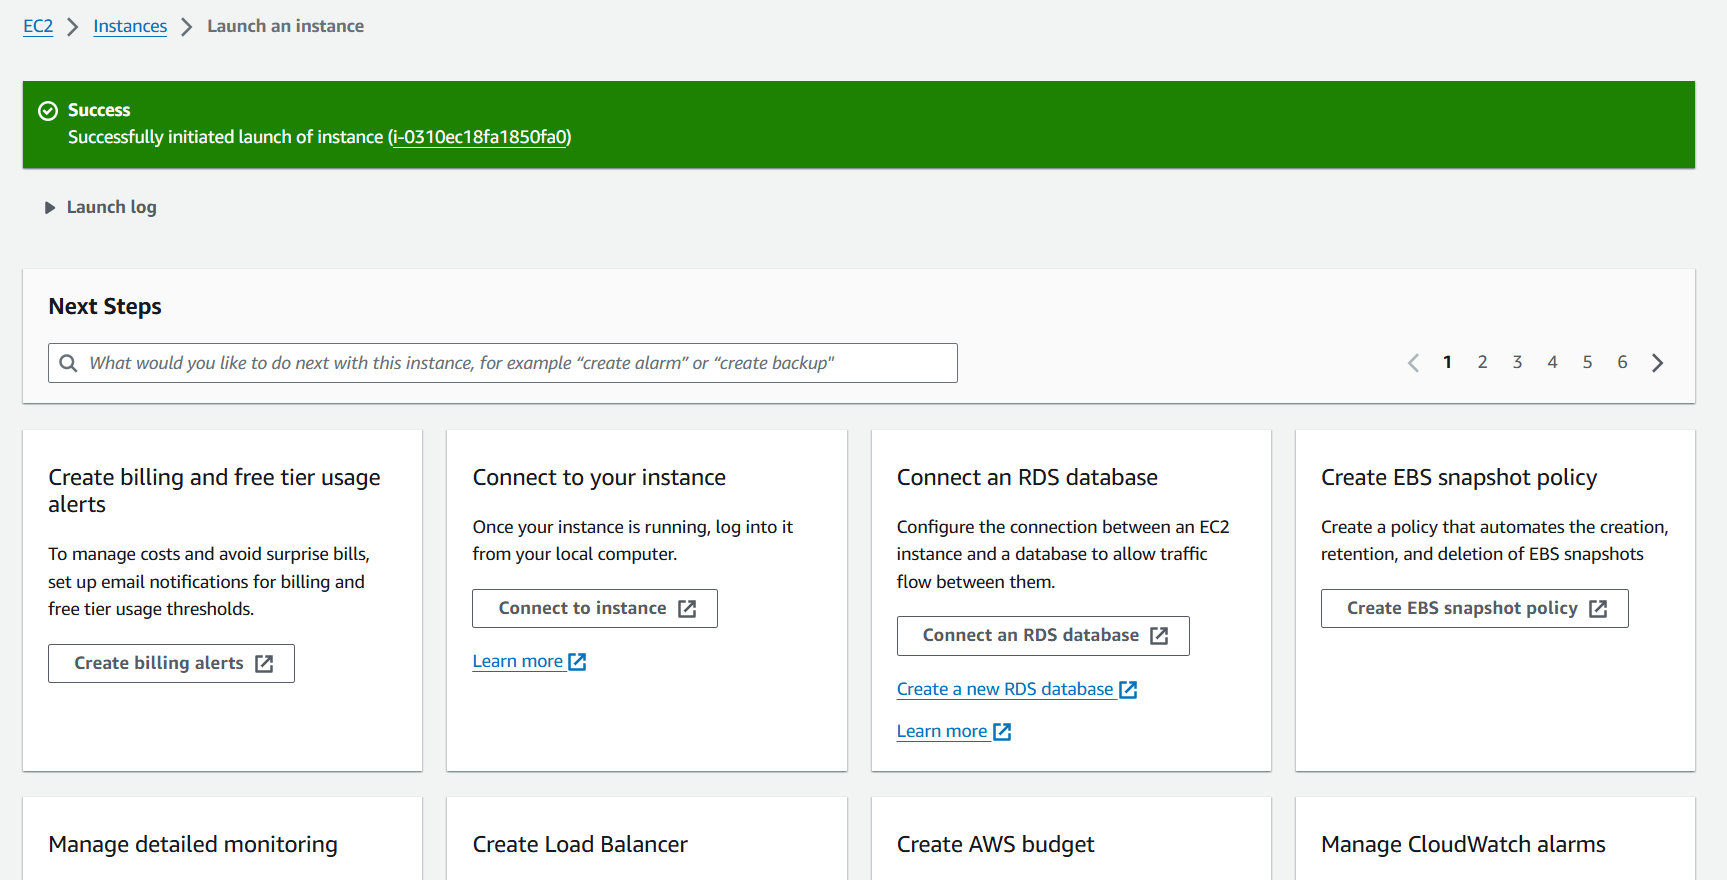
-
Wait for about 5 minutes until the Status check shows 2/2 checks passed

Create EC2 in a Private Subnet
-
In the EC2 interface:
- Select Instances
- Choose Launch instances
-
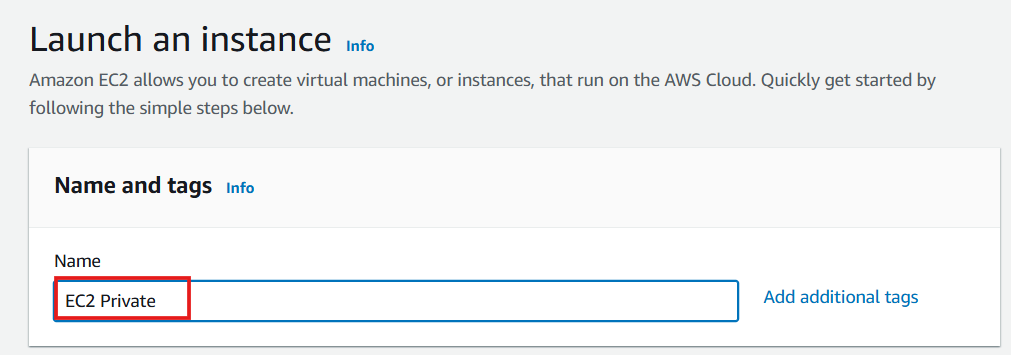
Provide a Name and tags, enter
EC2 Private- Select Quick Start
- Choose Amazon Linux 2
- Select an AMI

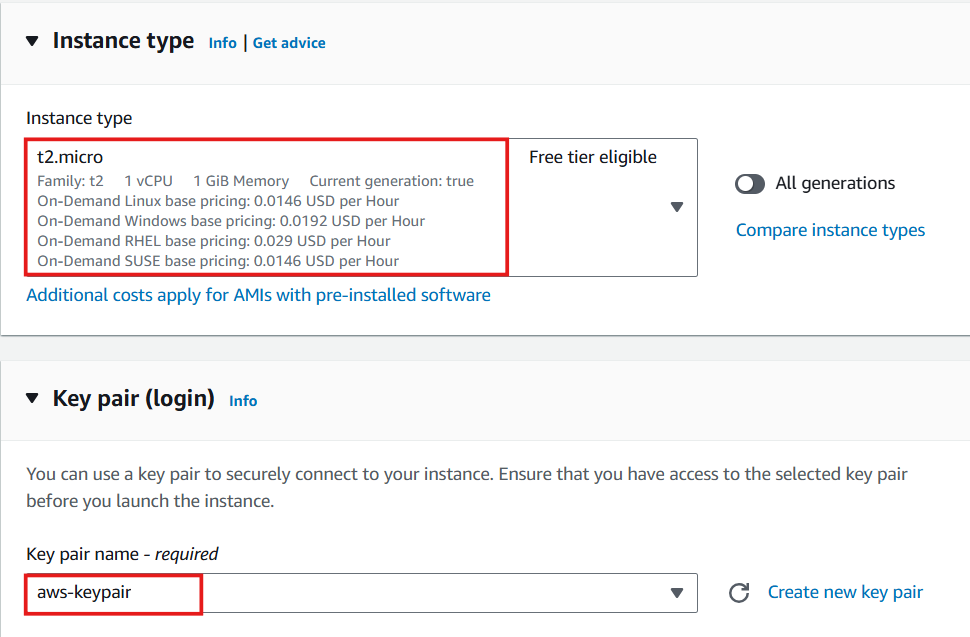
- Make an instance type selection. Choose Key pair name:
aws-keypair
-
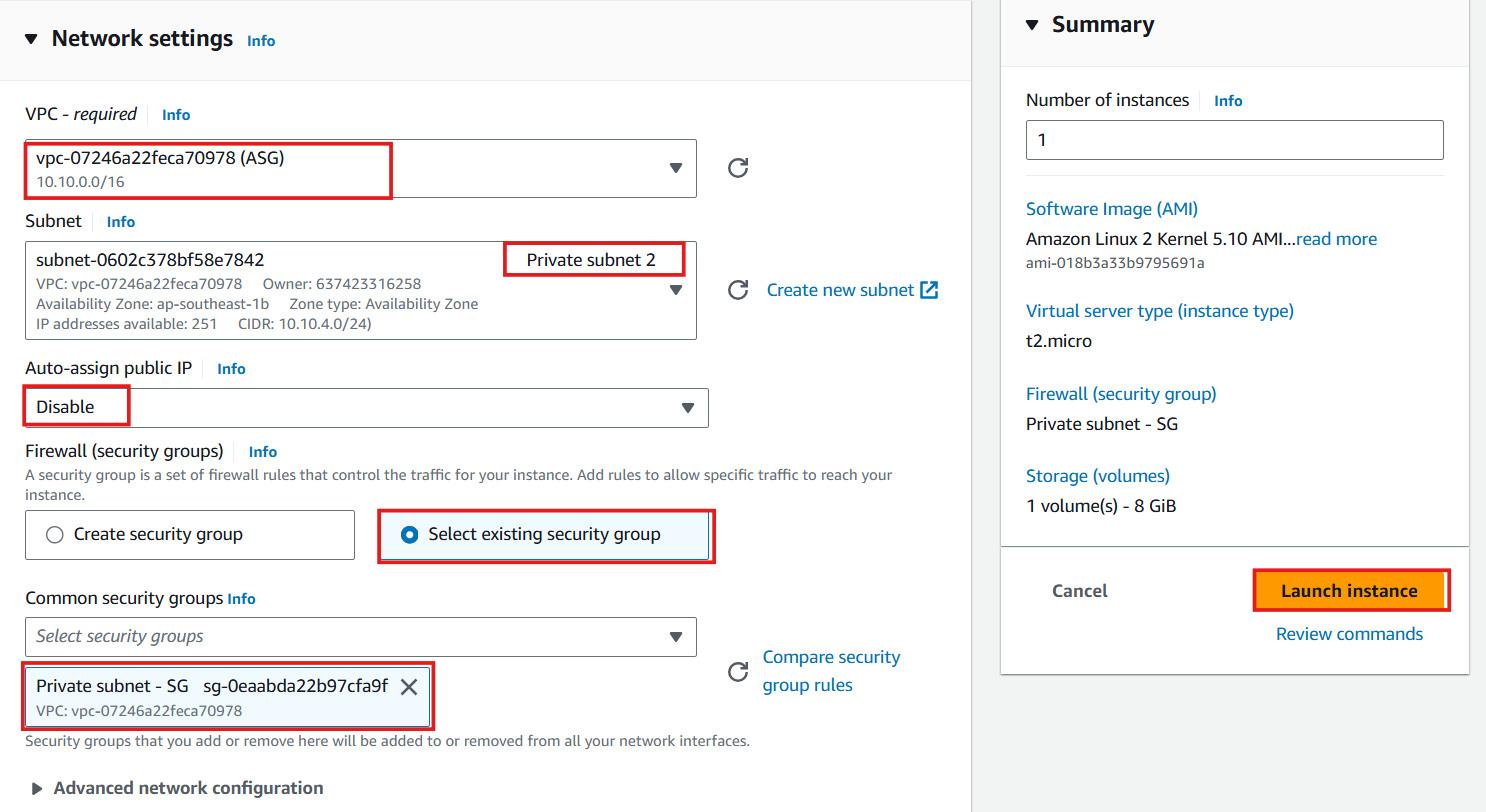
Configure the Network:
- Select the VPC: ASG VPC
- Choose the Subnet: Private subnet 2
- Disable Auto-assign public IP. If not disabling it, ensure you’ve checked the configuration for automatically allocating public IP for the subnet.
-
Complete the instance creation:
- Click View all instances
-
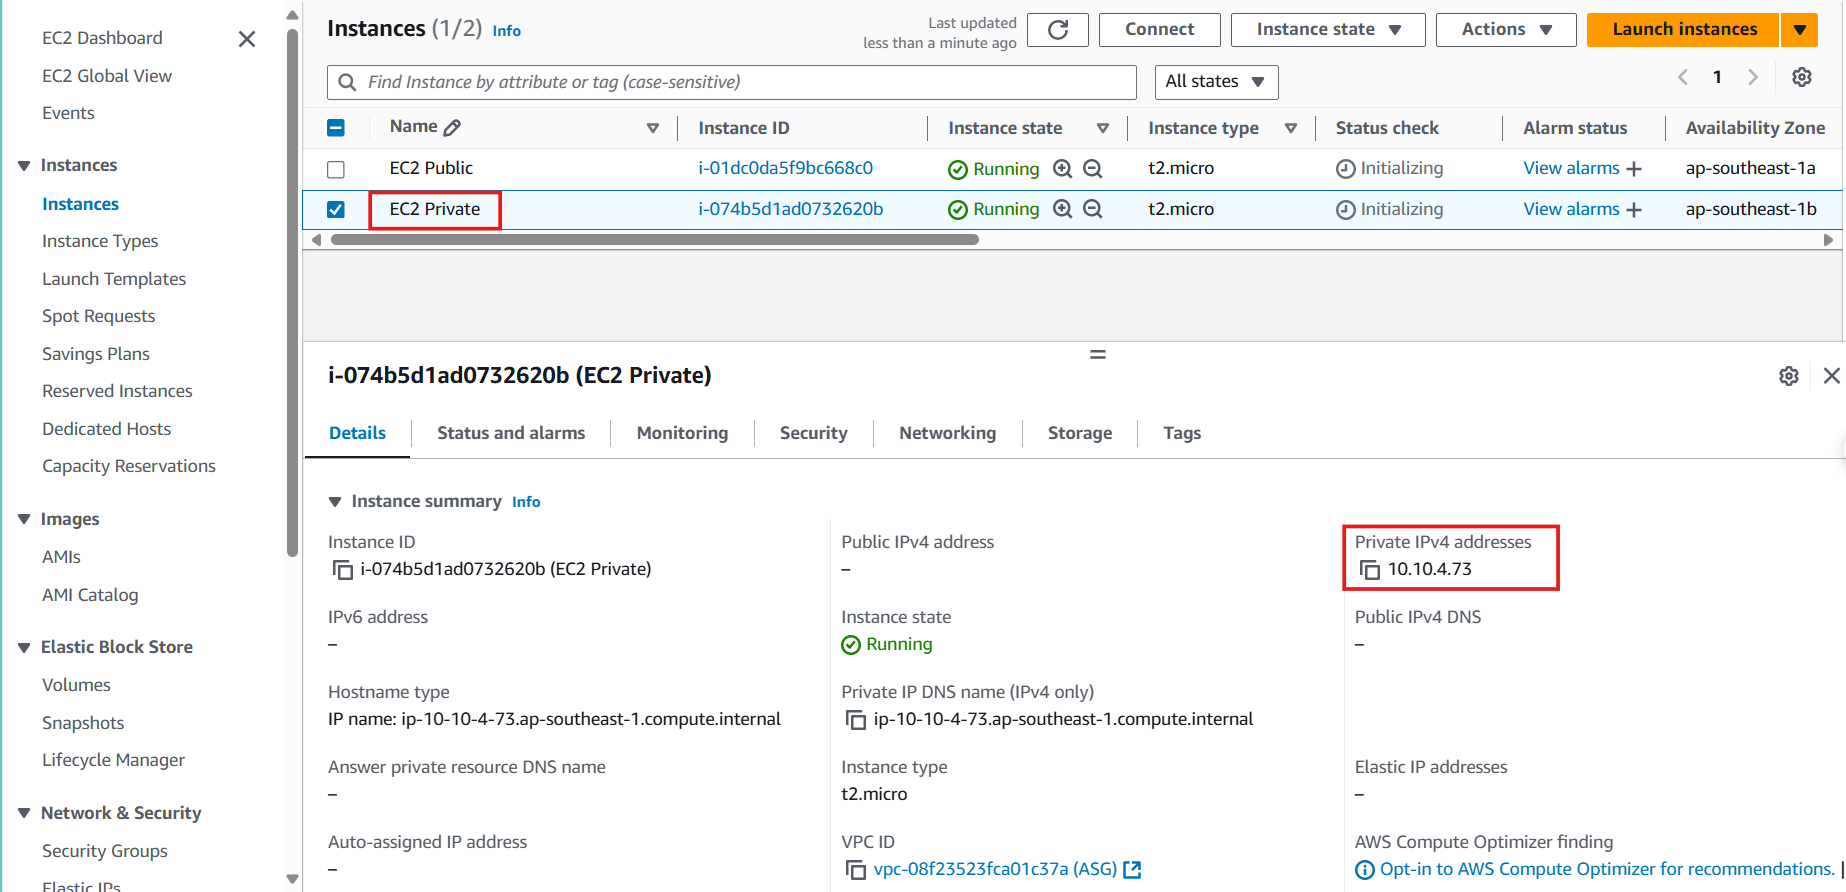
Select EC2 Private:
- Choose Details
- Store Private IPv4 addresses