Test Connection
Checking Connection
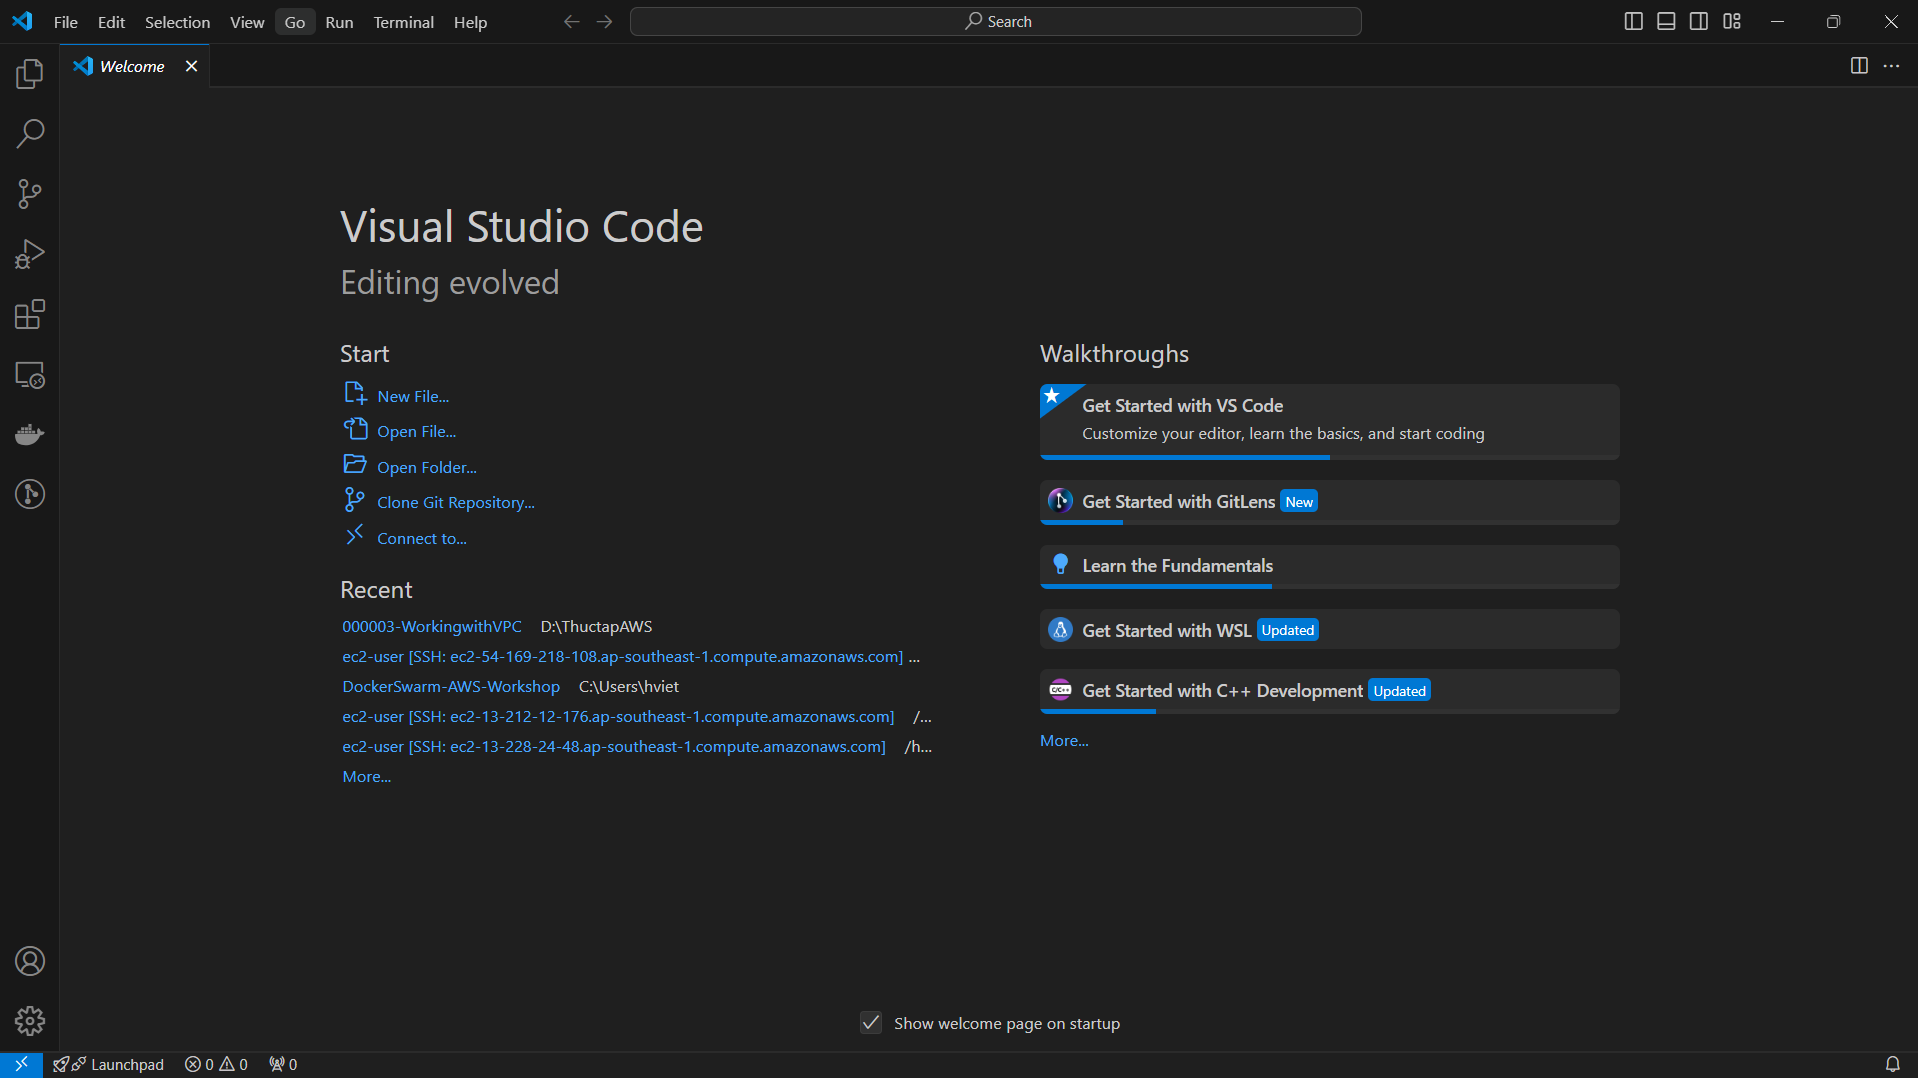
There are several ways to connect to EC2 instances. You can follow the instructions to connect to EC2 using PuTTY. In this lab, we will use Visual Studio Code to establish the connection.
-
Download Visual Studio Code
-
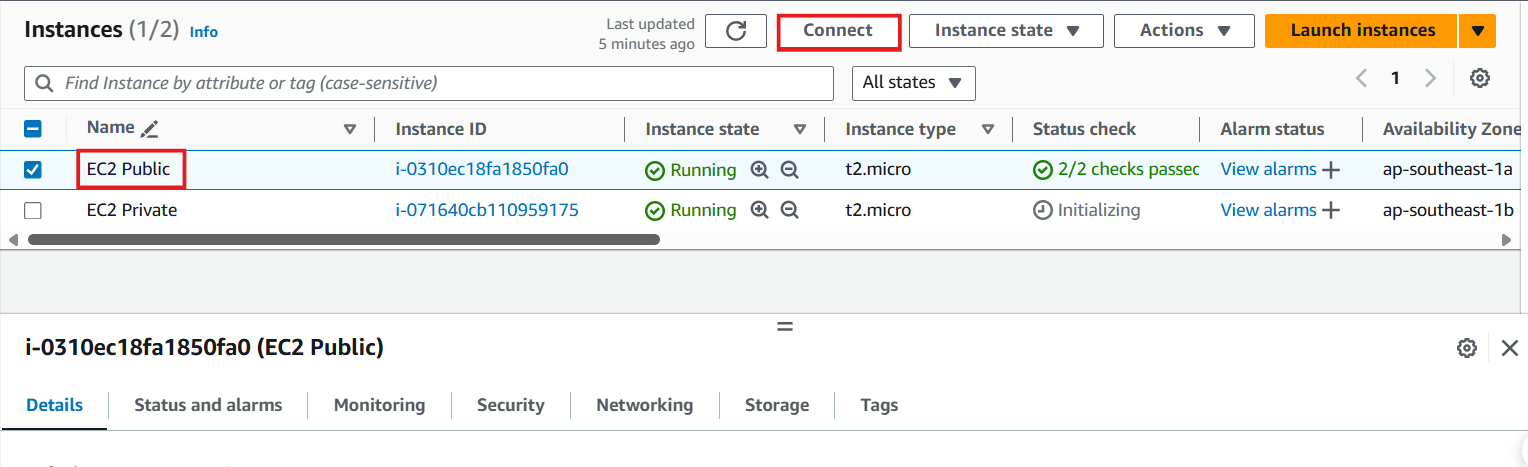
Access the EC2 page
- Select Instances
- Select EC2 Public
- Select Connect
-
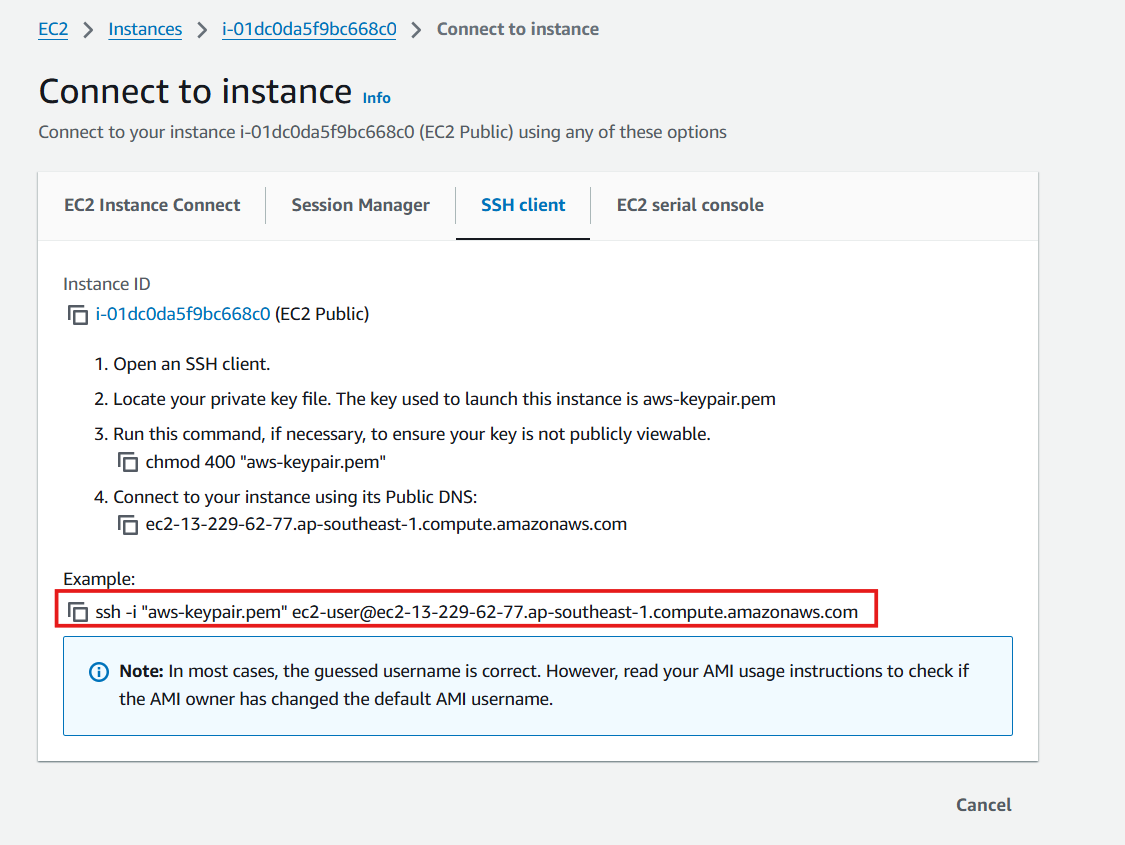
In the Connect section
- Select SSH Client
- Copy the code in the Example section
-
In the Visual Studio Code interface
- Download SSH
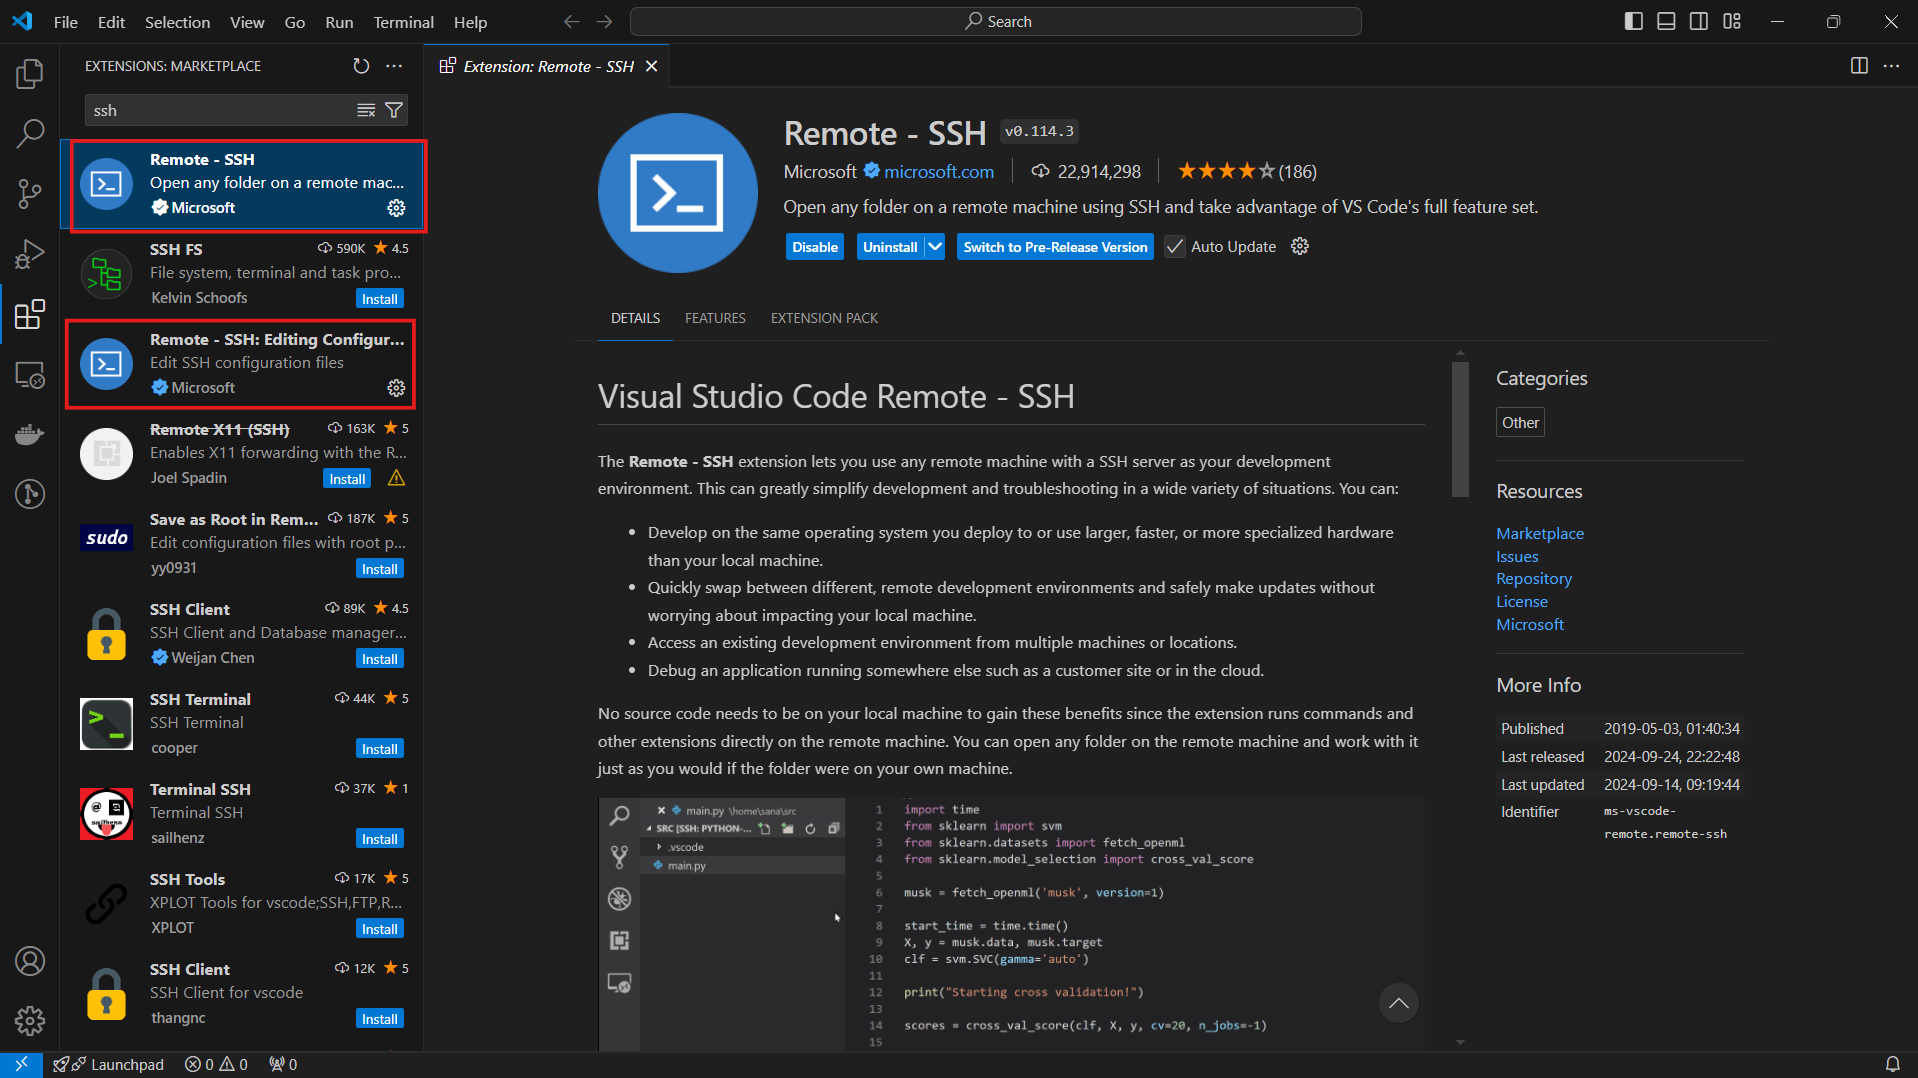
-
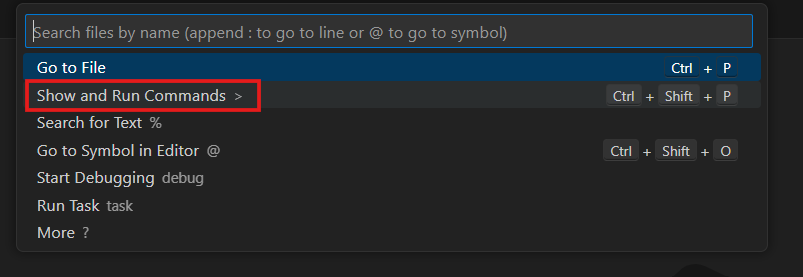
In the Visual Studio Code search bar
- Follow the instructions to connect via SSH
-
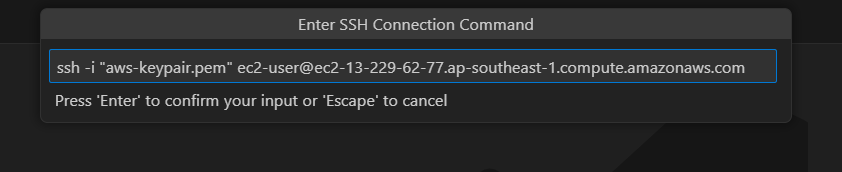
Configure SSH.
- Paste the copied path from EC2 Public here
- Edit the key pair path to point to the correct file location
- Save the file
-
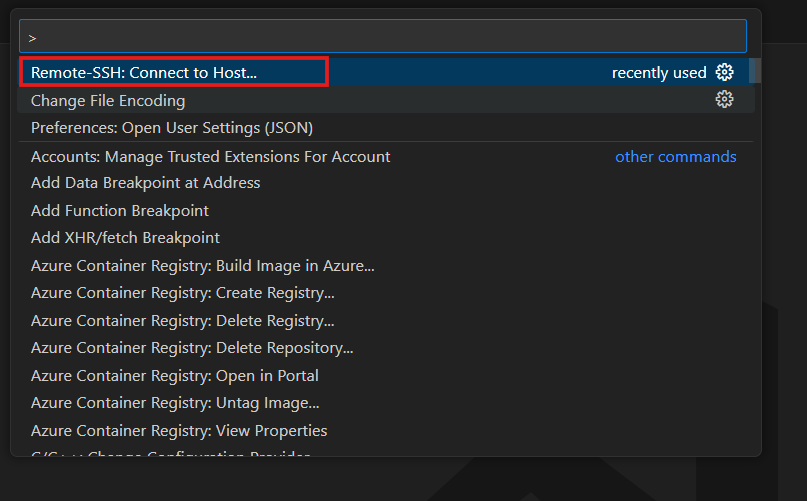
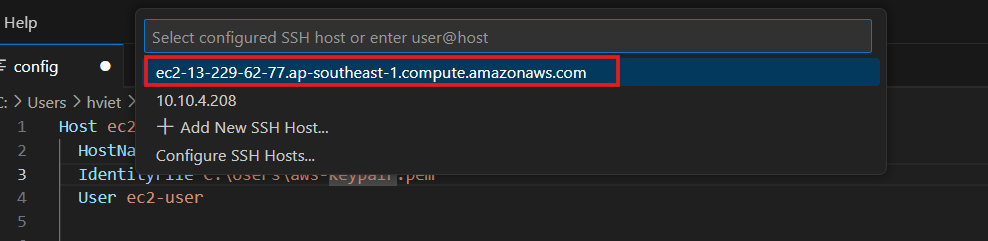
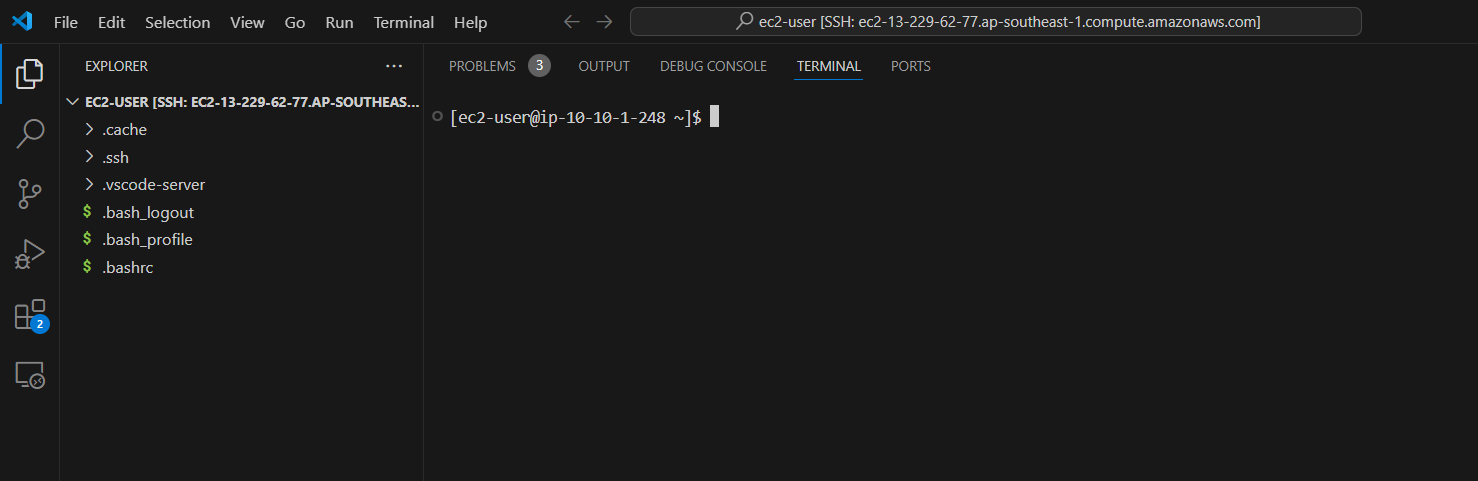
Connect via SSH.
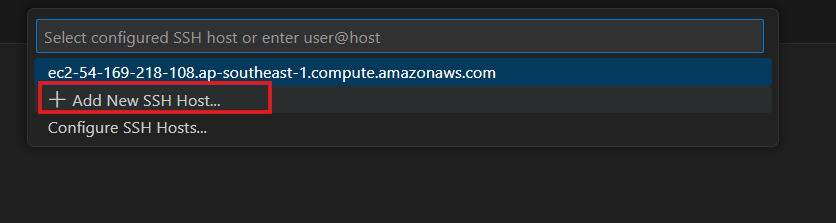
- Re-run the commands in the search bar as shown above
- Search for and select the IP public EC2 to connect
-
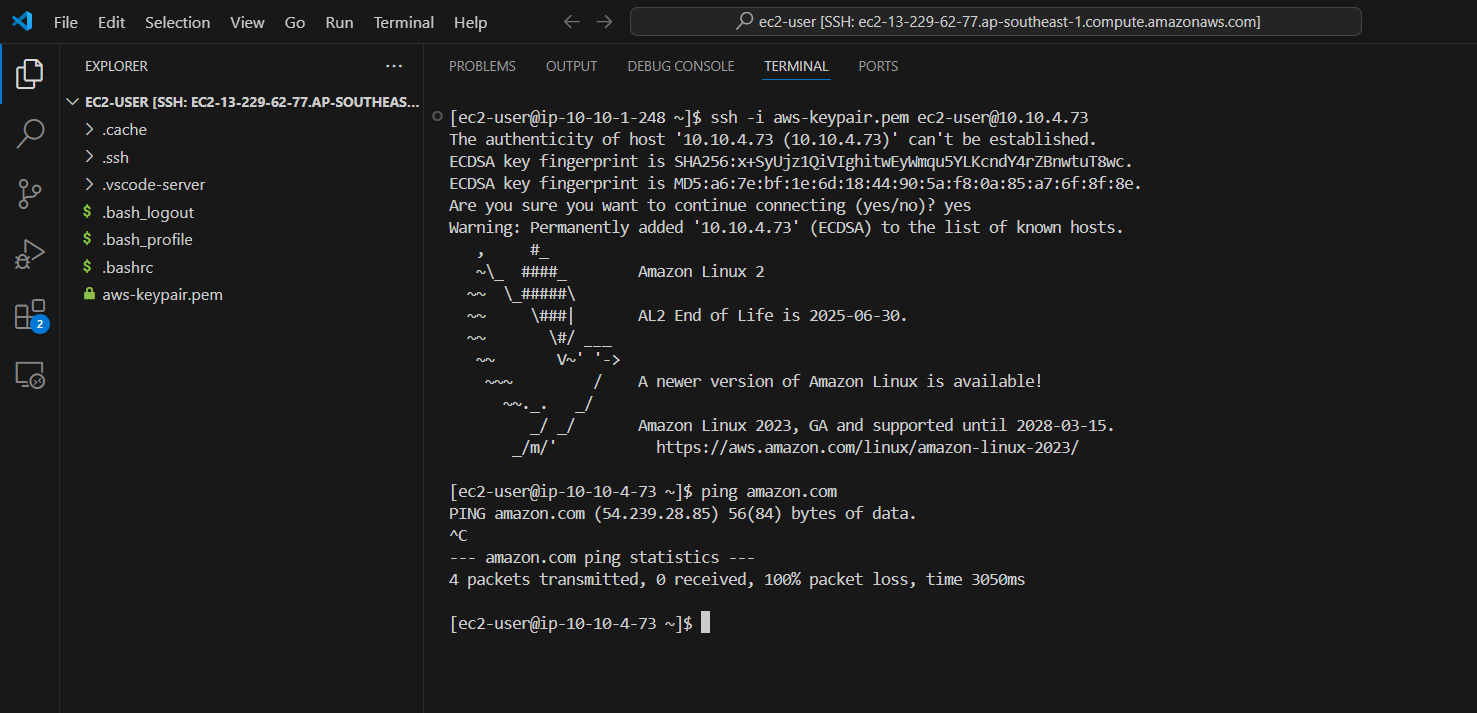
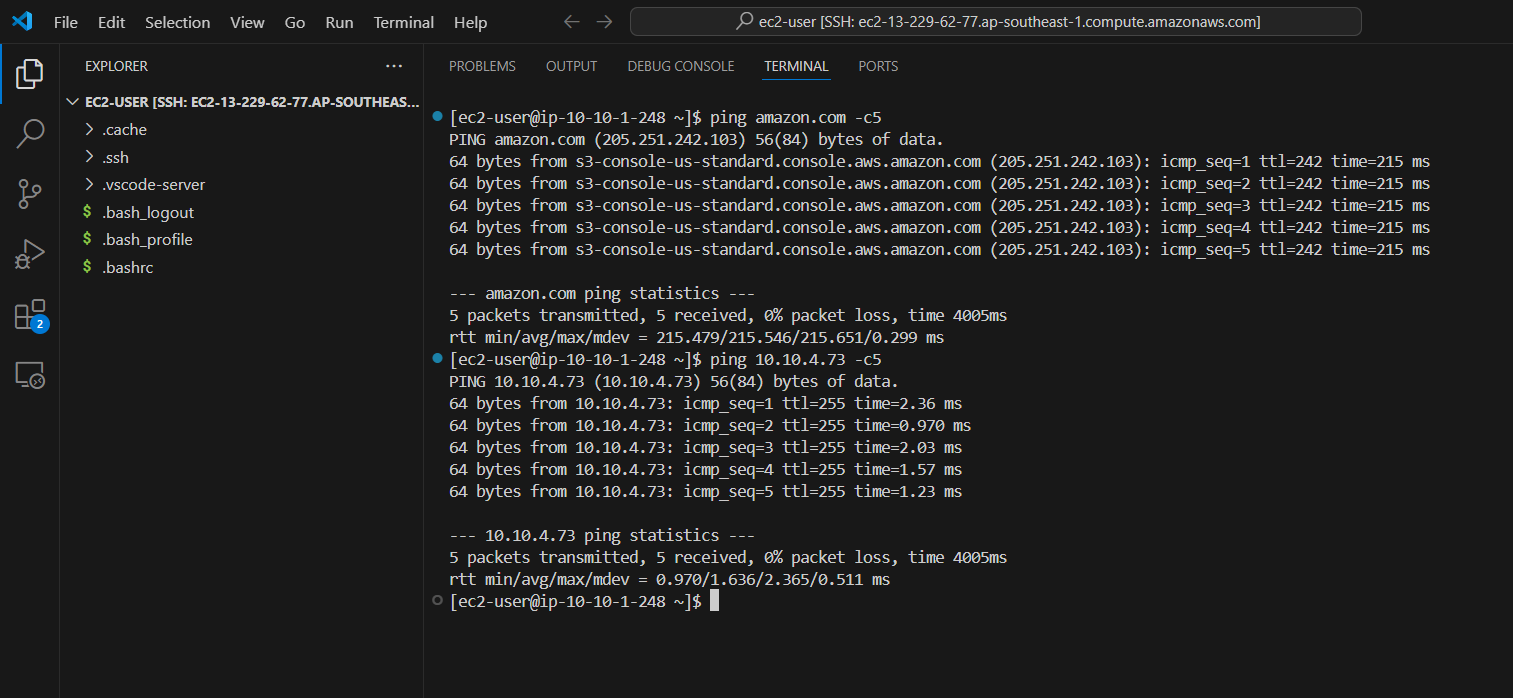
Test the internet connection of EC2 Public by running the command:
ping amazon.com -c5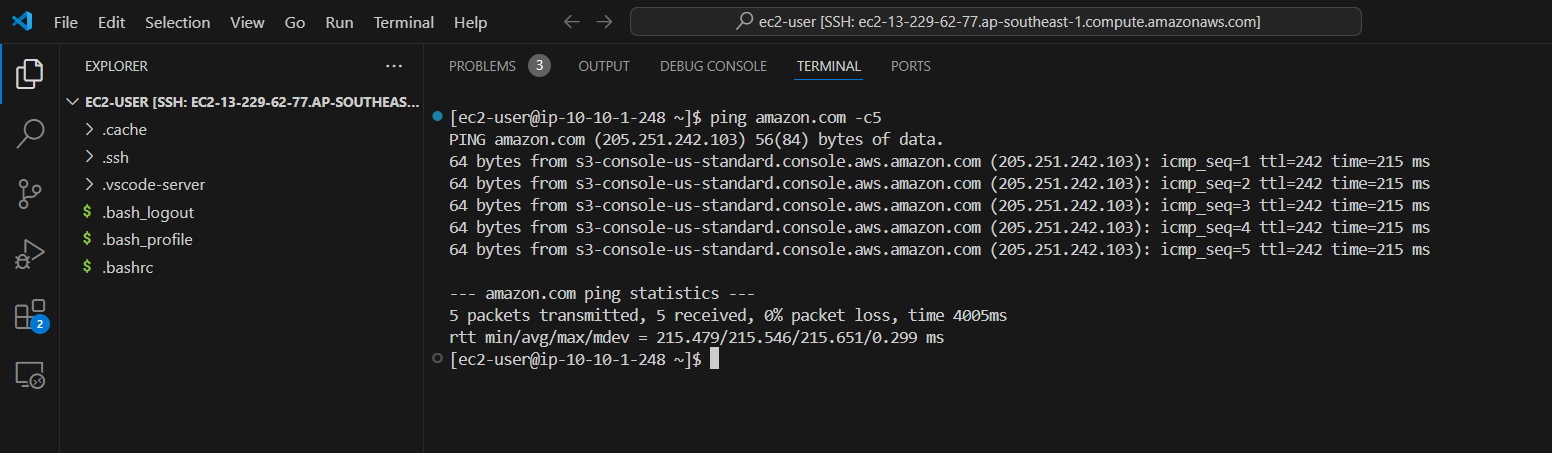
Connect to the EC2 Private Server and Check Internet Connection
-
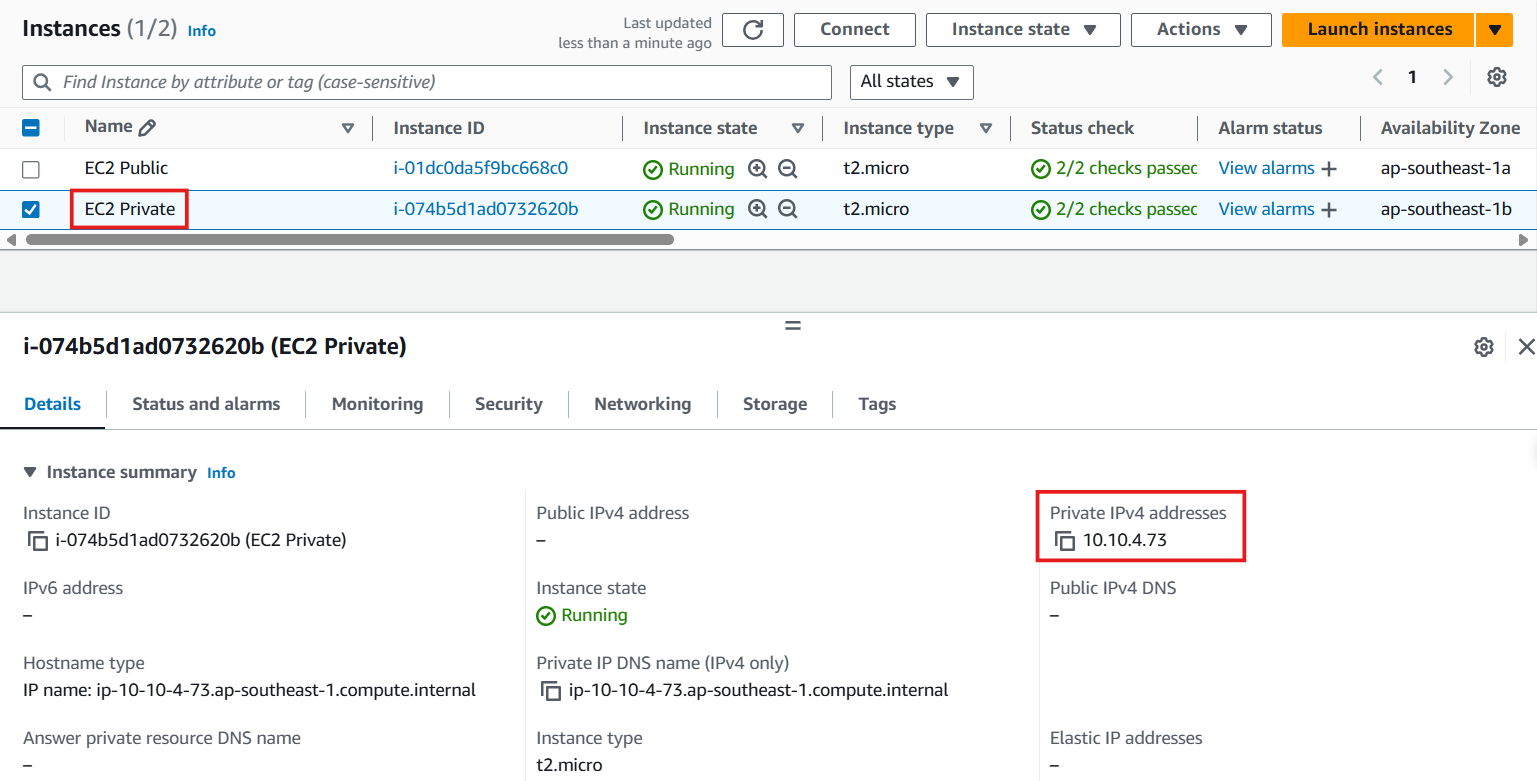
Access to EC2
- Select Instances
- Select EC2 Private
- Select Details
- Select Private IPv4 addresses
- Then connect SSH to EC2 Public
-
Perform a ping test to the EC2 Private’s private IP address to test the connection from the EC2 Public server to the EC2 Private server. Use the following command:
ping <IP Private EC2 Private> -c5
-
EC2 Private will not have a public IP address because we are not assigning this server a public IP. To be able to ssh into EC2 Private, we will make an ssh connection from EC2 Public through EC2 Private private IP address
- Download the pscp tool to the same folder containing the aws-keypair.ppk file to copy the aws-keypair.pem file from our computer to EC2 Public .
You download an RSA and DSA key generation utility as puttygen.exe
You download an SCP client, i.e. command-line secure file copy is pscp.exe
-
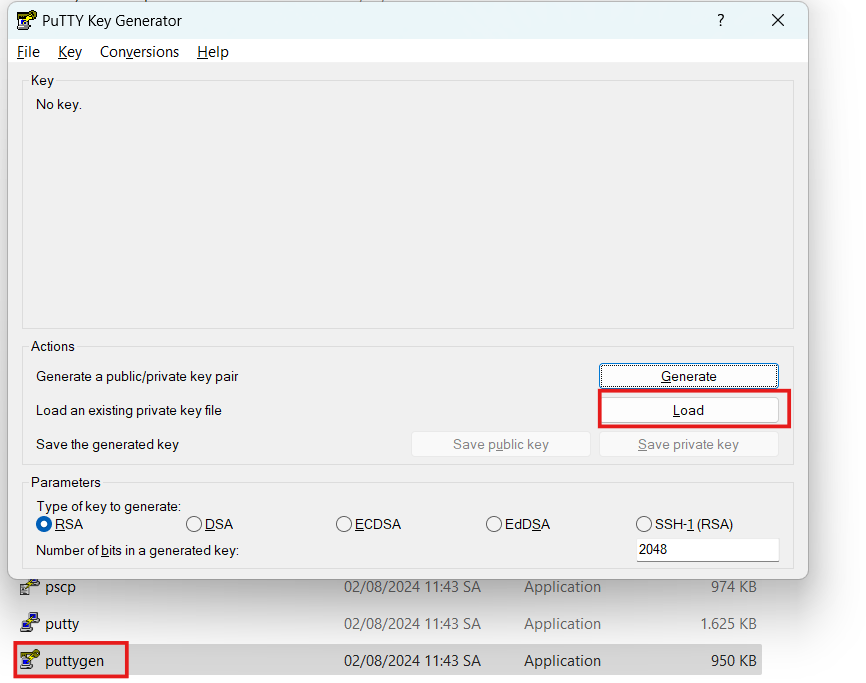
We use puttygen.exe to generate key
- Select Load
-
Select aws-keypair.pem
- Select OK
- Select Save private key with the name aws-keypair.ppk
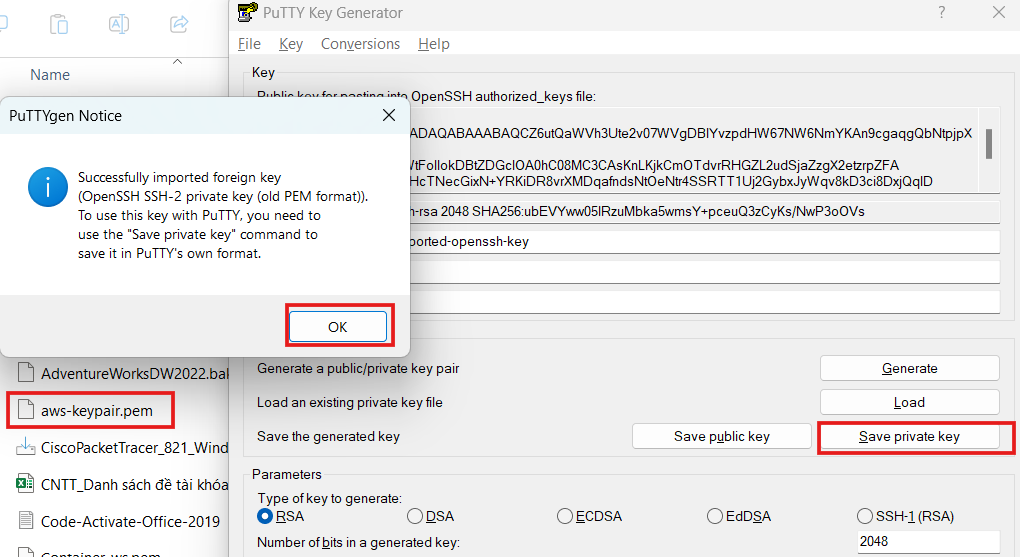
- Complete the generation key

-
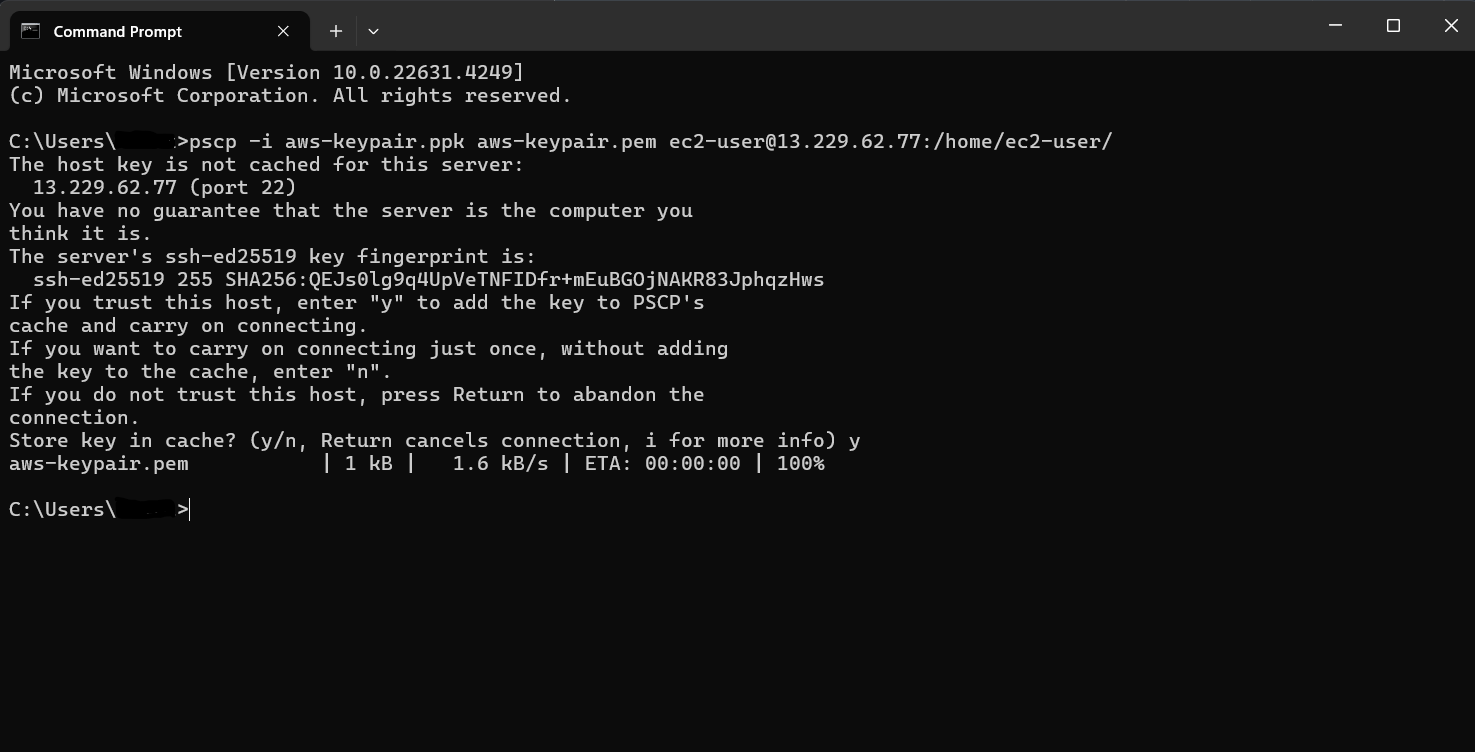
Launch Command Prompt. Change the path to the folder you just downloaded pscp. Run the command below to upload the aws-keypair.pem file to the /home/ec2-user/ directory of the EC2 Public server.
- You will need to replace the public IP address of EC2 Public parameter before running the command.
pscp -i aws-keypair.ppk aws-keypair.pem ec2-user@<EC2 PUBLIC public IP address>:/home/ec2-user/
-
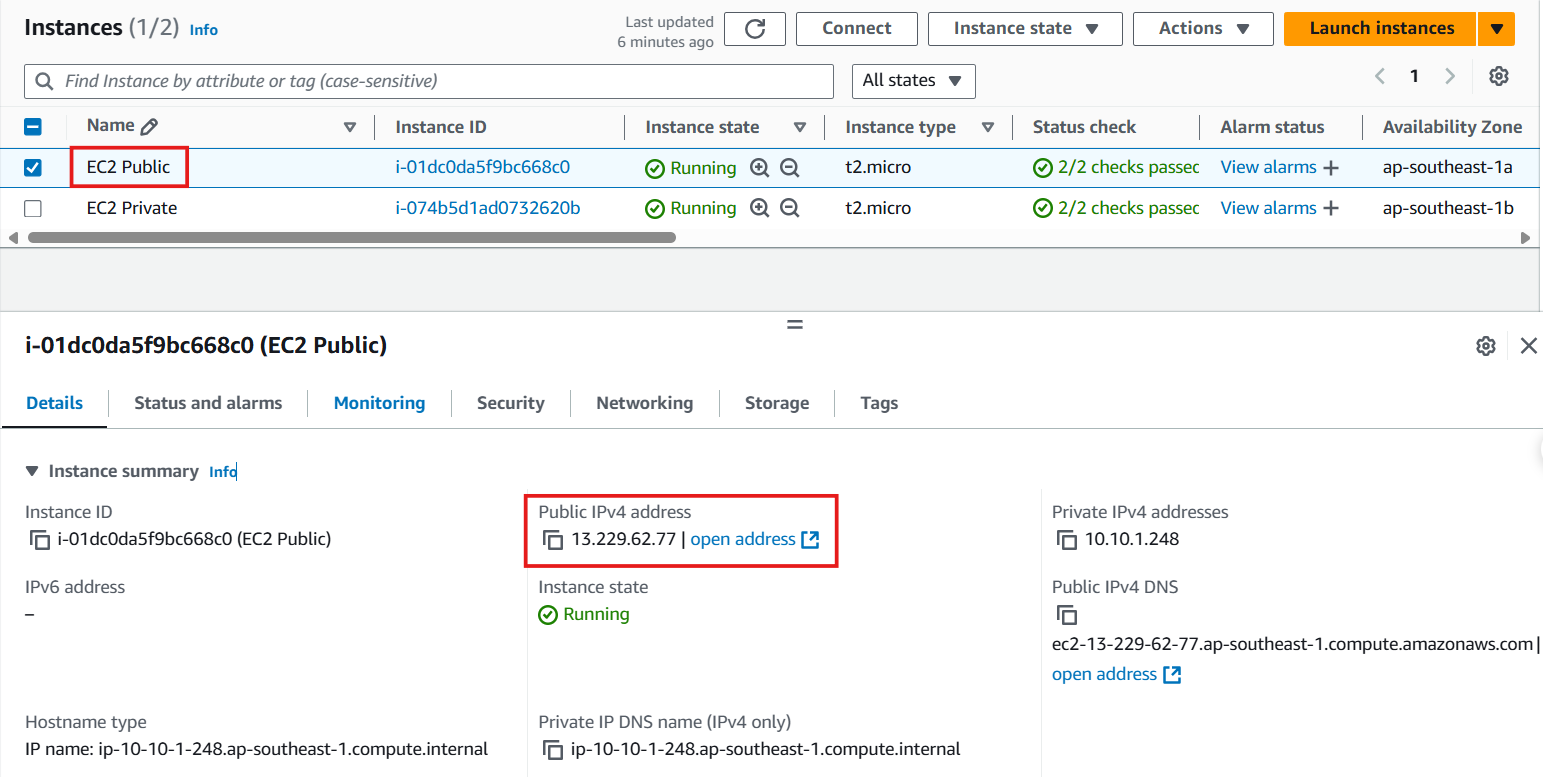
Access to EC2
- Select Instances
- Select EC2 Public
- Select Details
- View Public IPv4 address
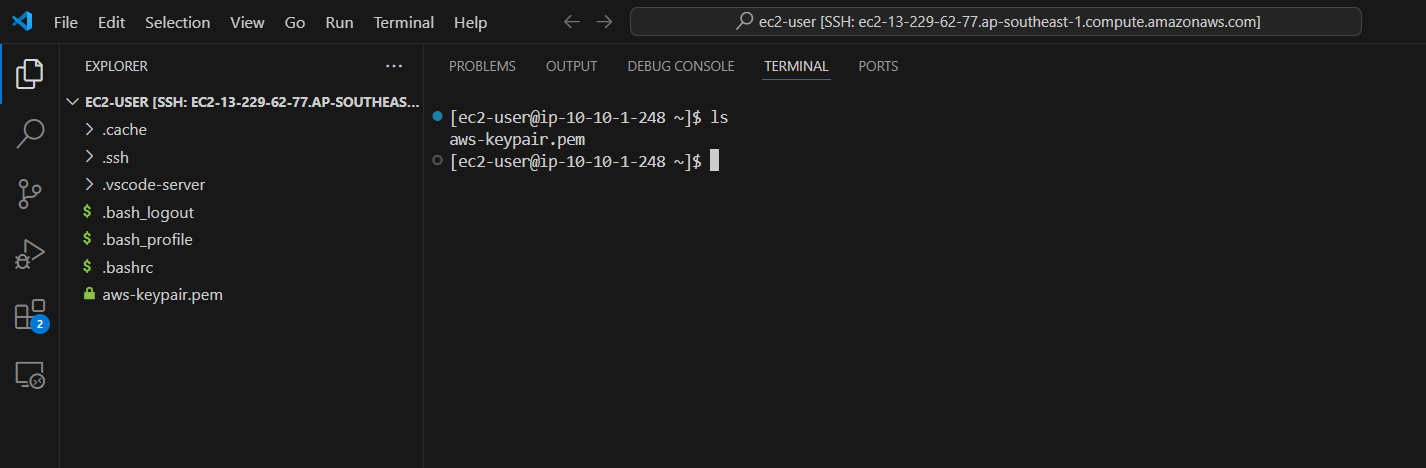
- Return to the EC2 connection interface. Make sure you copy the aws-keypair.pem file to the EC2 Public server, we execute the command
ls
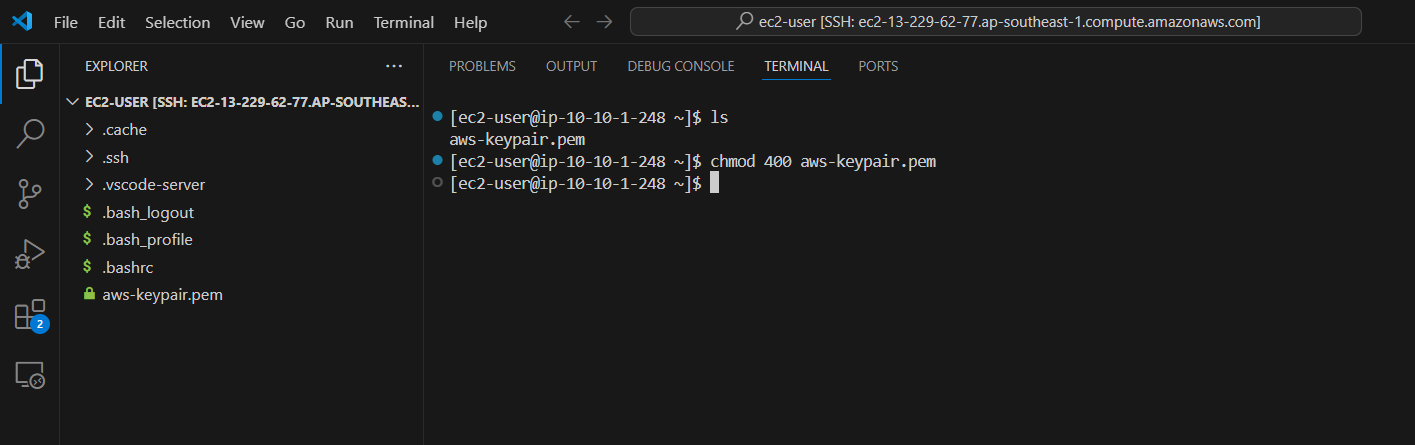
- Update the permissions for the aws-keypair.pem file by running the chmod 400 aws-keypair.pem command. AWS requires the key pair file to be restricted before it can be used to connect to the EC2 server.
chmod 400 aws-keypair.pem
- SSH to EC2 Private server
ssh -i aws-keypair.pem ec2-user@<EC2 Private server's private IP address>
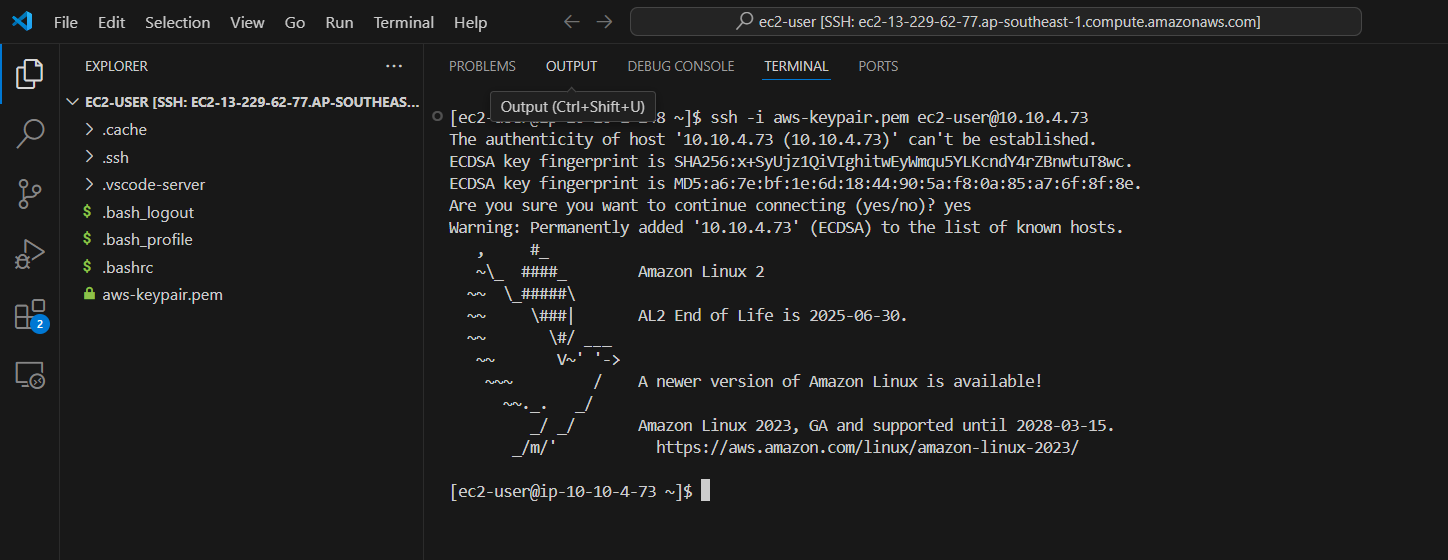
- Perform ping test to amazon.com. As you can see, we cannot connect internet from EC2 Private. In the next step, we will create NAT Gateway to allow the EC2 Private server to connect to the internet in the outbound direction. Keep the connection to EC2 Private so that we can check the connection to internet after finishing creating and configuring NAT Gateway.
ping amazon.com